Create a Multiple Exposure Look Using Layers in PhotoDirector 7

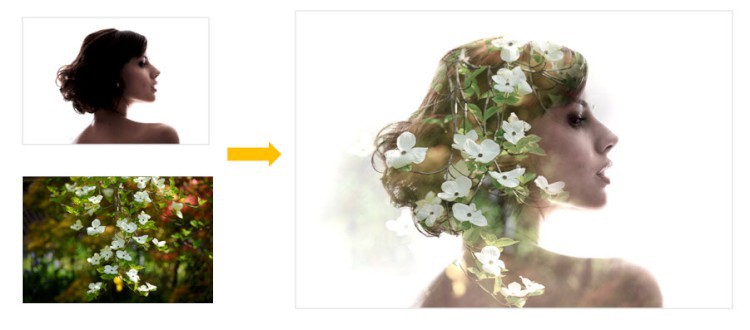
Multiple exposure portraits can create a special artistic style. Even though it is often hard to achieve the perfect shot with a camera, you can create this effect by using Layers and Blend Modes in PhotoDirector. First you will need an portrait image and an image to overlay.
When taking the portrait photo, make sure it is against a light colored background. It's best to shoot your portrait against an overcast sky or white wall. Make sure the sky is overexposed, and keep the face properly exposed. If your portrait cannot be taken against a white background, you can always remove the background using the Background Removal tool in PhotoDirector. In this tutorial, we will overlay the images below to create a multiple exposure effect.
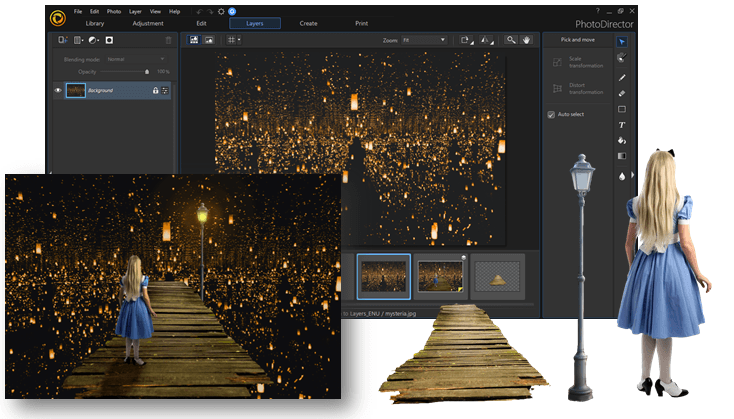
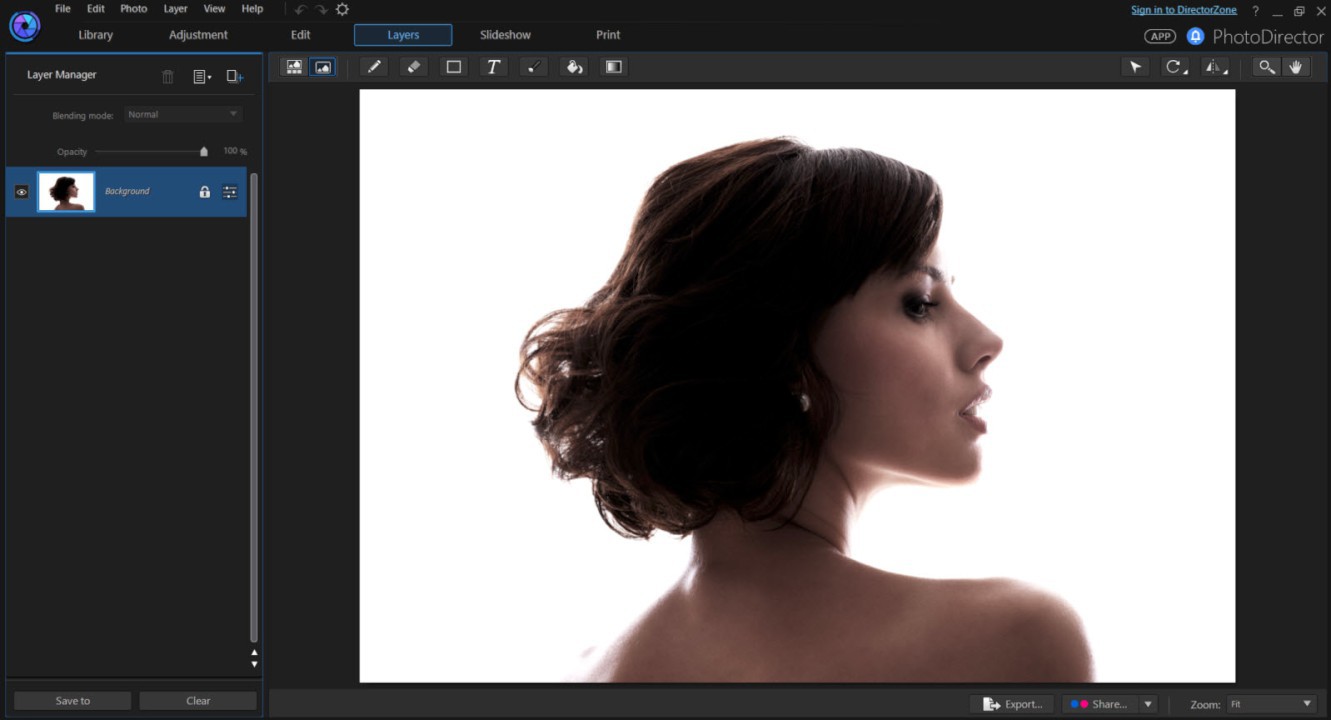
First import the portrait photo into PhotoDirector and go to the LAYERS module. Click on the ADD NEW LAYER button to create a new image layer.
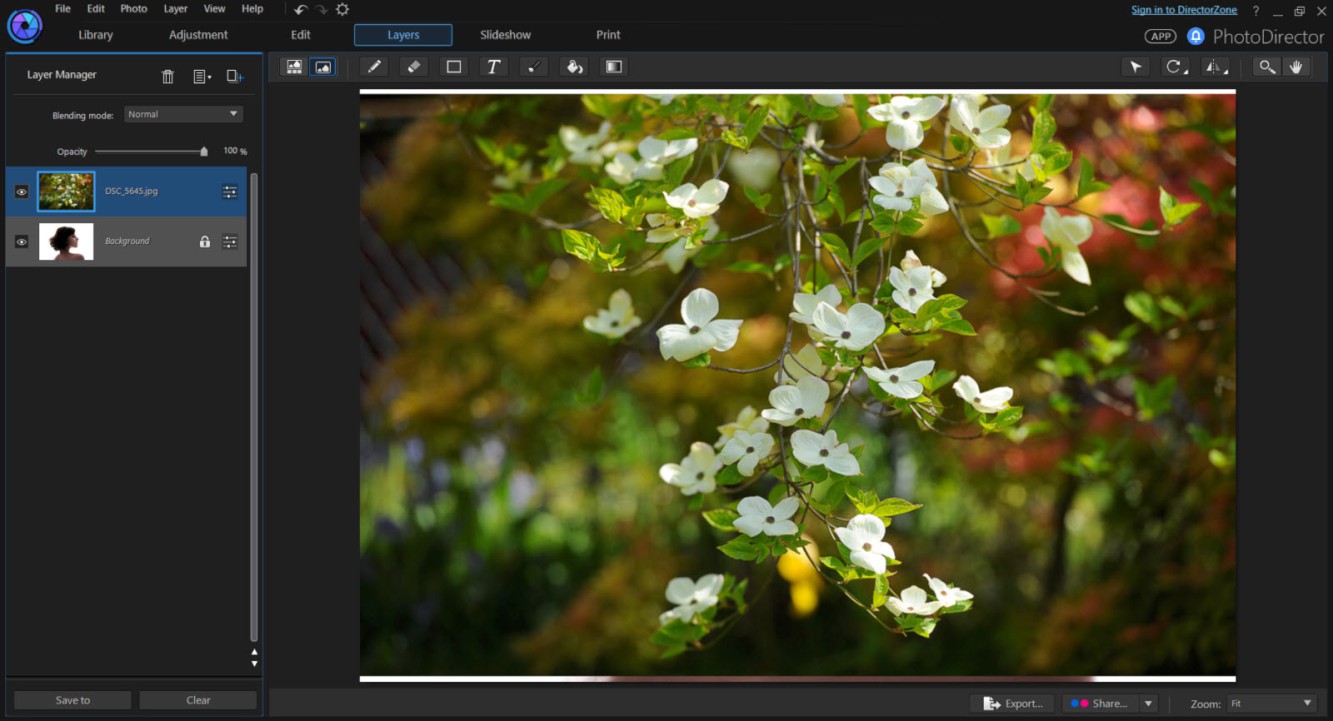
Now click on the Add Layer icon to add the image of the tree.
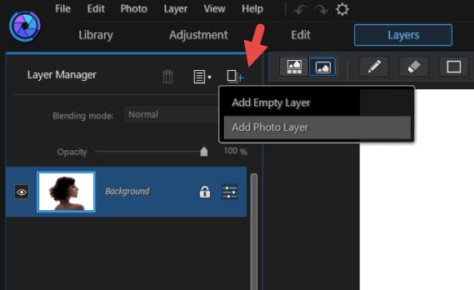
Select the image you want to add. The newly added layer will always be on top.
The trick to create a multiple effect is to change the Blend Mode to Screen. Make sure the top layer is selected while you are changing the mode.
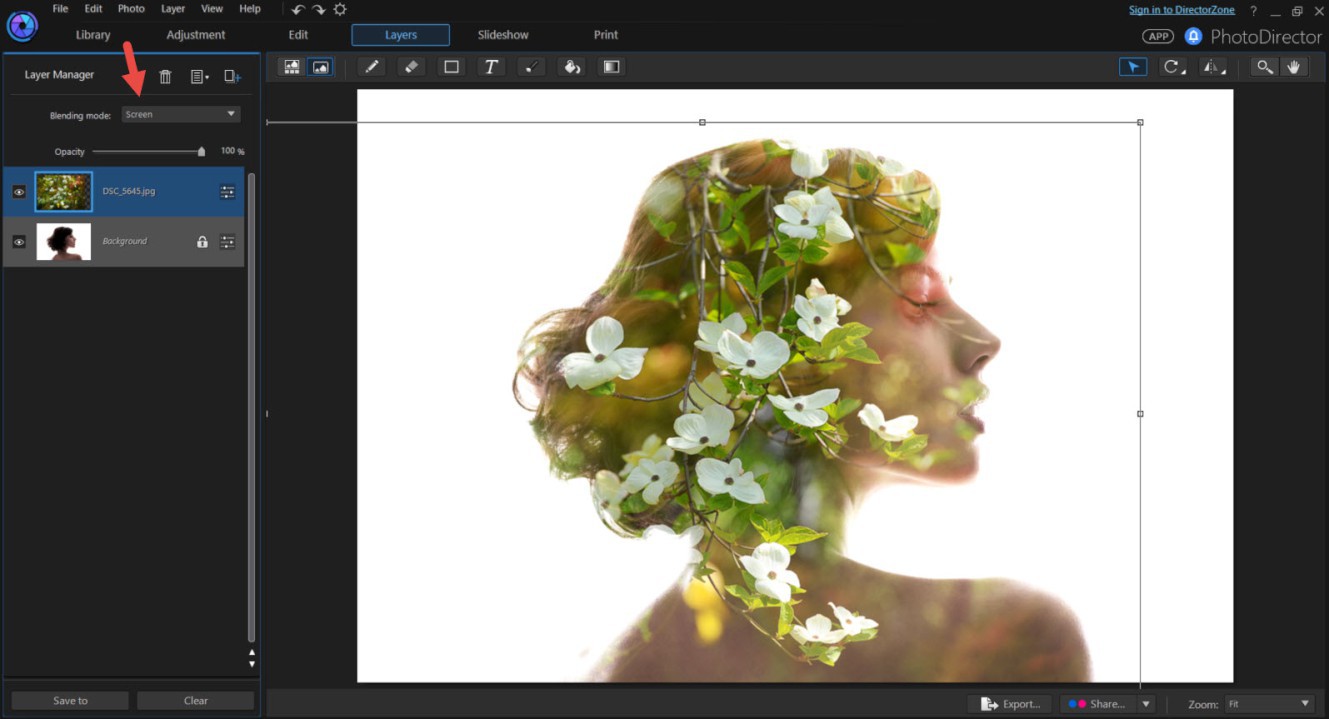
Click the Pick and Move button to resize and reposition the top layer. Don't worry if the face is covered by the tree, we can fix that later. For now, just make sure the branches are flowing in the direction you want and that the flowers are well arranged in the image.

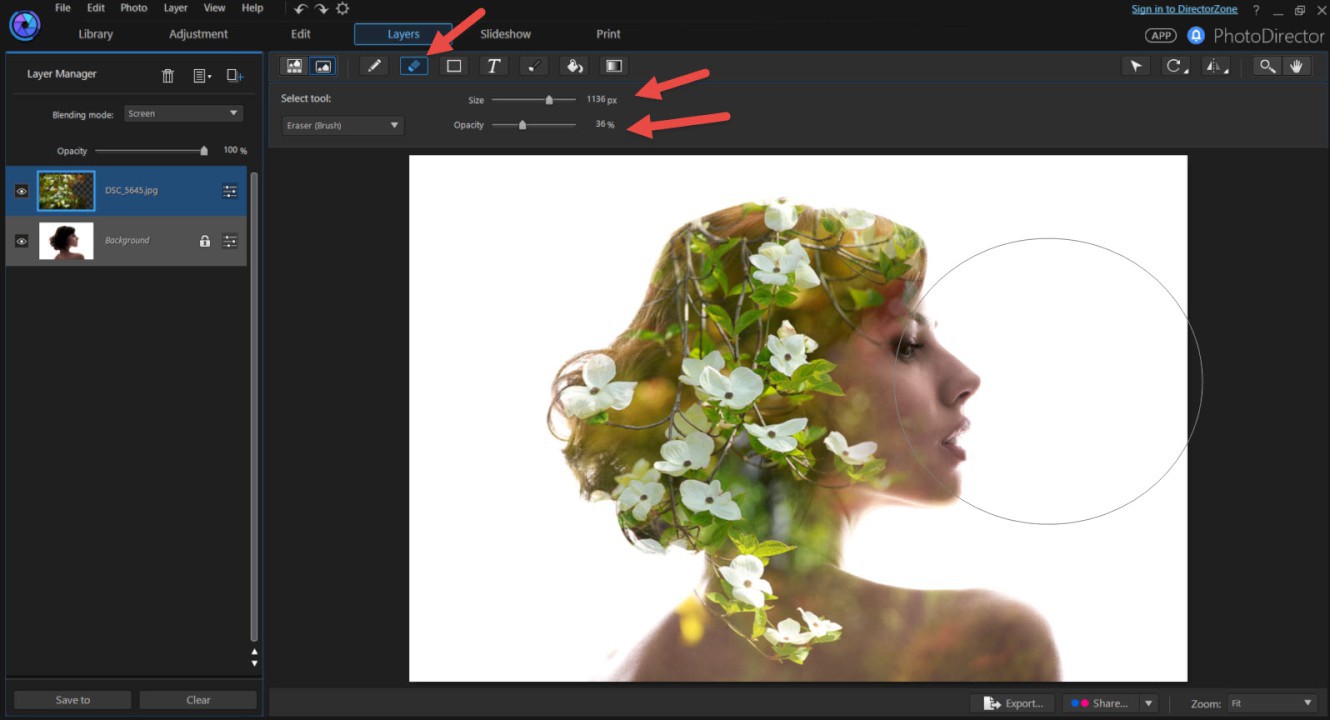
Now, we will reveal more of the face. First click on the Pick and Move button to unselect this feature, then click on the Eraser button. Choose a large brush and low opacity. Brush over the face by using the edge of the brush, to avoid hard edge strokes. Because the opacity is low, you will need to apply several strokes to reveal the facial features.
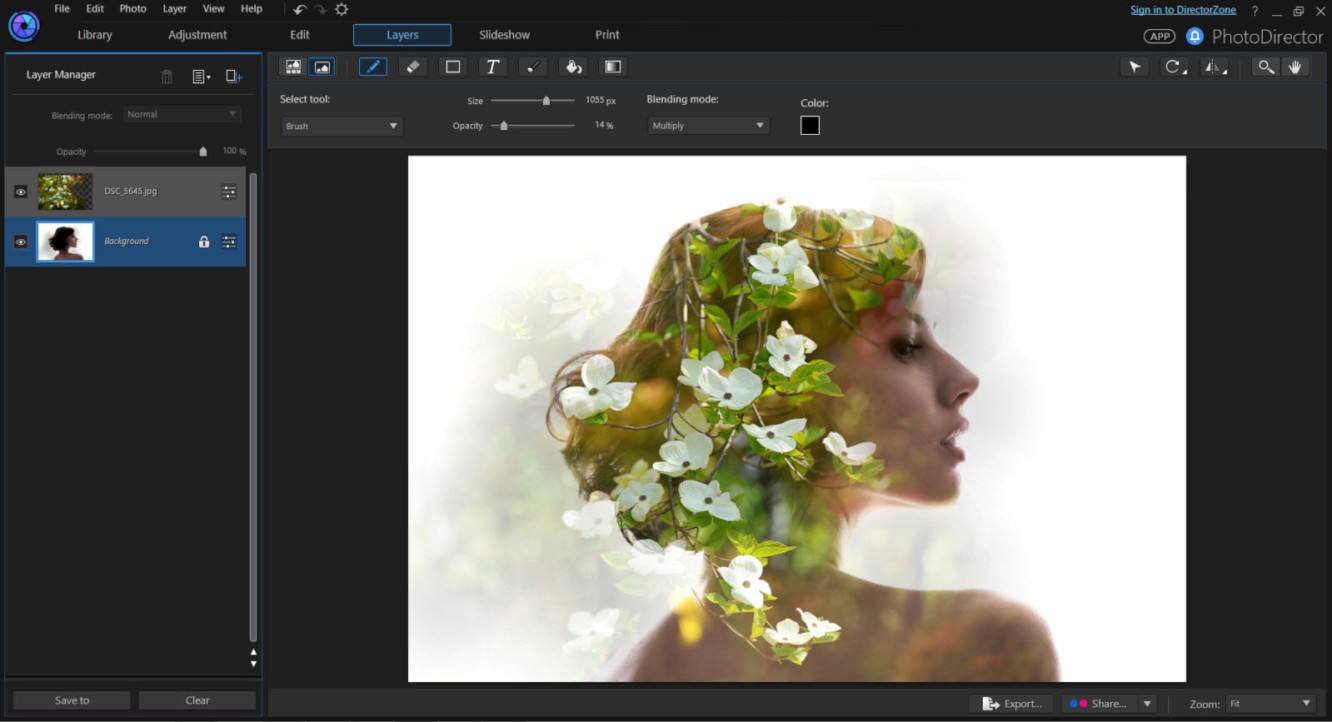
You can optionally fill the surrounding portrait with a semi-transparency of the top image. Select the brush tool, choose a large size, low opacity brush and brush over the surrounding areas to reveal the image of the tree.
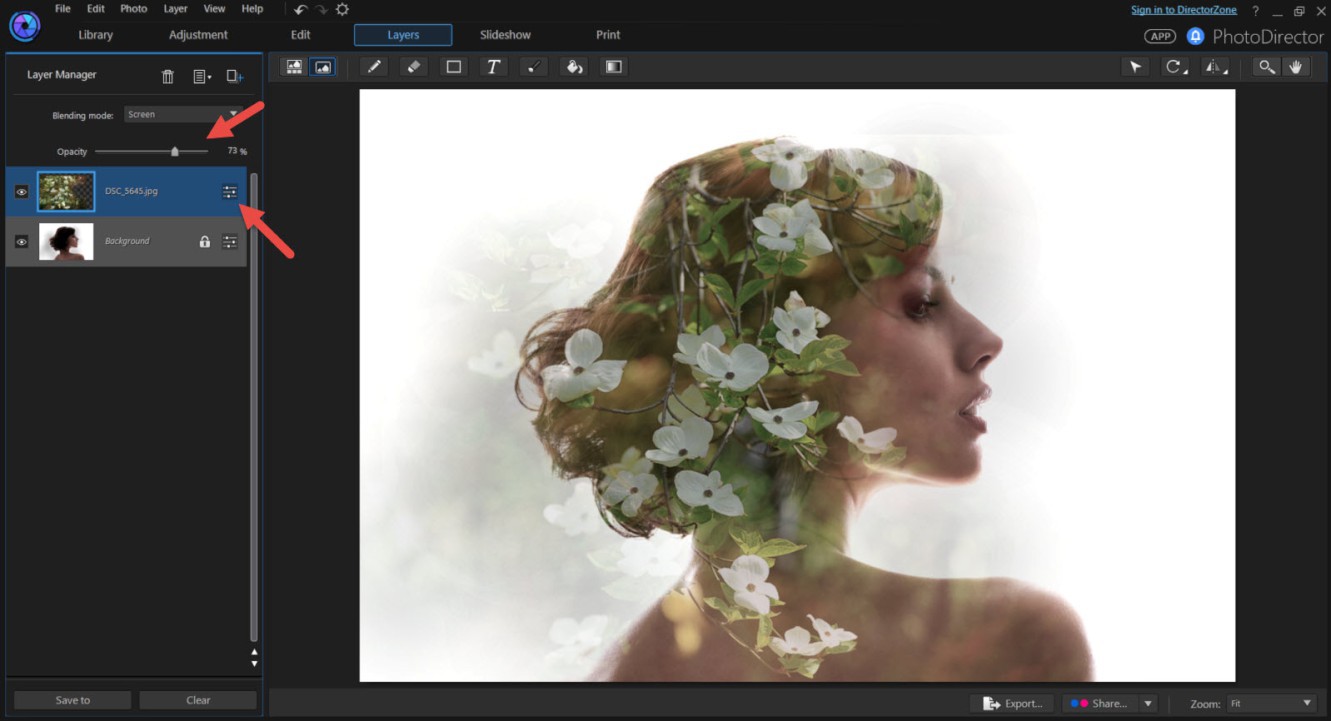
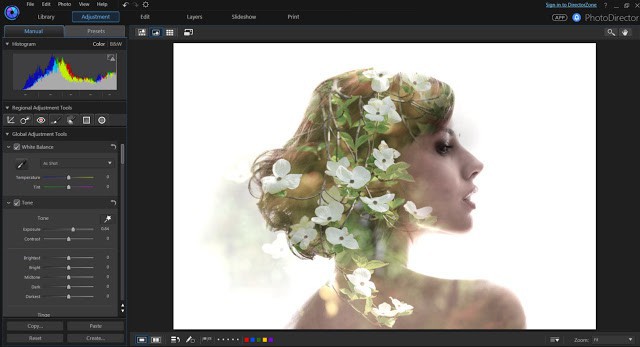
For a final retouch, dial down the opacity of the top image for a more realistic multiple exposure look. You can also click on the adjustment button to adjust the tone and colors. In this example, we have dialed down the saturation of both images.
The image is still a little bit too dark. In the Adjustment Module, increase the exposure value to add more lightness to the overall image.
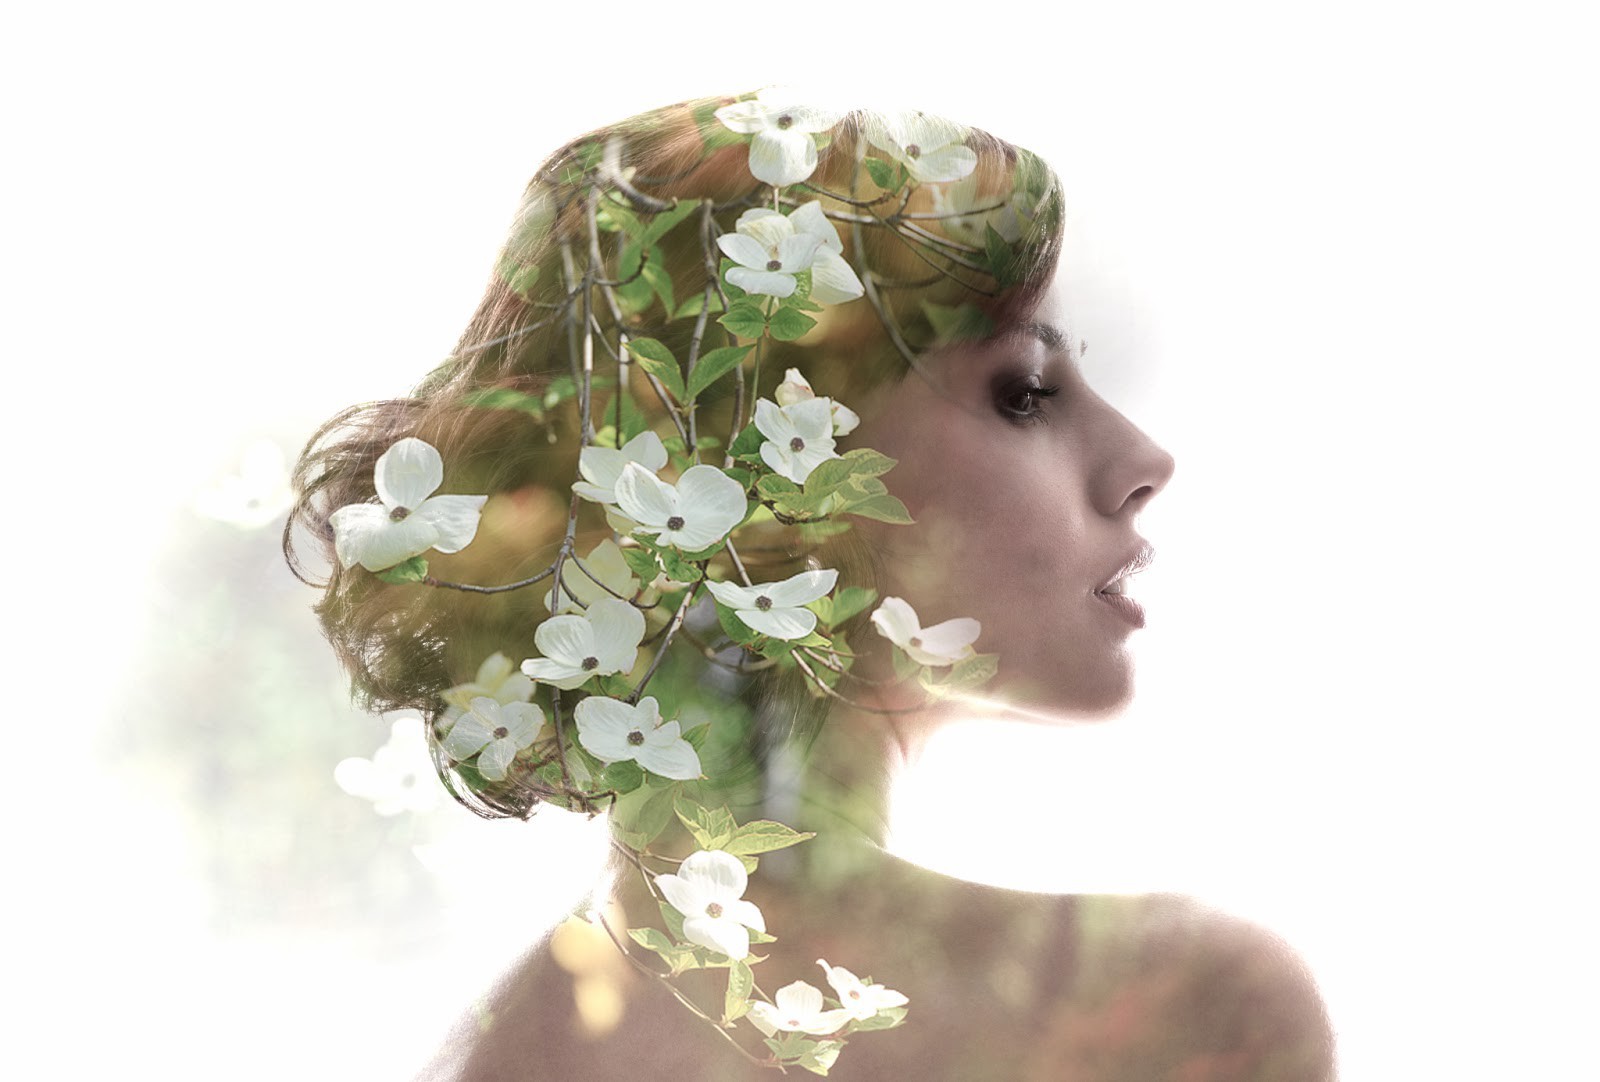
The final image:
PhotoDirector 2025 Essential
Free Software With 30-Day Premium Features