


Basic Editing Techniques for 360 Footage
PowerDirector 15’s 360° editing mode fully utilizes the timeline editing function of PowerDirector. If you are familiar with timeline, you can skip this tutorial. If not, in this tutorial, we will show you the basic timeline functions of how to edit footage on your timeline, including basic trim/cut, and adding transitions.
Step 1: Importing footage to PowerDirector
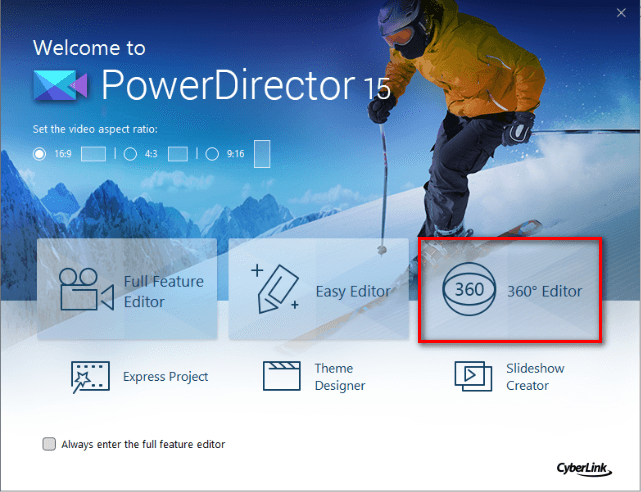
To enter PowerDirector’s 360° editing mode, select the 360° Editor option upon launching PowerDirector 15.
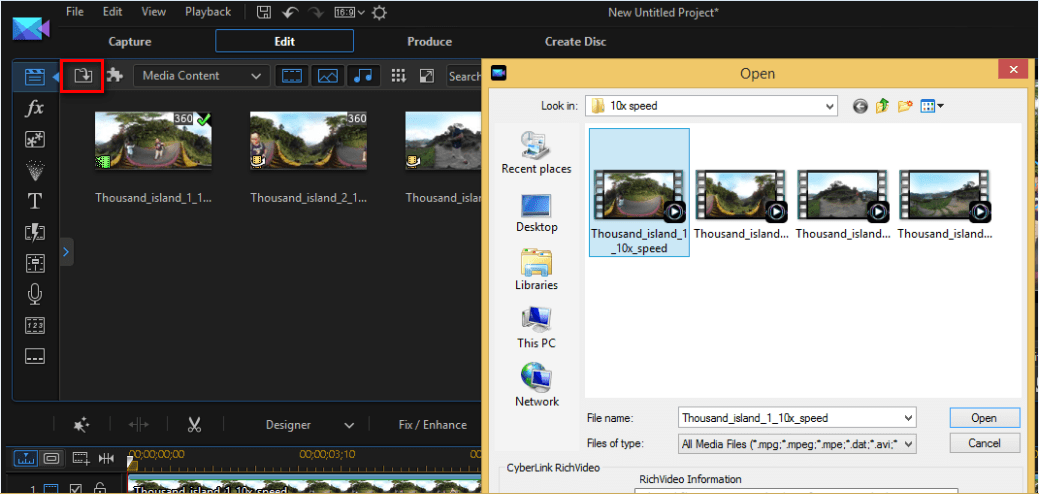
To import your 360° footage, click on the Import Media button  on the top left side of the screen, and then import media files from the assigned folder. You can also drag-and-drop your files directly to the Media Library.
Step 2: Adding your footage to the timeline
To add you video footage into the timeline, simply drag-and-drop from the Media Room down onto the timeline
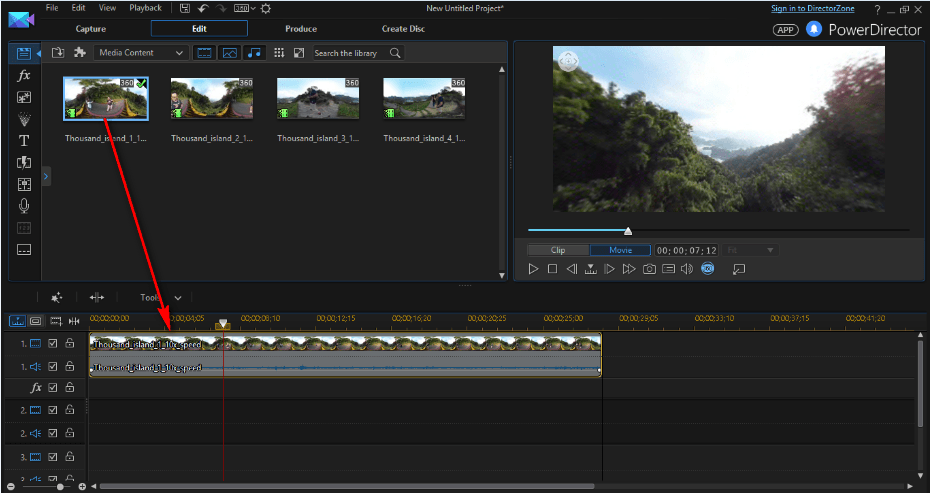
You may notice that there are 4 pairs of digits above the timeline, which represents from left to right “hour : minute : second : frame”, and this displays the actual time-span of your video. If you would prefer to have a longer timeline and wish to edit more precisely, you can simply mouse over the timeline panel (where the digits are), mouse left-click and hold, and drag to the right to scale-up the timeline, or conversely drag to the left to scale down the timeline.

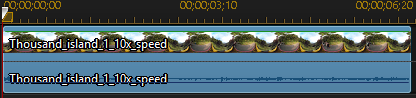
To add a second set of your video footage, drag from the Media Room and drop the footage into the empty space directly after the first timeline object.
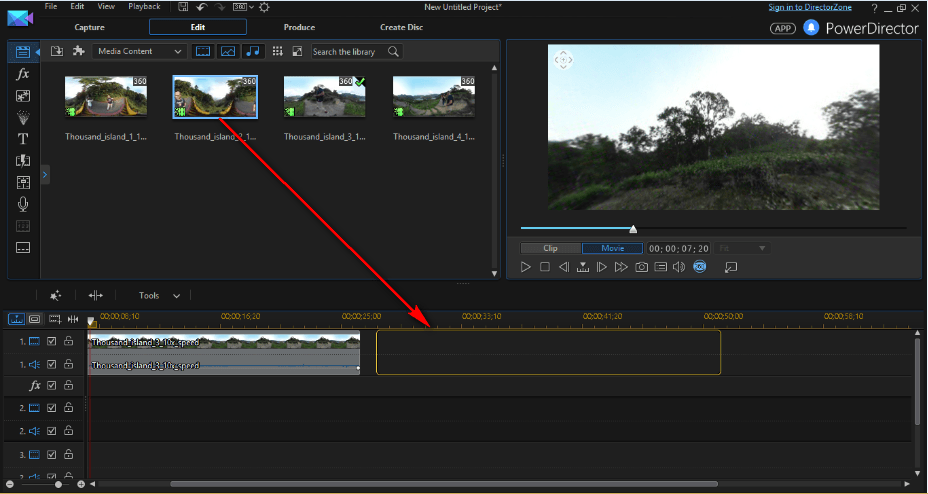
To switch between 360° mode and flat mode, click on the blue 360° icon below the display.

Step 3: Trim and cut timeline clips
If you wish to shorten your clip length on the timeline, PowerDirector provides 3 different ways to trim your video clips.
1. Trimming on the timeline
Place your cursor by the bottom right hand side of your clip (on the timeline) until the control handle shows up (appears as two opposing arrows), drag left to trim from the very end of the video. Conversely, if you wish to trim from the beginning of video, place your mouse at bottom left hand side, and drag right to trim from the very beginning.

2. Using the Trim Tool
You can also use the Trim Tool to trim your clip more precisely. First, click on the timeline clip you would like to trim, and then click on the icon to launch the Trim Tool interface. In this interface, you can move your cursor along the timeline to where you want to edit out. Then click Mark In
 and Mark Out
 to trim from the beginning or from the end of your clip. If you look to the the right hand side of the window, you will be able to preview and even alter the clip Duration, In Position and Out Potation of your clip.


Once you are satisfied with your trimming, you can click on the OK button to go back to the timeline.
3. Split a Clip
If you would like to separate your video footage into separate clips, move the cursor to the point in which you wish to split (on the digits and left click).

Click on the icon next to the trim tool icon, or use hot-key CTRL+T to split your video.

Step 3: Adding a transition between your clips
If you wish to have a more smooth transition between clips, you can consider adding a transition. Look to the far left side of the screen and click on the![]() icon to enter into the Transition Room.
icon to enter into the Transition Room.

Choose the transition of your choice and then drag it down and place it between your two separate timeline clips.
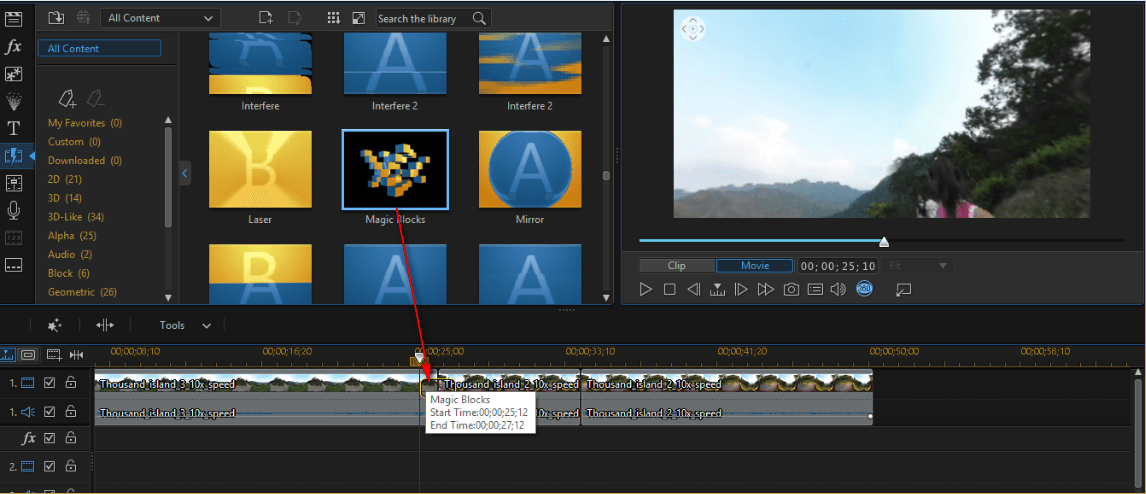
Now the transition is in between your two clips!

Get PowerDirector 365 Essential for Free
Take your videos to the next level with the best video editor for Windows PC
