
How to Create a 007 Style Video Intro

The gun barrel sequence is synonymous with James Bond films. The key to creating this intro sequence are proper use of Keyframes and Chroma Key.
A Keyframe is a reference point in an animation providing information about the position, shape, and size of the subject. A lot of things can be controlled by Keyframes, such as PiP Objects, titles, effects and particle effect. Chroma Key is a tool used for removing background color from green screen footage.
To create this effect, we will use an image of 007 and a gun barrel image, plus two short video clips of blood and a gun shot. It’s really easy to find these resources from the Internet.

Step 1: Use Keyframe to control an object’s motion
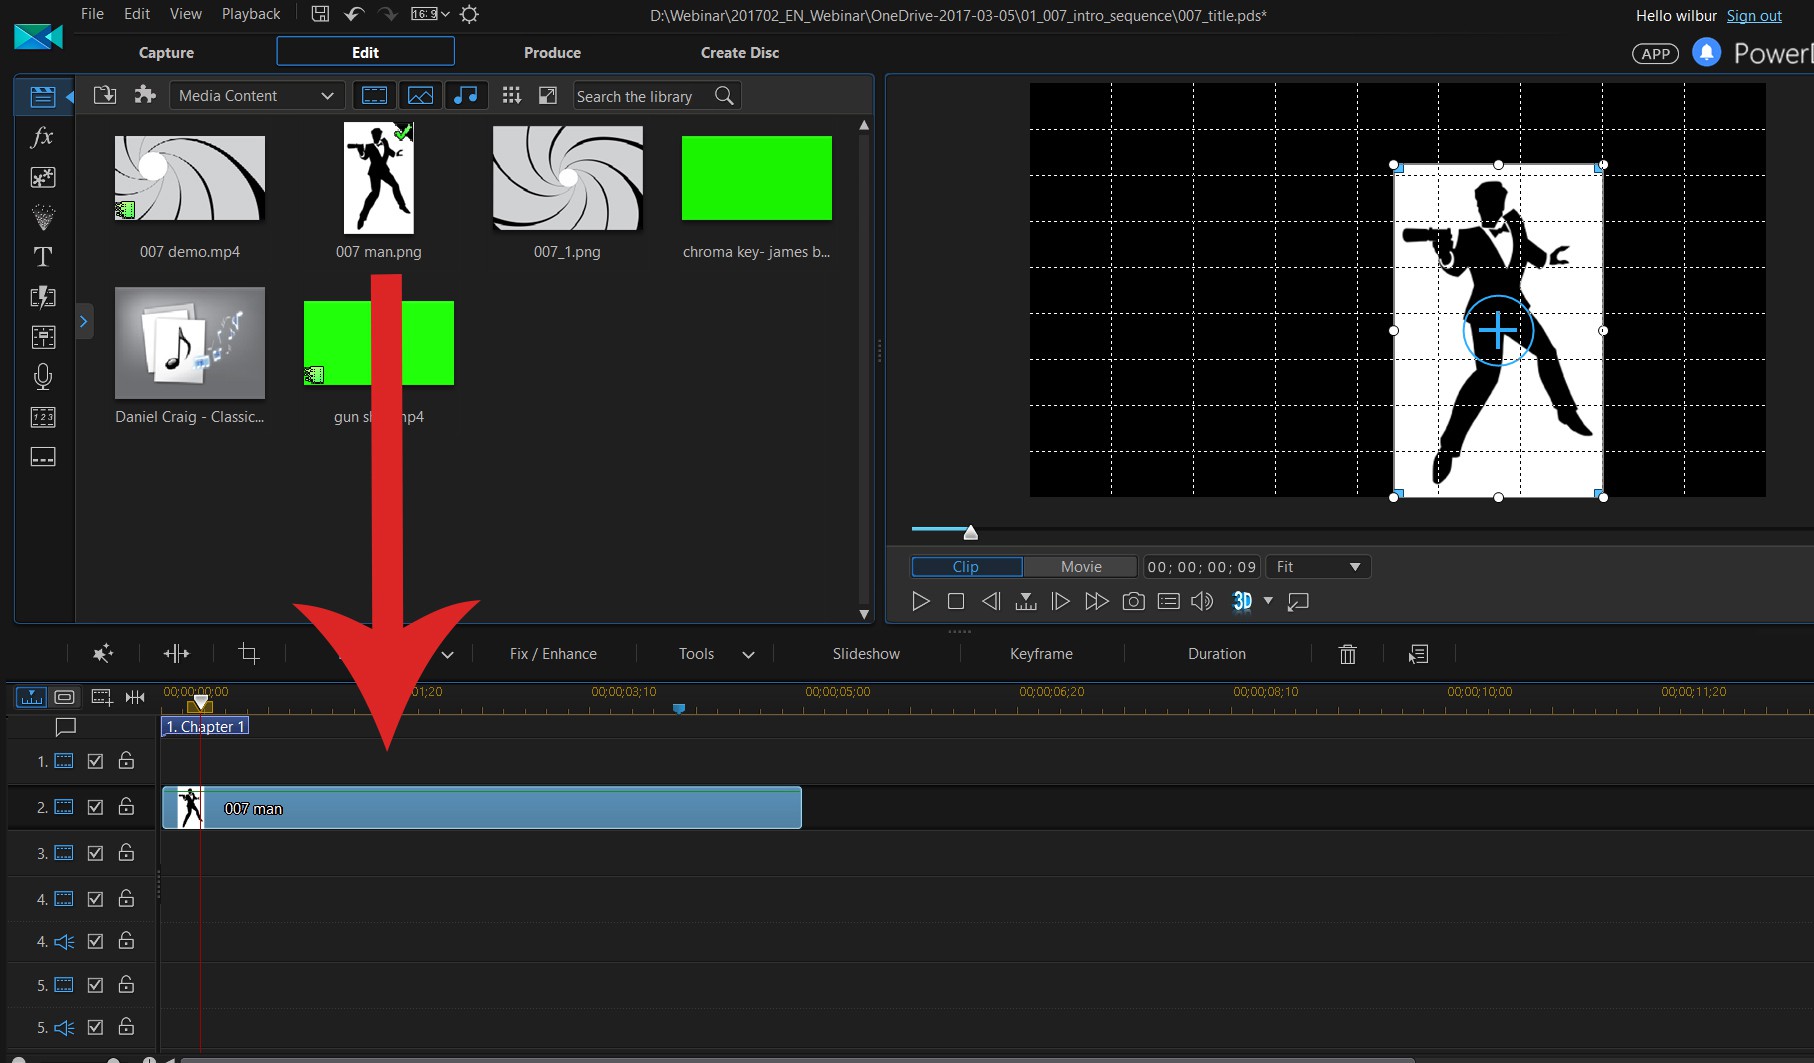
Drag the image of the 007 to your timeline and adjust the size to make it smaller.
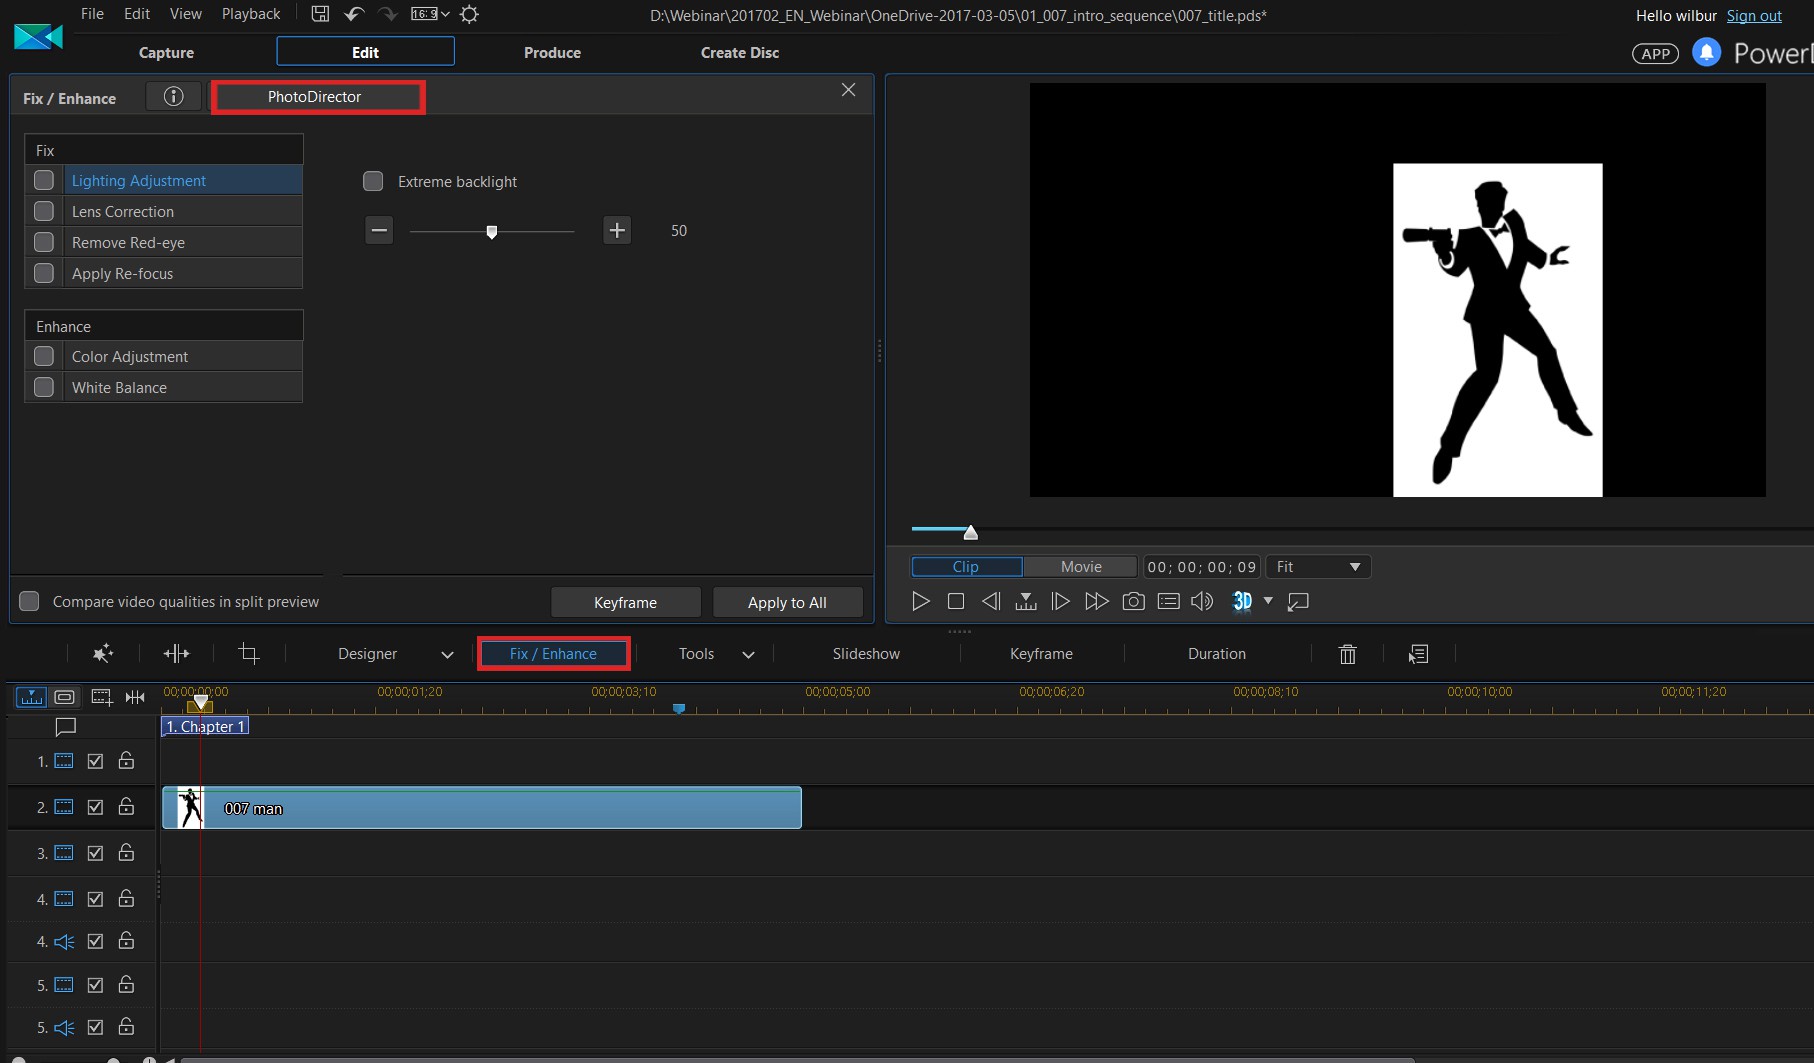
We will now remove the white background using PhotoDirector. Select the image and click Fix/Enhance then Open in PhotoDirector.
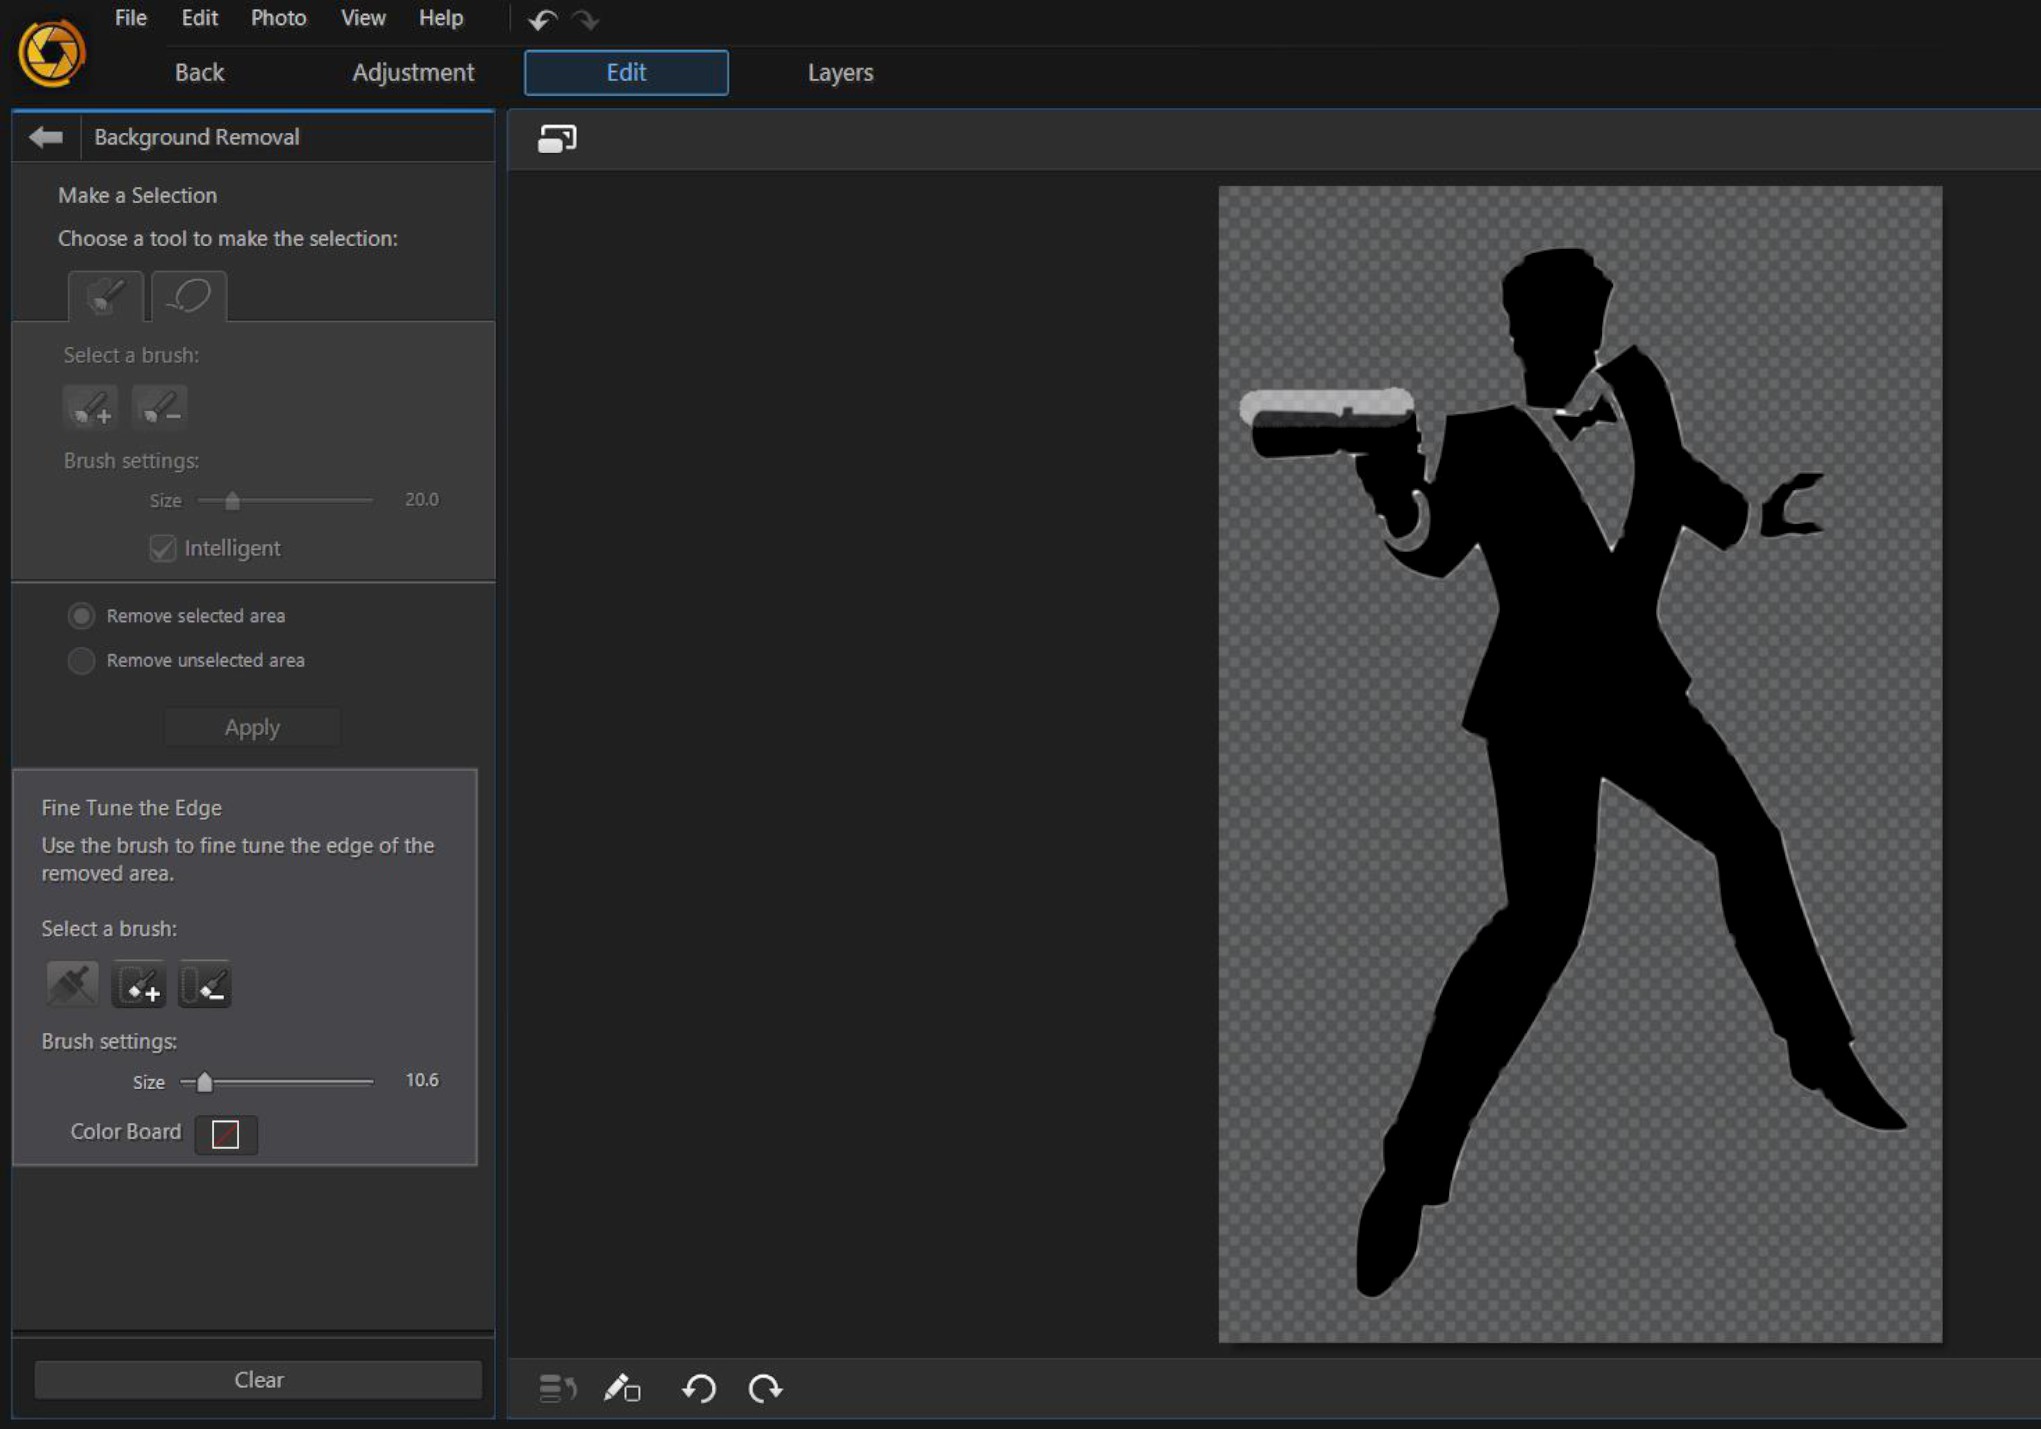
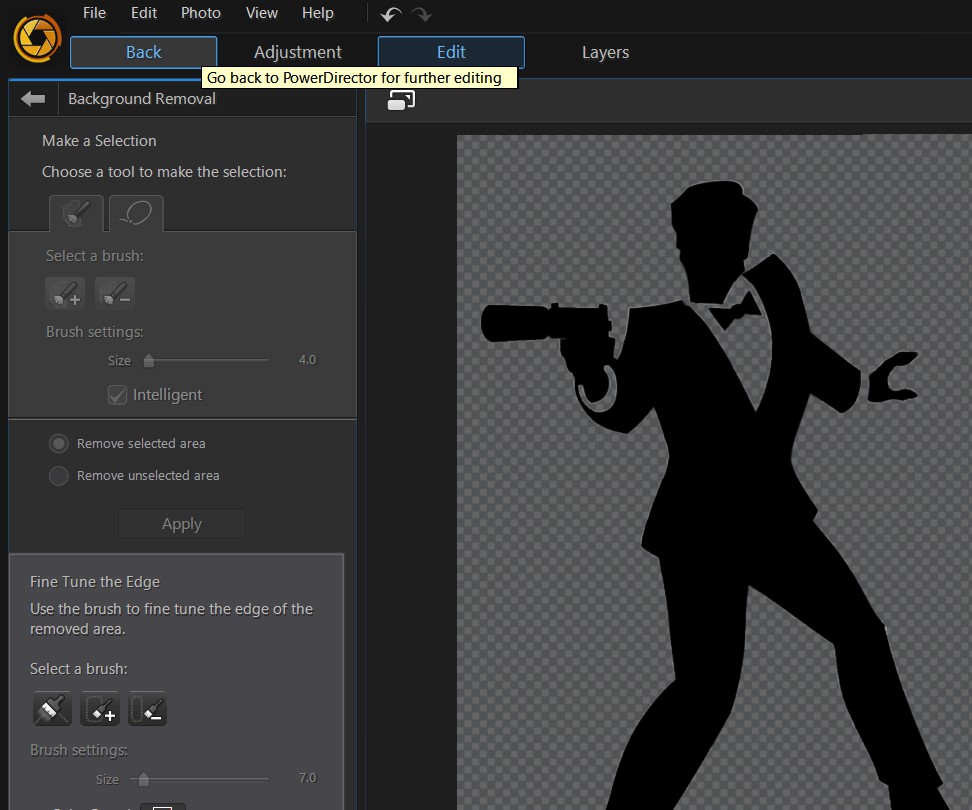
In PhotoDirector, you will find Background Removal in the left side menu. Use magic selection and select all the white areas and then click Remove Selected Area and Apply. Next, select Edge Brush, adjust the brush size and then clean the edges of the image.
When done just click Back and continue to edit in PowerDirector.
Now we need to fill out the background. Go to Media Room and click on Media Content>Color Boards, and drag the white background onto Ttrack 1.

Step 2: Use Chroma Key to remove color from green screen footage
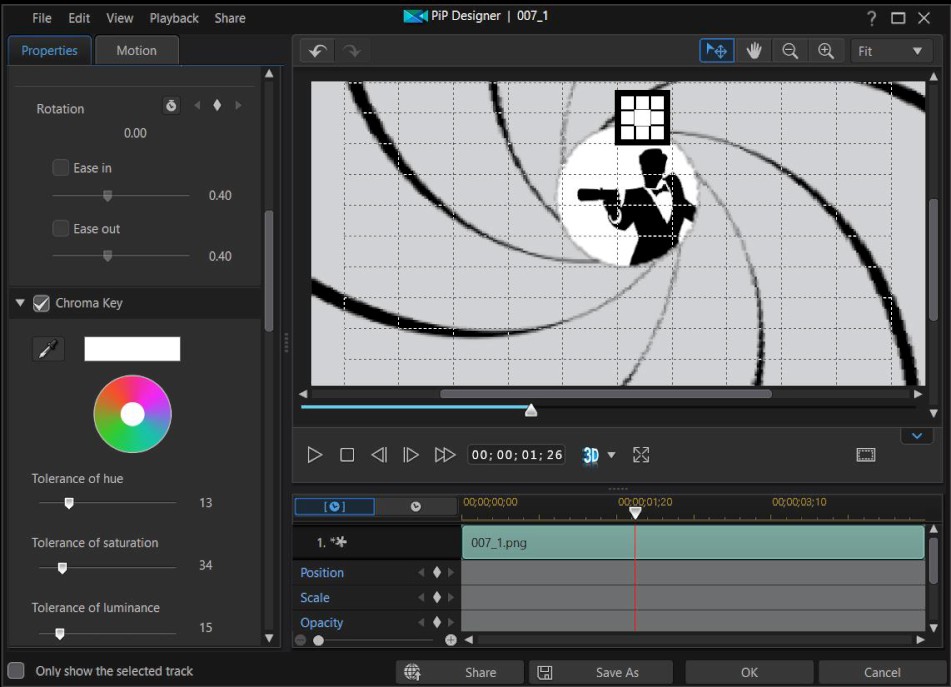
Drag the gun barrel image onto an empty timeline track. As you can see, the center of the image is still white and not transparent. This time we will use Chroma Key to remove the background. Double click the gun barrel image or click Designer>PiP Designer.

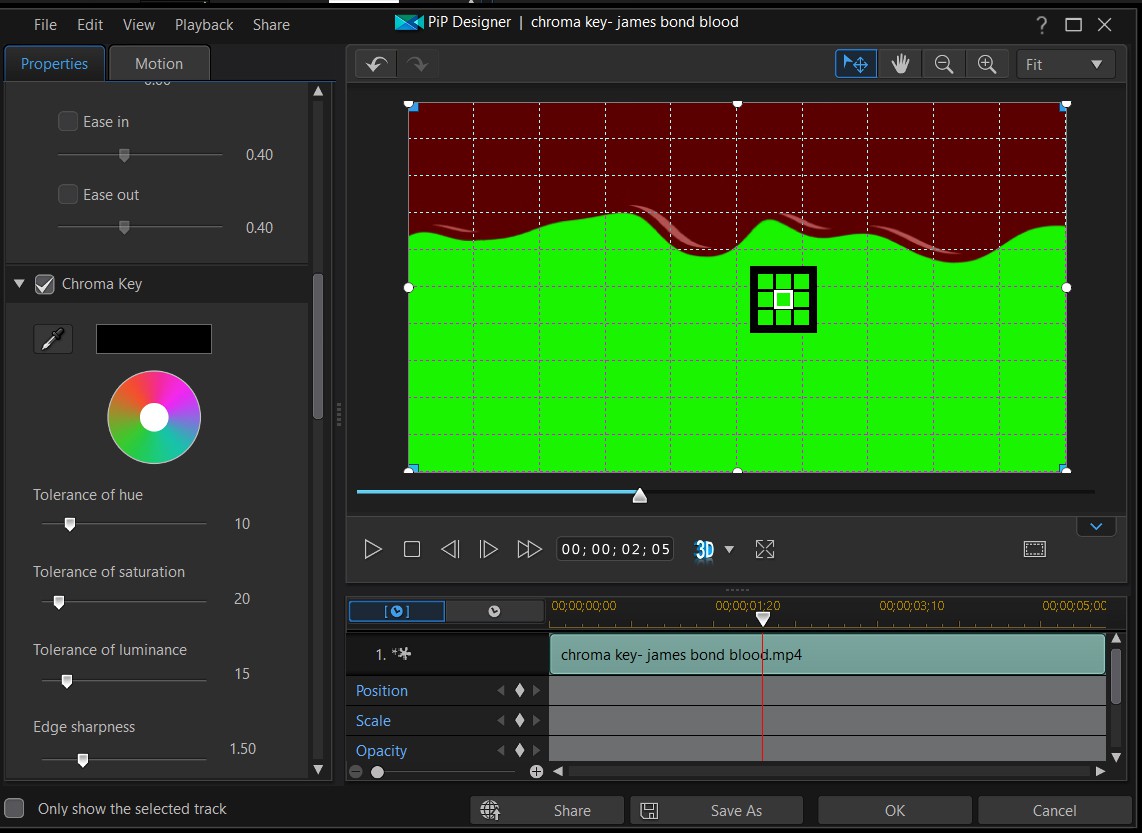
In PiP Designer, scroll down and select Chroma Key. Use the eye dropper to select which color you want to remove, and click on the white section of the image.
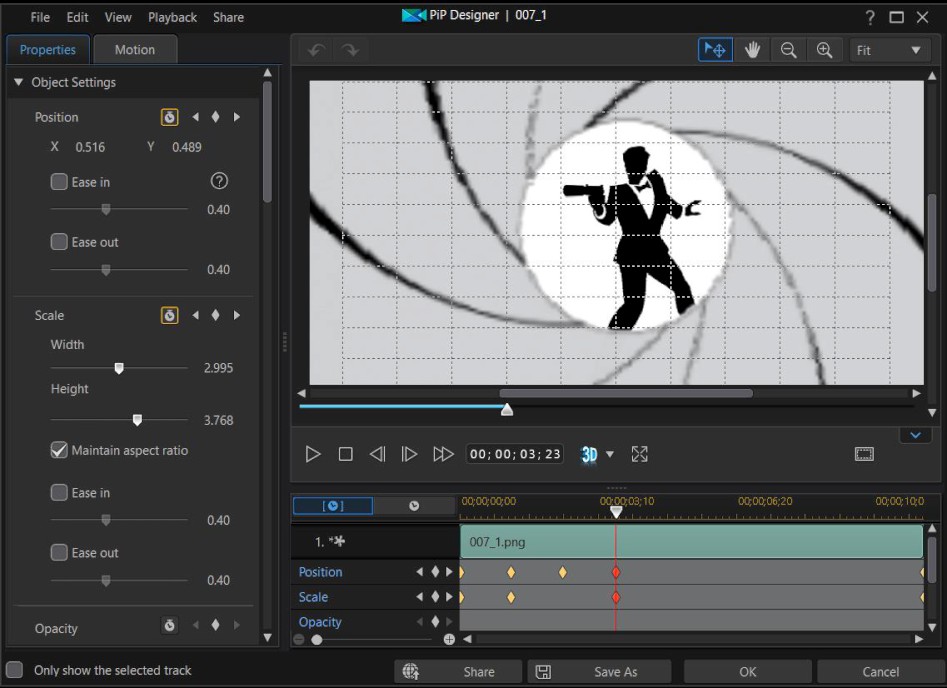
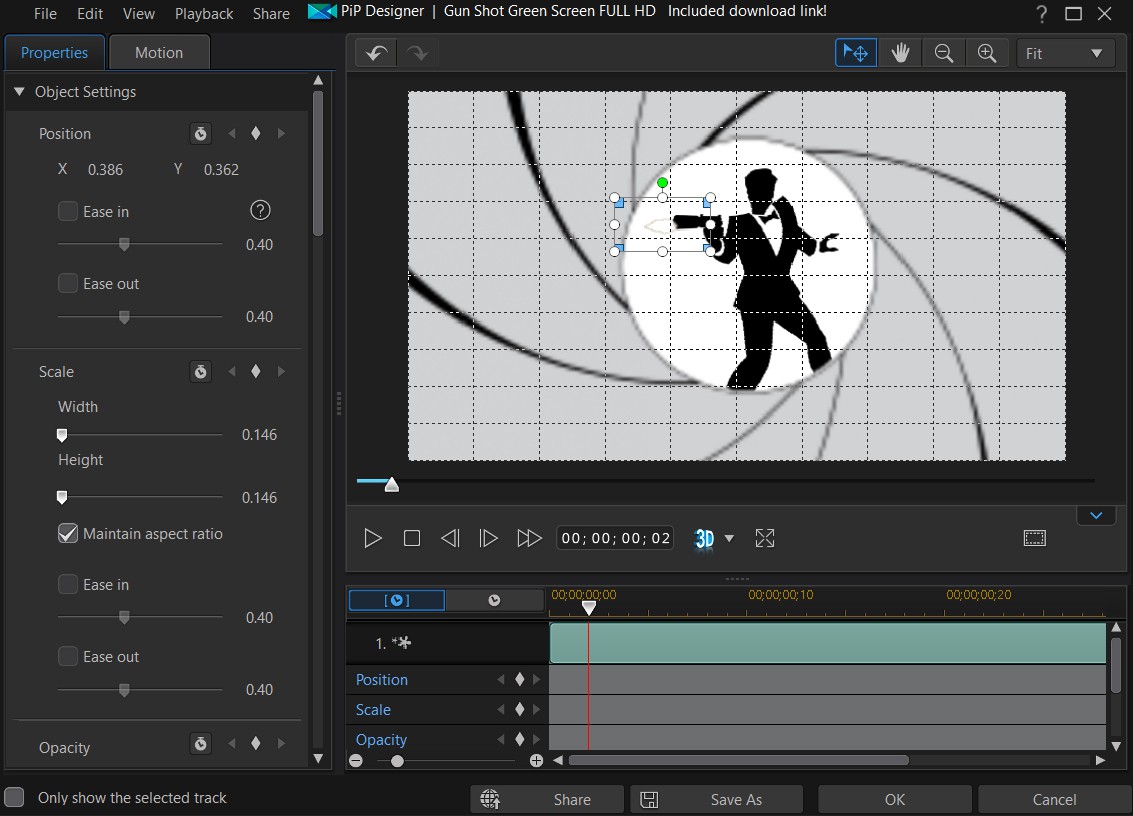
We will also use PiP Designer to set the Keyframe for the gun barrel which will make the image move and increase in size. Start from the beginning of the sequence and add a Keyframe  , then after each second you can adjust the position and scale of the image and PowerDirector will automatically add a Keyframe for that change.
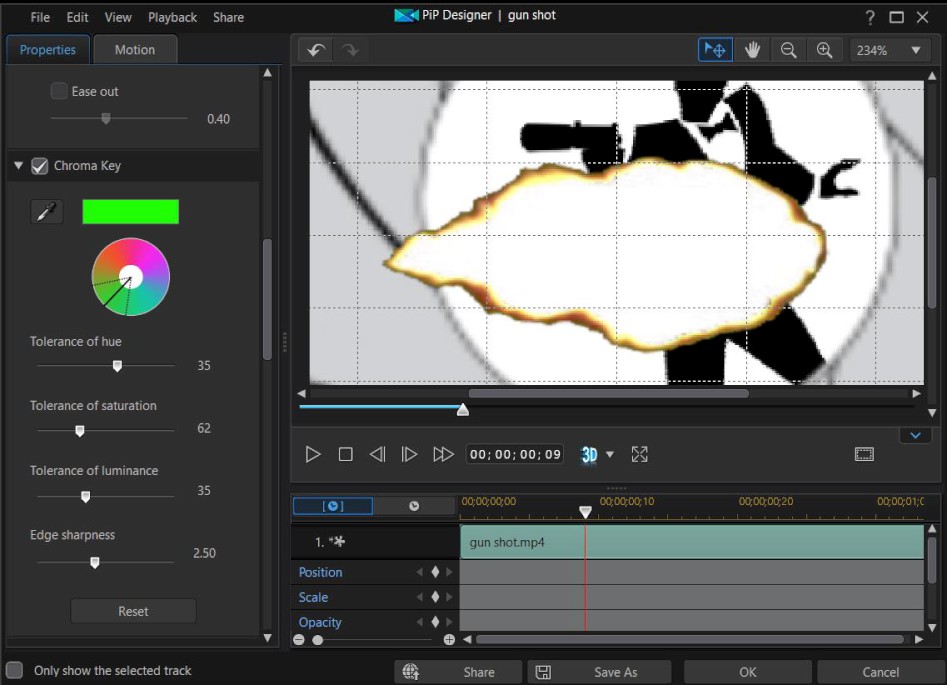
The next step is to add a gun shot and blood effect. Since this is green screen footage, use Chroma Key to remove the green color. Select the gun shot clip and double click, select Chroma Key and the eye dropper then select the green color in the clip. Resize the clip size and move it next to the gun to create a gun shoot effect.
Finally we’ll add the blood dropping effect. Drag the green screen blood footage onto the timeline. Double click it and again use Chroma Key to remove the green color, and then click OK.
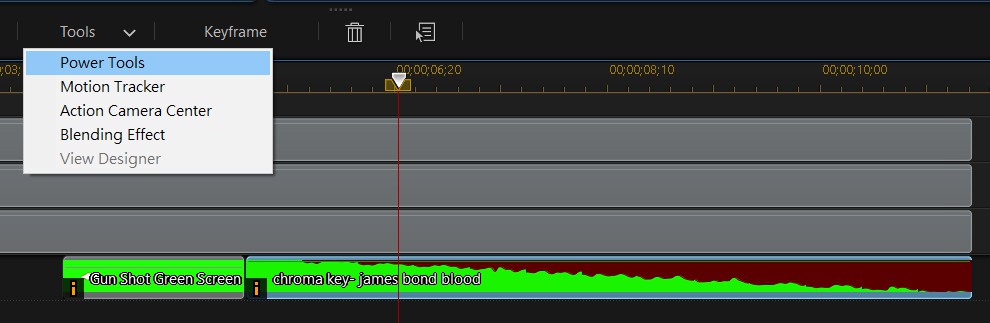
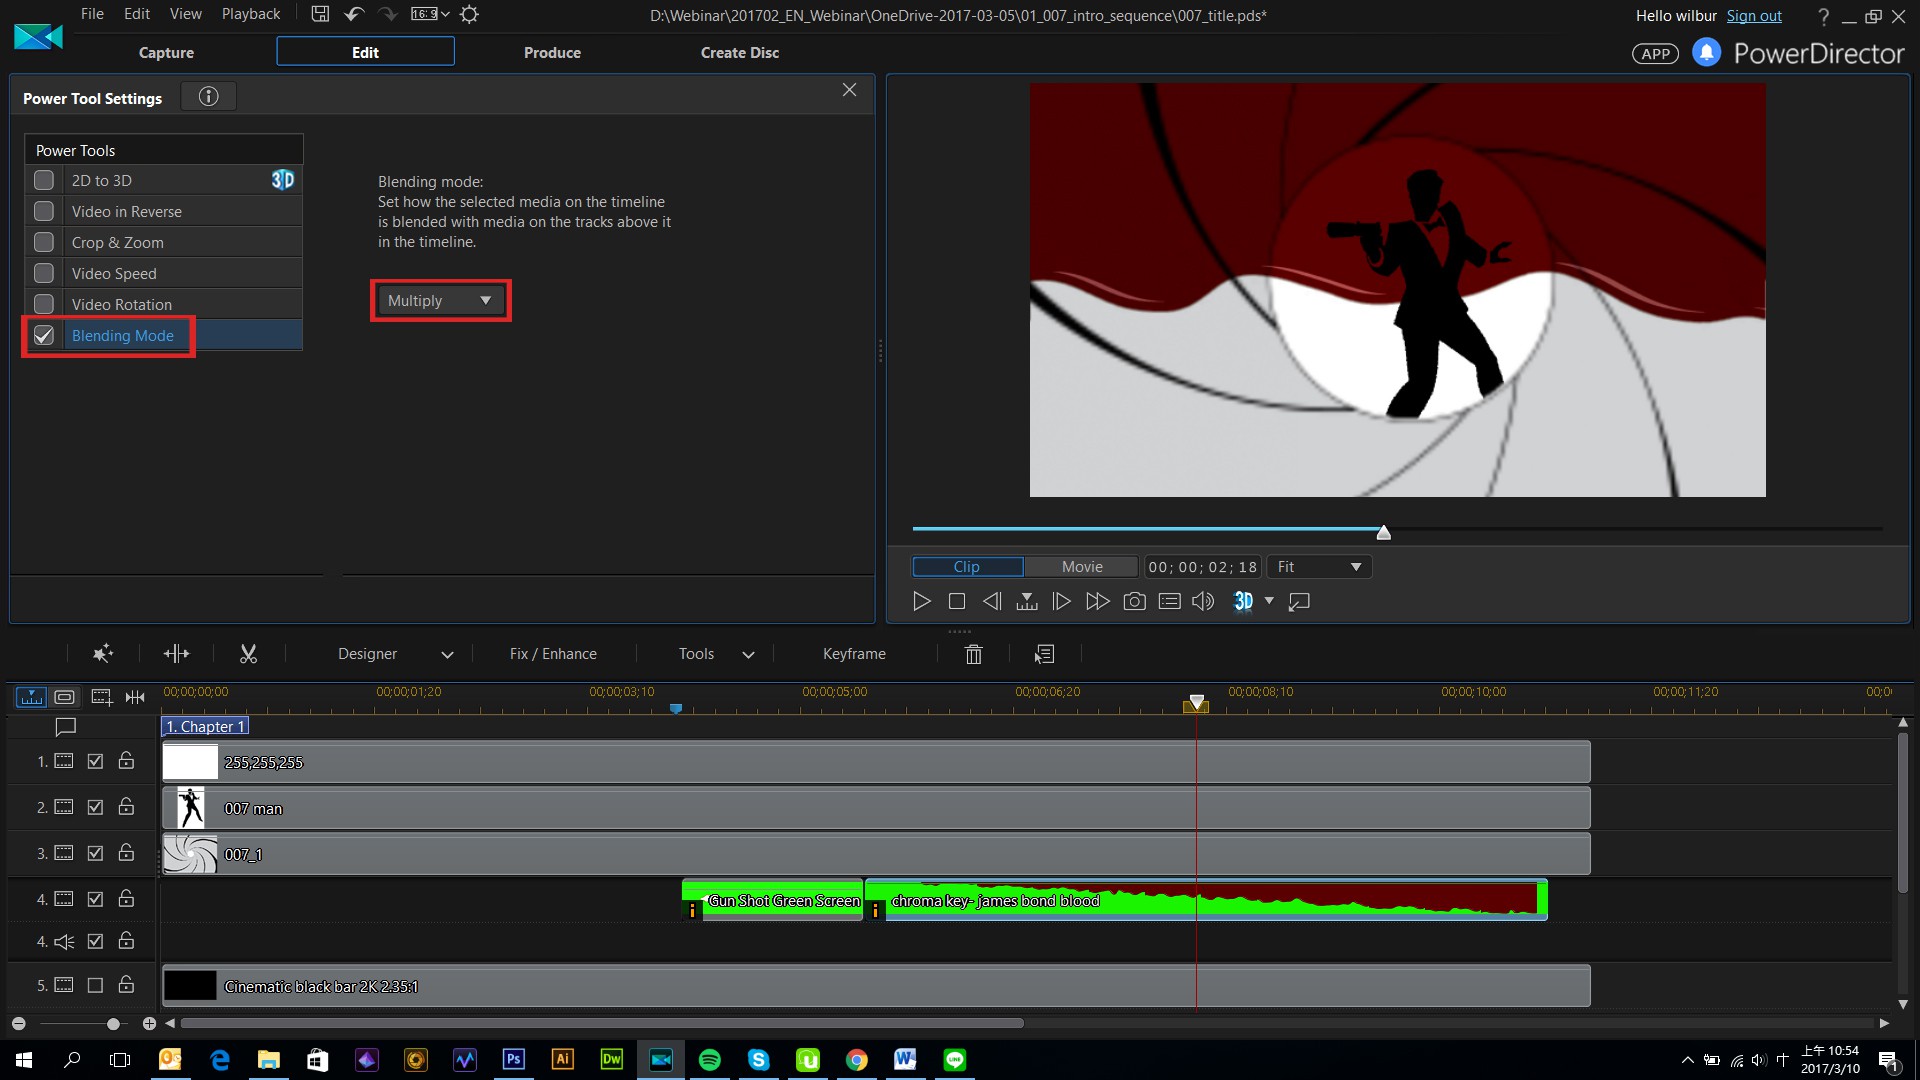
The last step is to change the Blending Mode to create an overlaying effect. Select the blood footage on your timeline and click Tools>Power Tools, and check the Blending Mode option. Set Blending Mode to Multiply, or experiment with different modes to see which one is the most suitable for your video.

Have a look at the final result.
Get PowerDirector 365 Essential for Free
Take your videos to the next level with the best video editor for Windows PC
