Get Started with CyberLink Popular Software
-
![]()
PowerDirector
-
![]()
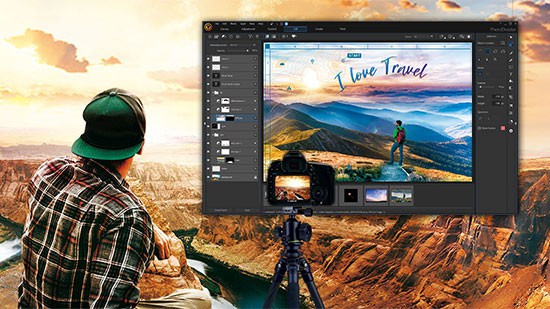
PhotoDirector
-
![]()
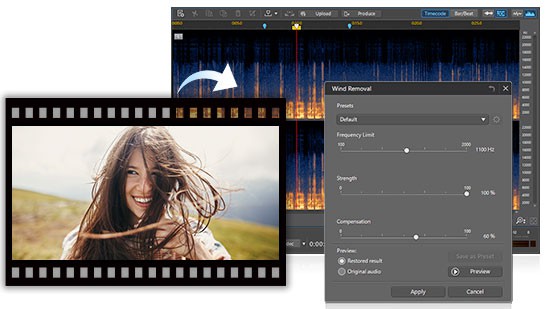
AudioDirector
-
![]()
ColorDirector
-
![]()
PowerDVD
-
![]()
ActionDirector