

Incredibly Simple Way to Create Panoramic Photos

Creating a panoramic image is a simple two step process. The first is shooting the photos, and second merging them with software. It is incredibly simple with a digital camera and PhotoDirector, but still there are some general guidelines to follow when taking the images to increase your chances of producing great panoramas.
Guidelines to Taking Panoramic Photos
- When you take the series of photographs, overlap the images amply, about 30 to 50%, else any photo merging software may not be able to align the files correctly.
- Shoot in manual and keep your focal length, focus point, and exposure constant throughout the series of images so that you can combine them later.
- Using a tripod help keep your images on the same level so they can be aligned more easily.
Merging the photos in PhotoDirector
Import your images to PhotoDirector and in the Edit Module, select "Panorama" under "Photo Merge."
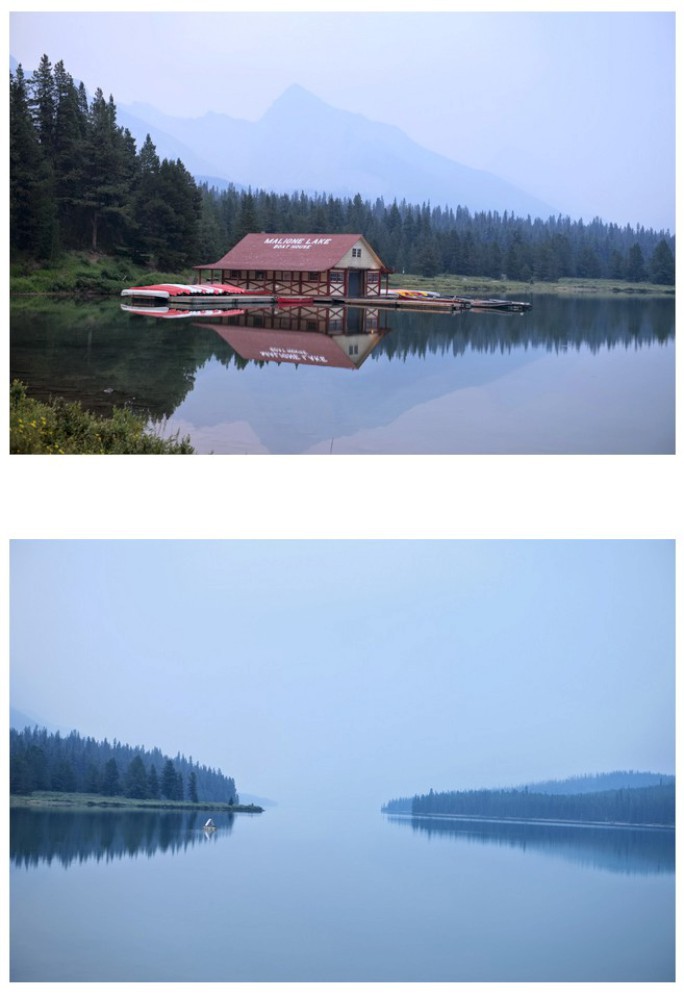
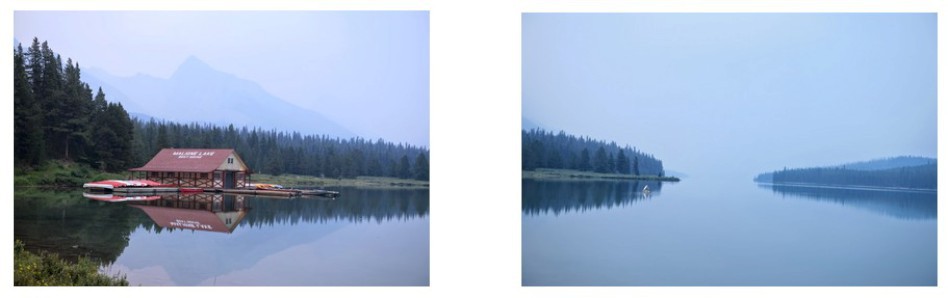
Here are the two shots that will be used in this tutorial:
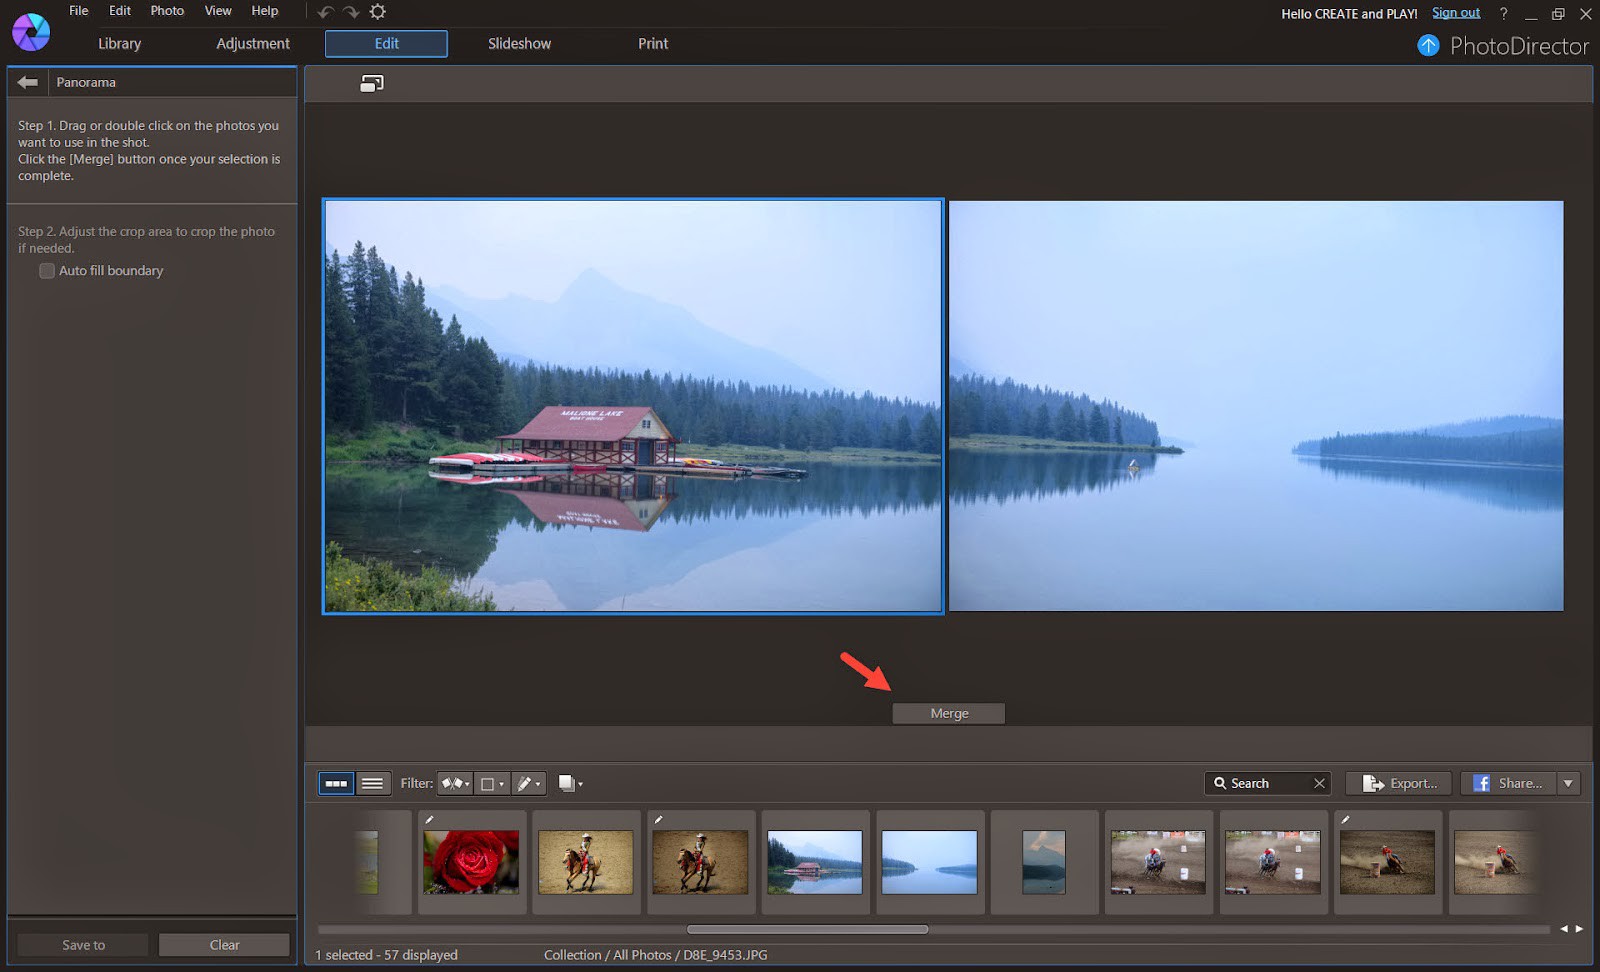
Then drag the images you want to merge to the upper panel and click on "Merge" to stitch the images together.
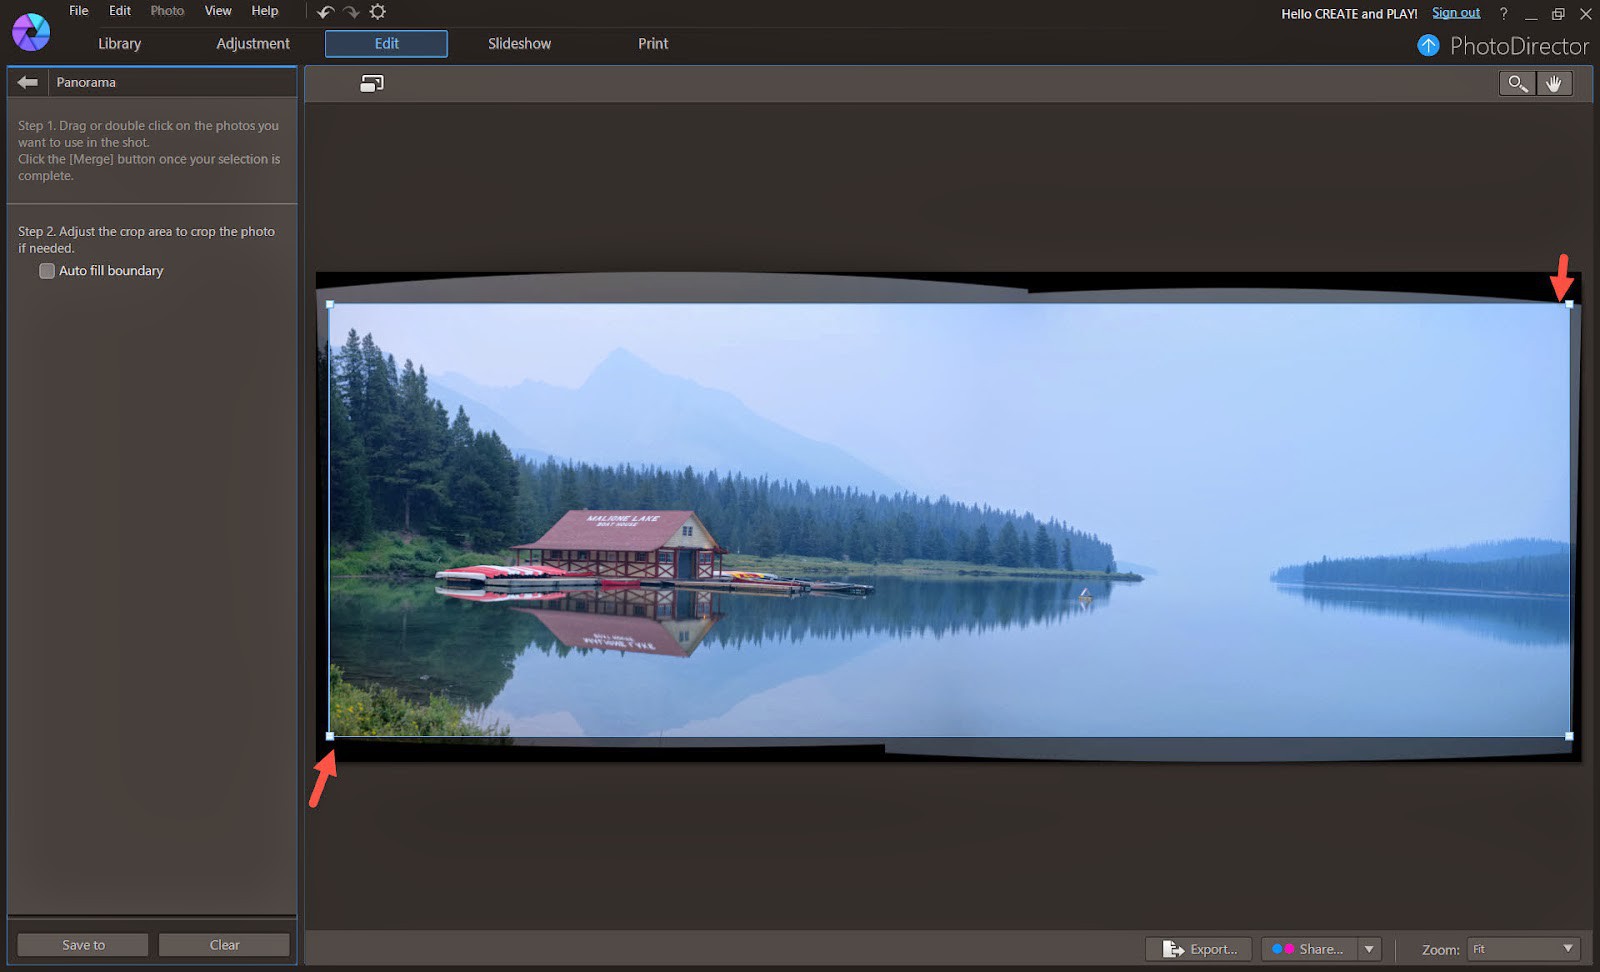
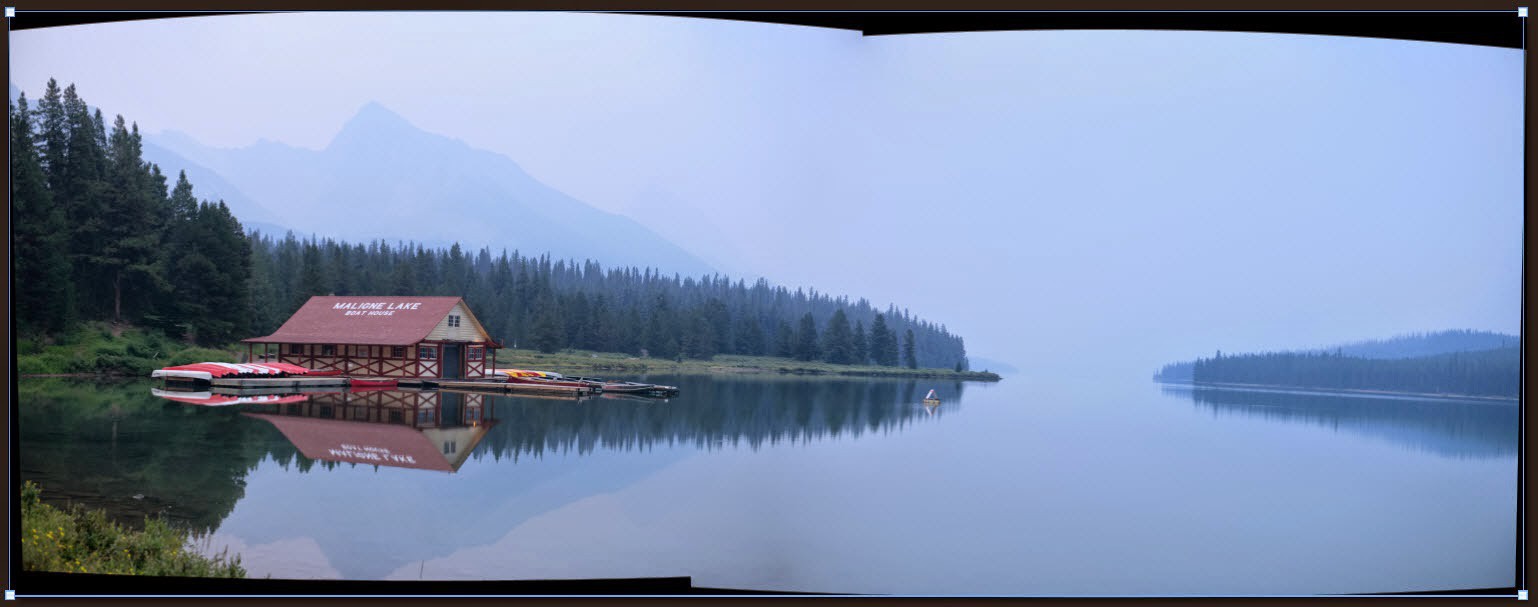
Having stitched the images together, PhotoDirector will automatically mark the maximum crop area.
However, you can expand the area by using the "Auto full boundary" feature.
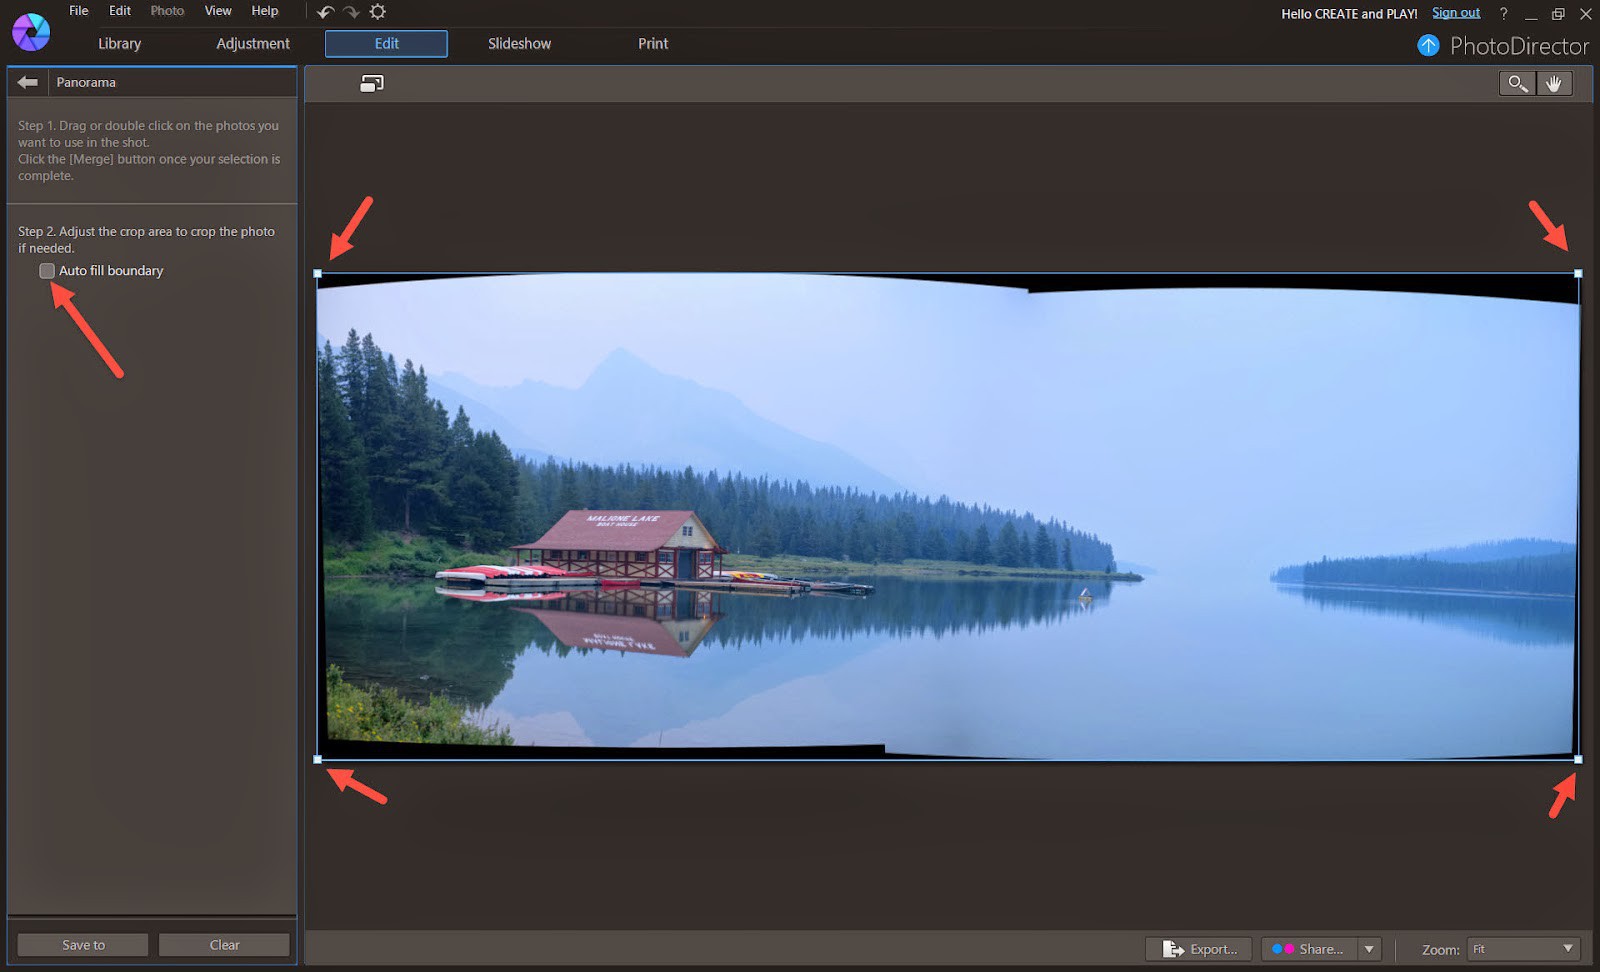
Now you can compare both images before and after the "Auto full boundary" feature is applied. You now have a larger area. At this time, you do not need to worry that the photo is slanted, we can always fix this later in the Adjustment module.
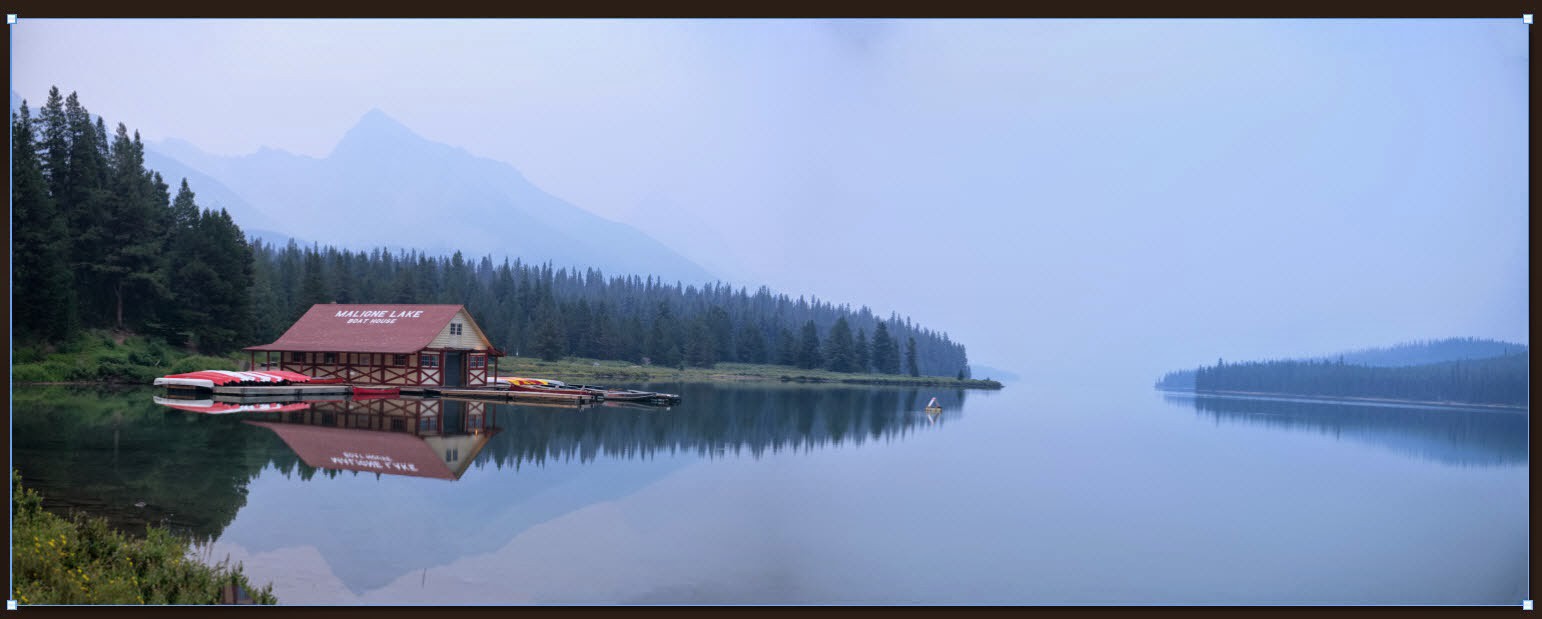
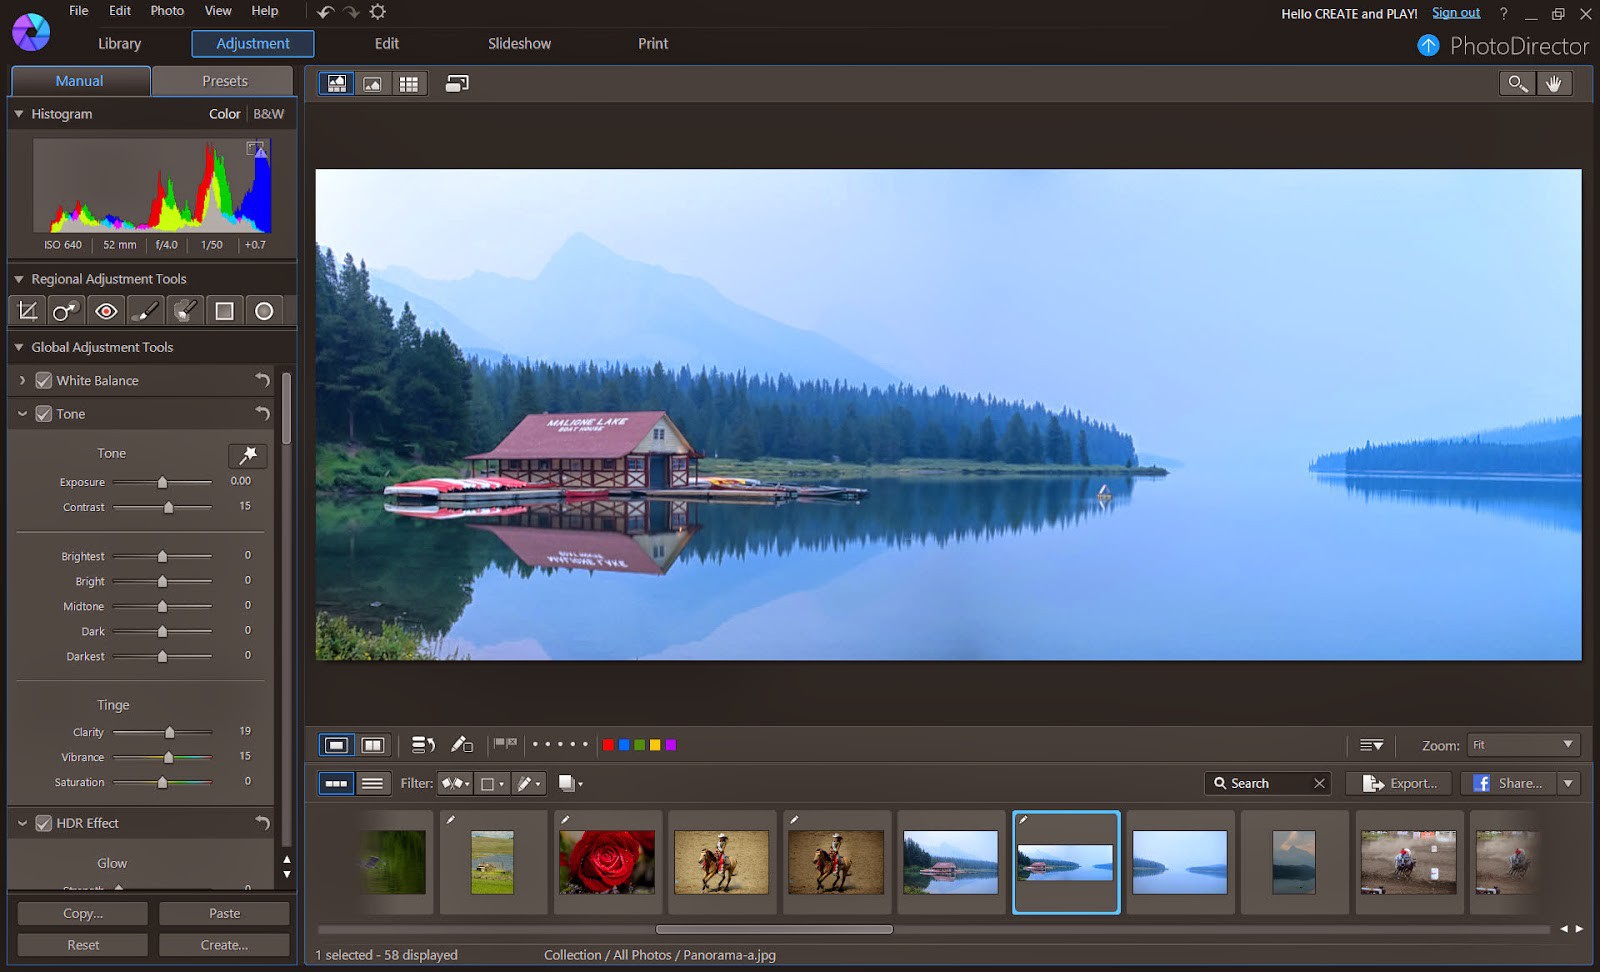
Lastly, in the Adjustment Module, some adjustments are applied, such as crop, clarity, vibrance, sharpness and lens correction to produce this final image.
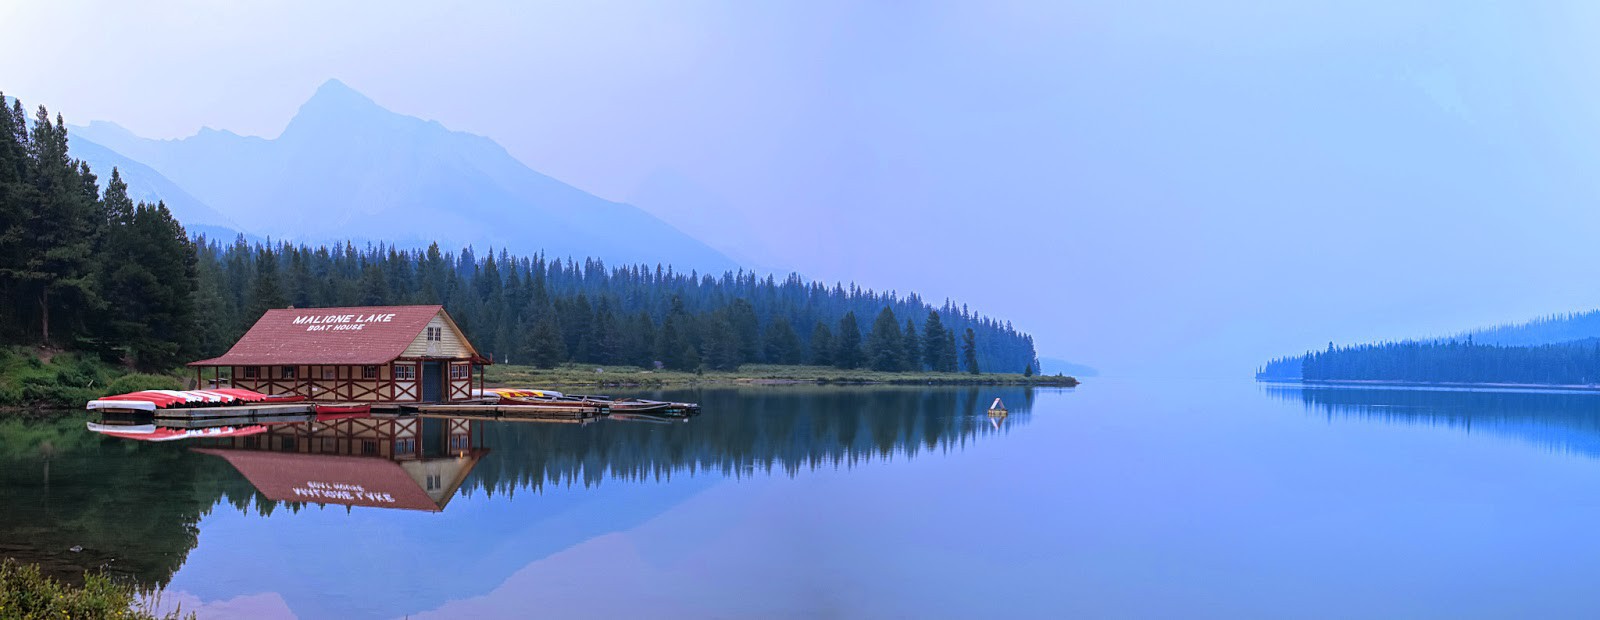
Here are the original images and the final panorama.
PhotoDirector 2025 Essential
Free Software With 30-Day Premium Features


