What Is Keyframing? An Essential Guide


With modern video editing programs you can manipulate video footage and create high-quality, Hollywood-style clips with just a few clicks of a button. One of the cool video effects that editors use to elevate their videos is keyframing.
Keyframes are the markers or anchor points that video editors use to indicate how they want their video to look at a specific time. Placing two keyframes several seconds apart will create a keyframe interval that tells your editing program that you want your clip to transition from one state to another state in the specified amount of time.
Using keyframes may sound intimidating, but programs like PowerDirector make it easy to learn how to use these editing tools to your advantage. Once you know the basics of keyframes, keyframe interpolation, keyframe interval, and keyframe animation, you can use these techniques to create custom animations and transitions in just a few seconds.
We’ve put together this guide to help you learn all about keyframes and how to use them to elevate your videos. Read ahead to learn everything you need to know about keyframing, then download PowerDirector to begin using this editing technique yourself.
- What Is Keyframing?
- What Is Keyframe Interpolation?
- What is a Keyframe Interval?
- What Is Keyframe Animation?
- How To Use Keyframes in PowerDirector
- In Summary
1. What Is Keyframing?
Keyframing is the process of indicating the beginning and end of a specific animation and allowing your editing program to fill in the transition between these two points. This filling-in creates the illusion of continuity between the still images of each keyframe marker.
If you want to add an animation or transition effect to your video, you will need to specify when the movement starts and ends. These markers that you place to signify start and endpoints are called keyframes.
The first keyframe in your timeline indicates the initial state of your film. The next keyframe in the video signifies another state.
Let’s say you want to zoom in on an object during your video slowly. You could place a keyframe at the point where you want the zooming to begin, then place another where you desire the zooming to end. On the second keyframe, you would zoom into the ending position.
Your editing program would automatically calculate the speed at which the clip should zoom in order to reach your desired ending position in the allotted time.
Content creators use keyframes to implement a wide range of effects and transitions in their videos, including:
- Panning from side to side
- Animating an object
- Fading out to 0% opacity
- Zooming in or out
- Rotating the video
- Changing scale or position
- Adding overlays
Each quality that you change in a given keyframe is called a parameter. You can adjust as many parameters as you would like with keyframes, and your editing program will automatically transition from your desired starting point to your ending point.
2. What Is Keyframe Interpolation?
Keyframe interpolation is the movement by which your desired parameters reach their end state. While your editing program determines much of this transition itself, you still have some control over how your animation moves throughout your video and transforms into your desired state.
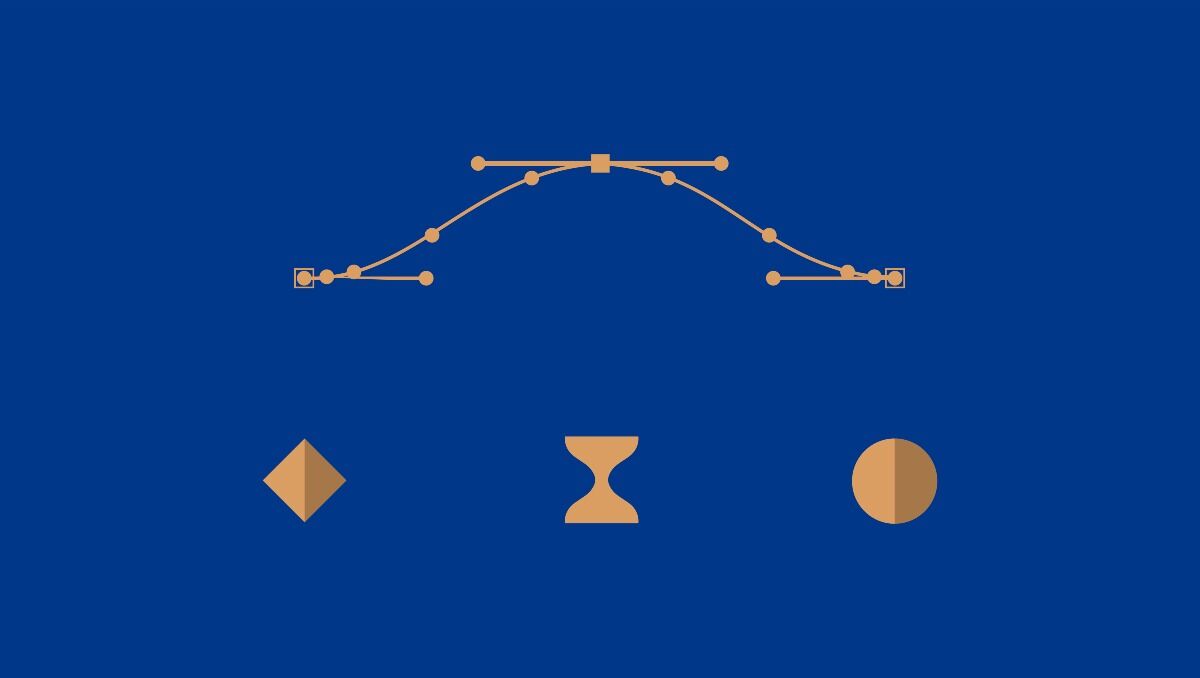
Most editing programs offer three interpolation methods:
- Hold interpolation: This interpolation method creates a sudden change at the ending keyframe rather than slowly transitioning the change over time. In a sense, this method “holds” the initial keyframe effect until another keyframe changes it, creating a strobe-like movement.
- Linear interpolation: Linear interpolation transitions the desired change in an even, steady movement. If you want to move an object from point A to point B in 5 seconds, your editing program will calculate a fixed rate at which to move the object to meet the desired mark.
- Bezier interpolation: Bezier interpolation is a combination of hold and linear interpolation. This method allows you to create a custom movement curve that your transition will follow, producing more natural movement.
The interpolation method you should use depends on your parameters and your desired effects. If you want your movement to look natural enough that viewers may not even notice, utilizing Bezier interpolation will help you create this effect. If you want your change to be sudden, such as a surprising fade to black, hold interpolation will help you produce this movement.
Playing around with your keyframes and interpolation methods is the best way to achieve your desired movements.
3. What Is A Keyframe Interval?
The keyframe interval is the length of time you set between two anchor points (i.e., keyframes) that lets your software calculate how to create the timed transition between the first and second keyframe in which it inserts the transitional frames.
You may hear the term also referred to as keyframe distance or keyframe frequency.
4. What Is Keyframe Animation?
Keyframe animation is the simplest way to animate an object in your video. Choosing the starting and ending state of an object and allowing your editing program to fill in the rest takes most of the work out of animation.
Let’s say you want to animate a stick figure in your video by having it do a cartwheel across the screen. To achieve this effect, you will need to change the position and rotation of the figure over time. You could follow these steps to utilize keyframes to create this animation:
- Place your first keyframe and position the stick figure so that it is standing with its arms raised.
- Place your second keyframe a few seconds later and position the stick figure so that it is a few centimeters away from the starting point and is rotated 90 degrees clockwise.
- Place your third keyframe a few seconds later and position the stick figure to be upside down and a few centimeters from the second position.
- Place your fourth keyframe a few seconds later and position the stick figure so that it is a few centimeters away from the third position and rotated 90 degrees counterclockwise.
- Place your fifth keyframe a few seconds later and position the stick figure to be a few centimeters away and in the starting position.
Without keyframes, your animation would jump from one position to the next like a flipbook. You would have to insert more positions to create a smoother finished product.
However, keyframe animation fills in the gaps between your keyframes with smooth movement, creating the rotations and position effects for you.
5. How to Use Keyframes in PowerDirector
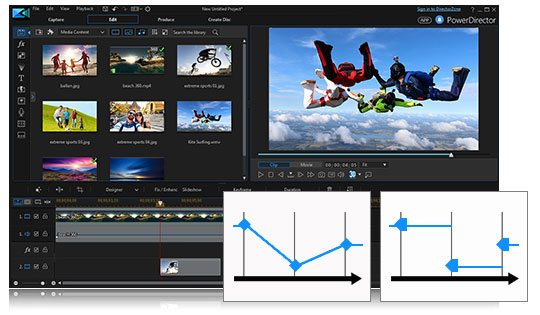
PowerDirector makes it easy to use keyframes to create movement and animations, even if you are completely new to editing.
If you would like to use keyframes to animate an object in PowerDirector, you can follow these steps:
[Need screenshots of each step taken in description below]
- Add the object you would like to animate to your timeline.
- Select the point on the timeline that you would like the animation to begin.
- Select the “Keyframe” tab above the timeline.
- In the “Keyframe Settings” window, select the dropdown for “Clip Attributes.”
- Change any parameters you would like such as opacity, rotation, anchor point, or position. A keyframe, small diamond on timeline, will automatically be added.
- Right-click on the keyframe and select either “Linear” or “Hold” interpolation.
- Select the point on the timeline where you would like the animation to end. Change the “Clip Attribute” settings to create new keyframes and create animation.
If you would like a more advanced walk-through, check out this video.
6. In Summary
Keyframing allows you to implement transitions on overlays, animations, and other parameters smoothly over a given period. Using keyframes creates clean, natural movement, removing the manual labor involved in creating animations from scratch.
Keyframes also allow you to customize the duration that effects appear in your video. Instead of adding an overlay to the entire clip, you can fade the effect in and out over the exact period in which you would like it to appear.
Adding keyframes to your video is an easy way to enhance your footage without learning any special in depth animation skills. Now that you know the basics of keyframing, you can use your creativity to incorporate this technique into many aspects of your videos.
Here are a few ideas of how you can use keyframes in PowerDirector to enhance your footage:
- Create an eye-catching animated title
- Zoom in on a point of interest in your clip, such as the person speaking
- Rotate your footage to create a time-warp effect
- Fade polka dots in and out of the clip to produce a quirky transition
The keyframe possibilities are endless. Download PowerDirector today to begin discovering the ways you can use keyframes to create impressive, high-quality videos.
Related Articles:
- Lighting, Color, and more
- Video Compositing
- Keyframing, Animation, and Titles
- Introduction to Basic Video Effects
Was this article helpful?


