

How to Edit with Special Effects to Create Cool Videos

Are you ready to take your videos to the next level? Special effects are your ticket to bringing blockbuster-style production value to your personal video productions…. And you don’t have to be a Coppola or Spielberg to do it!
Special effects can range from simple editing cuts to advanced visual illusions. They’re essential in helping to tell an engaging story, especially in today’s world of split-second attention spans. They also help your video appear more professional and can cover up mistakes that happen during the filming process.
And finally, if you’re a corporate brand, adding the right effects can keep your brand’s image consistent while conveying the quality standards of your company.
With the right video editing software and some basic knowledge that we’ll go over here, you’ll have all of the tools you need to bring the power of special effects to your video portfolio.
- What Kinds of Video Special Effects Are There?
- Transitions
- Video Speed
- Motion Graphics and Animation
- Compositing
- Color and Light Effects
- Simulation Effects
- What Are the Best Video Special Effects?
- Conclusion
What Kinds of Video Special Effects Are There?
There’s a wide array of video effects to choose from, including general overall effects, color effects, animation, and more.
In this article, we’ll outline the most popular visual effects available in many free and paid video editing and video effects software programs, show you examples of what they look like and give you some general instructions on how to recreate these effects using CyberLink’s PowerDirector.
Here’s an index of all the types of visual effects we will cover in this article. Feel free to jump to any section!
1. Transitions

2. Video Speed
3. Motion Graphics and Animation

4. Compositing
- Chroma Key
- Masking
- Blending
- Brightness and Contrast
5. Color and Light Effects
- Color Correction and Color Grading
- Filters and Toning
- HDR
- LUTs
- Light Renders
6. Simulation Effects
Film Effects
- Flicker
- Vignette
- Glow
- Grain
- Blur
- 360 Video
What Are the Best Video Special Effects?
At first glance, the sheer number of video effects that you have at your disposal can seem overwhelming, but once you become familiar with each of them, you’ll naturally begin seeing how each can be applied to your project.
In this comprehensive guide, we’ll outline the most popular visual effects you can use in video editing, show you how they look and give you some step-by-step instructions on what to do next to get these effects.
Transition Effects
Rarely is a video shot in a single take with only one narrative or point of view. With rare exceptions, videos contain multiple scenes, several perspectives and can benefit from having ways to connect different shots and images together.
Ranging from simple cuts to intricate dissolve patterns, transitions help improve the final video. The trick is knowing how and when to use them, as well as which transitions best suit your purposes.
When to Use Transitions
There are several instances when you might want to use transitions:
- Move between shots without an abrupt cut
- Change the mood or tone of a shot
- Alter the pace of a video or show the passage of time
- Set the stage for what’s coming next
- Create a special video effect
- Add more style to your video
Different Types of Transitions
Need some inspiration? Look no further! We’ve included explanations of popular transitions along with examples.
Standard – Once you learn about all the different transitions available, it can be tempting to get fancy, but these four standards will likely be your go-to transitions for editing projects.
Fade – There are two types of fades – fade in and fade out. As you probably guessed, a fade-in is when the shot becomes visible gradually. Fading out is when the shot fades to invisibility.
Wipe – A wipe transition is when the shot moves, either vertically, horizontally, circular, or diagonally, from one side of the frame to the other. Perhaps the most famous film to use the wipe transition was the original Star Wars trilogy.

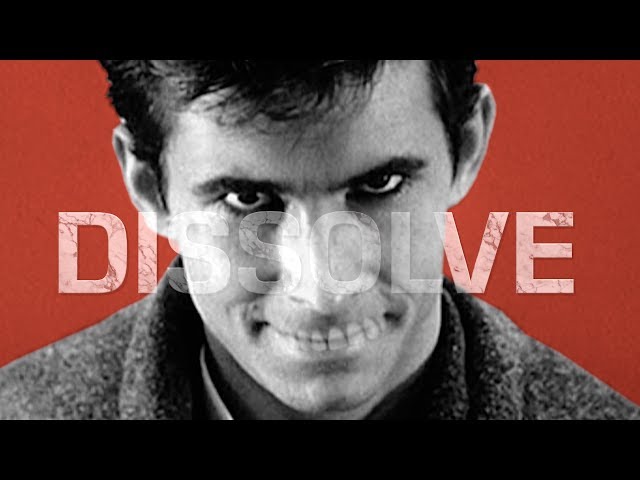
Dissolve – This transition momentarily shows two shots on a screen, making a gradual transition from one scene to the next. It can be used to indicate overlapping narratives, the passage of time, or moving between locations. And, of course, video editors also use the dissolve to create some amazing special effects.
Jump Cut - A jump has a lot of applications, but without finesse, these cuts can look choppy. Editors use jump cuts to help speed up sequences, switch perspectives to focus on specific people or objects on screen, or make a talking-head video more dynamic by switching perspectives or adding b-roll.
Geometric – These custom transitions give a clip more energy and can be used for anything from sports to corporate training videos, and even those cute cat videos that always seem to go viral.
Glitch – Horror films aren’t the only projects that can benefit from a glitch transition. These transitions add special effects to videos to make them look cool while emphasizing something you want your viewers to pay attention to.

Distortion – This warp transition is easy to achieve in some video editing software programs, including PowerDirector, and mostly, this transition looks cool. In addition to adding some flair to your video project, distortion can also show the passage of time or create a unique sense of style.

Using Transitions
To learn more about using transitions, check out this article that includes step by step instructions to help you achieve some of the more stylish video transitions.
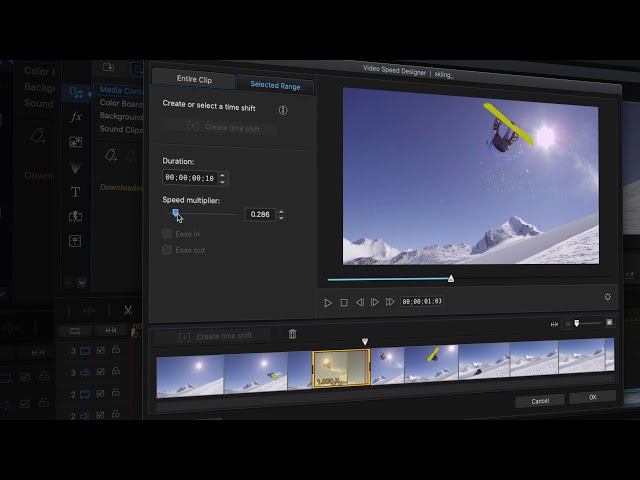
Video Speed
Creating slow motion or fast motion video effects can drastically change the length of your video as well as aid in storytelling or teaching. For example, if you filmed a cooking tutorial, you might want to speed up more mundane tasks like chopping or other food prep chores, while slowing down more sensory effects like showing the drizzle of chocolate sauce over a finished dessert.
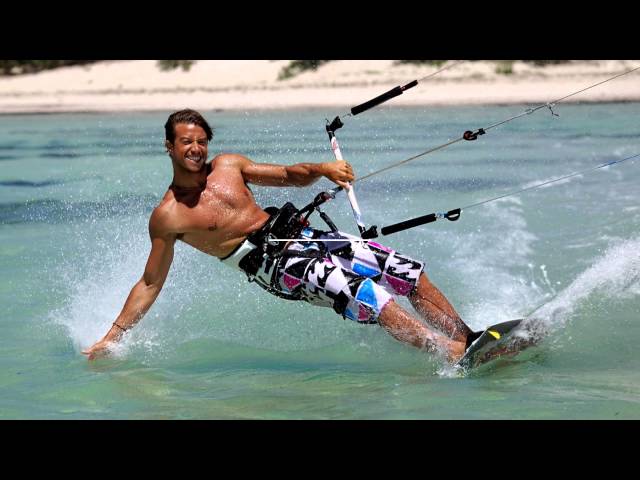
Or perhaps you’re documenting a snowboarding trip, and you want your viewers to get a full picture of your experience. You could speed up footage on the chair lift while slowing down an elbow carve.
Different Ways to Manipulate Video Speed
- Slow Motion – This video effect can add drama, emotion, and impact to normal, everyday events.
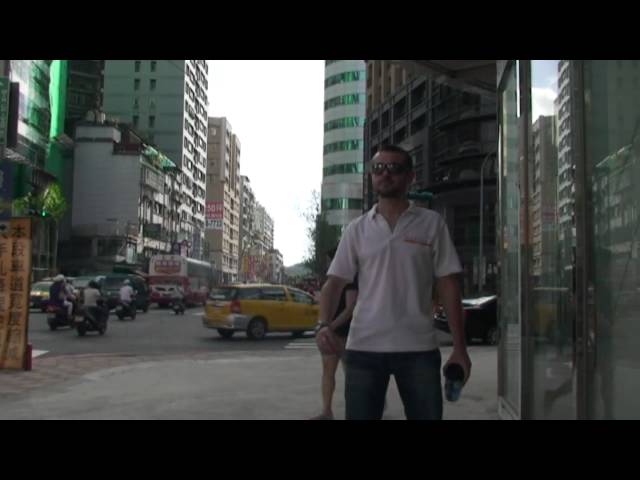
- Fast Motion – With fast motion, you can speed up video, allowing you to show the progression of time or an activity without dragging out a scene. Like slow motion, it can also be used to add drama or set a mood. In this example, the editor used CyberLink’s PowerDirector to create a fast motion effect for the background only.
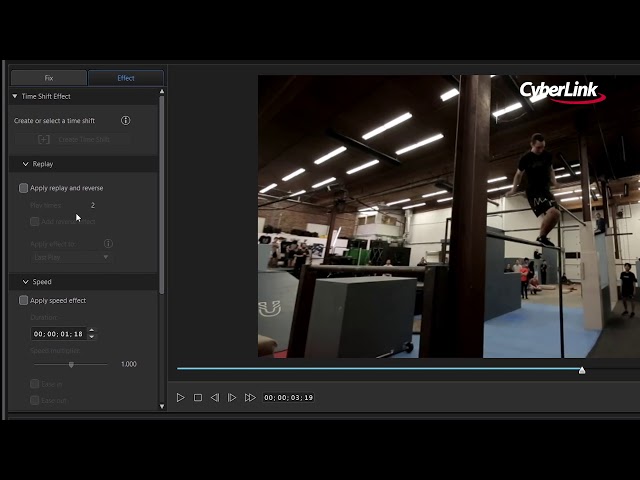
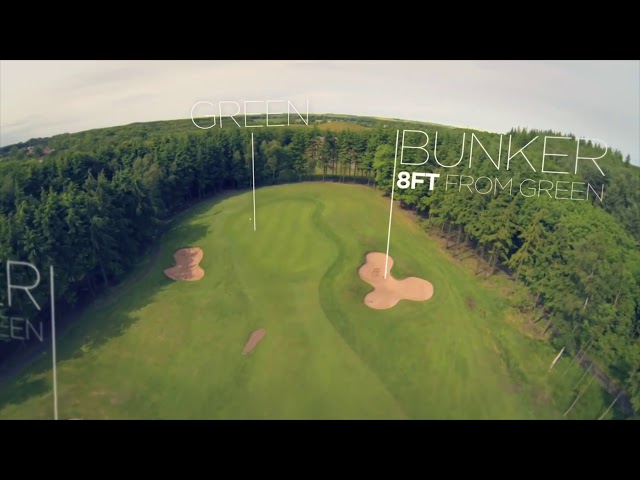
- Time Shift – Adding a time shift effect to your video can give you a 360-style view that allows the viewer to follow the progression or path of the actor quickly. By mastering the ability to create pivot points in the right places, you’ll be able to speed up and slow down certain areas while keeping everything smooth.
- Freeze Frame – There are times in a video where you might want to add a freeze-frame effect. This stops the video, allowing you to point something out, and then resume playing. It’s also been used by PowerDirector users to create a popular video effect called the clone.
- Replay – Want to see that again? The replay effect is easy to implement and incredibly useful.
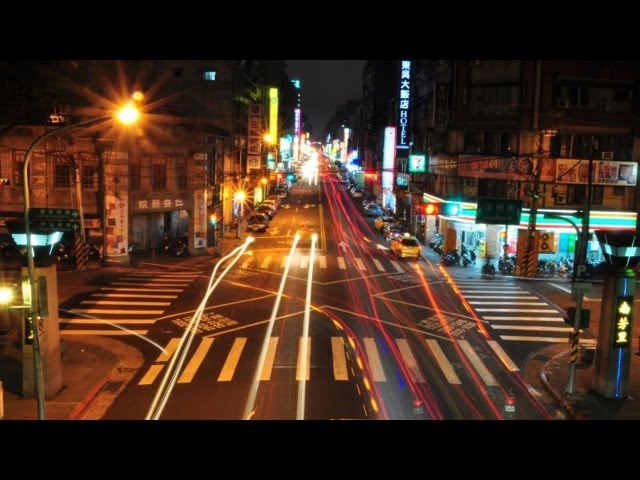
- Time-Lapse – From showing progression to capturing milestones, the uses for a time-lapse as a special video effect are practically endless. Here’s one of the most common (and fun) uses.
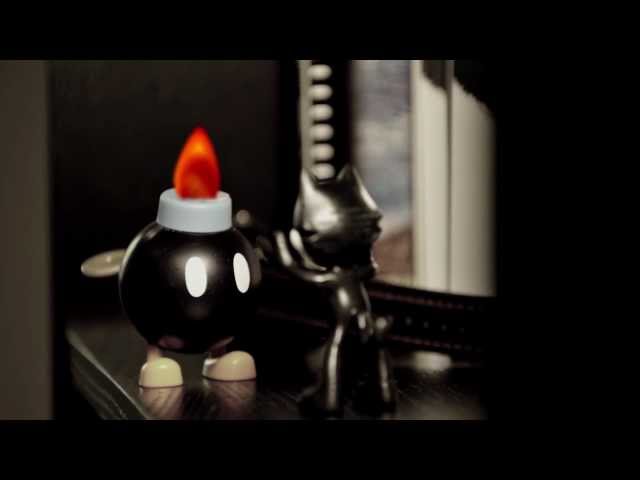
- Stop Motion – Stop motion and stop motion animation can be tough to capture on camera, and it’s a very arduous, time-consuming procedure. The same effect, however, can be done with special effects video editing software.
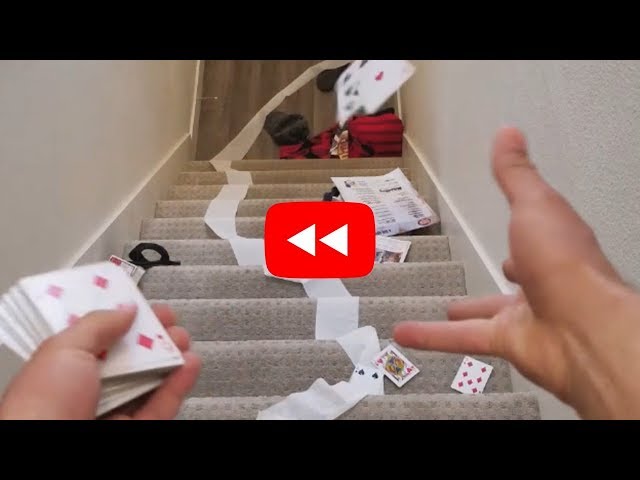
- Video in Reverse – This editing trend has become all the rage recently, especially on social media, as editors play with humor, animation, and other effects.
- Object movement and transformation
Keyframes allow you to take a static object or block of text and make it animated. It can bounce around, move linearly, zoom in and out, and more. For each position or change in position, all you have to do is create a new keyframe. - Change effects over time
In CyberLink’s PowerDirector, there are dozens of visual effects that you can customize with keyframes, including focus, glow, gaussian blur, and more. By adjusting keyframe settings, you have the power to make these special effects look any way you’d like. - Linear – This basic keyframe uses a straight line to move an object. It is often mechanical, abrupt, and unnatural looking, so though it can get the job done, it’s not the preferred keyframe for professional editors.
- Hold – As the name suggests, a hold keyframe will keep the layer on the specified frame. This effect is ideal for creating a freeze or pause effect.
- Ease in/Ease Out – Sometimes referred to as Bezier, ease in/ease out smooths changes by adding curves to a linear keyframe.
- Text – Show video footage as the background for typography.
- Image – Similar to text, but you can replace the background of an image or portion of the screen with something else.
- Shape – Change the opacity of an object or change its color opacity.
- Brush – Use the brush mask to select a singular object and control how it appears on the screen compared to the rest of the background.
- Selection – Use the selection tool to hone in on the specific areas you’d like to apply the mask.
- Title Reveal – Create cinematic titles by controlling how your title animations appear.
- Darken – This mode incorporates the colors from both the base and blend layers, always selecting whichever is darker. The result is a dark, deeply saturated image.
- Multiply – This effect darkens the other colors while brightening the white.
- Lighten – Lighten works in the opposite way of the darken blending mode, incorporating the pixel from the lighter layer.
- Screen – This popular blending mode is similar to the multiply mode, but it has the opposite effect. It creates a brighter or washed-out look.
- Overlay – Think of overlay as a hybrid of the multiply and screen blending modes. The effect depends on the pixel selection from the base layer.
- Difference – If you have layers with similar content, the difference blending mode is helpful. The white inverts the colors of the base layer, while the black remains unchanged.
- Hue – This effect creates something like a color splash effect. It helps add a pop of color to a single photo or video element while maintaining the hue and saturation of the base layer.
- Particle – Choose from dozens of particle special effects, including snow, lightning, water ripple, smoke, and more. There’s even a wreath and stockings particle effect for holiday cheer.
- Special – As you might have guessed, special effects give your clips a special type of treatment, ranging from grid to pop art. This option, when used appropriately, can make your videos more dynamic and visually interesting to watch.
- Style – Similar to what you might see in a photo editing program, style allows you to apply visual effects like glass tile, fine noise, gaussian blur, etc.
- Visual – This effect also applies visual filters like oil painting, laser, and fish eye. Again, you’ve got lots to choose from, so play around and experiment.
- AI Transfer – Embrace the power of AI (artificial intelligence) by transforming your photos and video clips into museum-quality works of art. With this effect, you can apply a style and then apply different modes like blending to complete your masterpiece.
- Step 1: Import the footage you want to modify into your library and drag it to your timeline.
- Step 2: Select Adjustment.
- Step 3: Click the color wheel to the right of the Histogram to apply a color look-up table.
- Step 4: Select the box to Apply color look-up table.
- Step 5: Browse your drive for the LUT you’d like to apply. If you don’t have any LUTs yet, you can get free or paid versions with a quick Internet search.
- Create spotlights
- Add directional light
- Shift color
- Create cool special effects
- Step 1: Import your video clips into the library and drag them to your timeline. You should have two clips (or more) to create the split-screen effect. The second clip should be dragged below the first clip, not next to it.
- Step 2: Drag one of the clips to the left side of the preview window. It’s that easy.
- Step 3: Add flair or fine-tune your split-screen by applying borders or adding motion using keyframes.
How to Use Video Speed to Create Cool Effects
To learn how to use these to create cool effects, check out this article.
Keyframes
If you want more control and the ability to unlock your creativity, keyframes are your new best friend, and they’ll take your video editing skills to the next level.
A keyframe is a single point on a timeline where something happens. It’s used for animations or to change the value of an applied effect.
In plain English, you can alter the behavior of an element in a frame or the entire frame itself by setting a keyframe value at one point in your timeline and then a different keyframe value later in the timeline, your parameters will change from one value to the other over that time period. This allows for different values for a setting within the same clip. The values you can change include scale, position, rotation, opacity, anchor point, and more.
This might sound abstract, so we’ll give you plenty of examples to get your creative juices flowing.
Ways to Use Keyframes
The only limit to using keyframes is your imagination (and your editing software), but the bulk of the applications fall into these two categories:
What are the Different Types of Keyframes and How to Use Them?
There are several types of keyframes; these are three you’ll see most often:
How to Use Keyframes in Your Videos
Experimentation along with trial and error is going to be your best teachers, but here’s a simple example of how to use keyframes for color replacement in a clip.
Step 1: Import the video into your video library and drag it to your editing timeline.
Step 2: Select Adjustment from the top menu and click Effects > Color Replacement.
Step 3: Use the eyedropper to select your original color and then click the diamond icon to add or remove a keyframe.
Step 4: Select the timeframe where you’d like to add a new keyframe that changes the original color to your desired new color. You can adjust the tolerance, hue, saturation, and lightness.
Step 5: As you make your adjustments, preview changes in the preview window to the right. Finetune your keyframe settings until the video looks exactly how you want it.
For more keyframe special effects options, check out this article.
Tracking
In video editing, tracking allows you to follow a subject throughout a frame without jarring the viewer’s experience. It’s a useful storytelling aid. Tracking can also be used for text, captions, and credit to help communicate a message and make text stand out for viewers.
Editors also use motion tracking in real estate and travel videos to add emphasis or call out features.
What is Motion Tracking?
With motion tracking, you can track an on-screen item, whether it’s a title, media clip, or effect while keeping the object at the same relative distance on the screen.
How to Use Motion Tracking
To implement motion tracking in PowerDirector, go to Tools > Motion Tracker. Then move the tracker to the item you’d like to track. Select Track to complete the process.
For more information about this powerful feature, check out this article.
Masks
Masks are another one of those video editing effects that allow you to achieve seeming miraculous visual effects on a shoestring budget. By having masks in your video editing toolkit, you’ll be able to accomplish a variety of remarkable effects, ranging from blurring out faces and objects to creating a dialogue with yourself (without needing a second person or an identical twin).
The mask tool is commonly used to either or blur something unwanted out of a video or add something on top of your video. In the twin example above, two video layers are added to the same project but act independently of each other, effectively combining two video clips into one.
To sum up, masking allows you to isolate part of an image to add and apply special effects to a specific area.
Types of Masks You Can Use
How to Use Masks to Create Cool Videos
Want to learn more about how to use masks to create cool videos in PowerDirector? Check out this video tutorial!
Blending Modes
Blending modes bridge the gap between photography, graphic design, and video by allowing video editors of all skill levels to create cool video effects using different layers to create a composite image.
In the world of photo and video editing, blending modes is a tool that allows you to blend two photos or video layers together to form a single image.
Different Ways to Use Blending Modes to Create Cool Videos
There are a lot of ways to use blending modes, ranging from adding style to an otherwise boring clip or fixing compositing issues that come from combining different layers and images.
You can combine images creating something surreal, or do something more basic, like adding a vignette. You can also simulate lighting and create a virtually infinite array of visual effects.
How to Use Blending Modes
The first step is getting familiar with the different blending modes available:
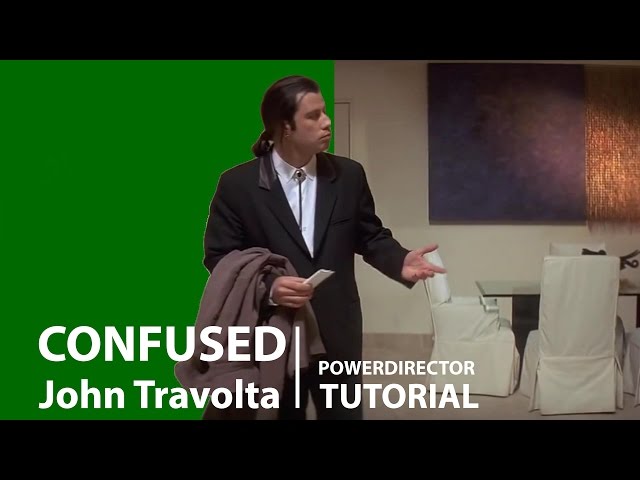
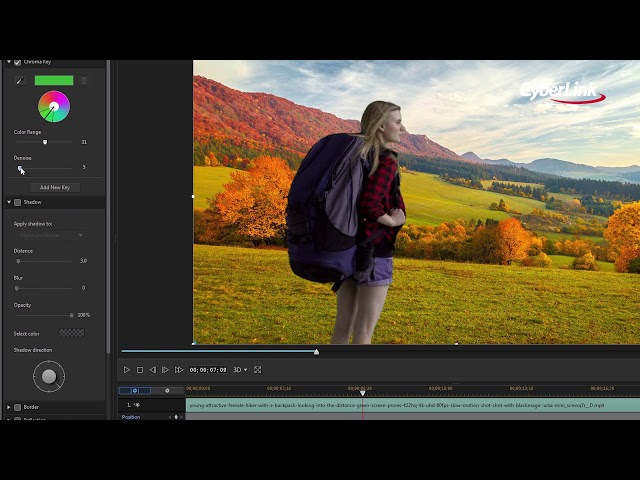
Chroma Key
Perhaps the embodiment of cinematic magic is chroma key. This visual effects technique allows you to recreate any scene or background simply by shooting the subject against a plain-colored background.
The term chroma key refers to the technique itself, which involves layering videos and then removing the background in the original footage by making it transparent. When fully transparent, the background is said to have been keyed.
If you’ve ever wondered about special effects in movies, often they’re using chroma key, which involves either a green screen or a blue screen. The reason these two colors are used for chroma key is that they’re not found naturally in human skin tones.
Chroma key is used for a variety of scenarios, from weather forecasters to Superman flying through the air.
What is Green Screen?
A green screen is a plain green background that can be made of a sheet, special material, or even paper. For this effect to work properly, make sure your subject isn’t too close to the green screen. Otherwise, the green light will spill over to the person’s skin. The green screen should also be evenly lit to avoid any shadows.
What is Blue Screen?
As the name suggests, blue-screen is the same as green-screen, except the color is “chroma blue.” It’s not as common as green, which matches no natural hair color or skin tone (some people’s skin does have blue undertones), but is often used if a character has green in their costume or an essential prop is green. For example, scenes with the Hulk or the Green Goblin would have to be shot using a blue screen.
How to Use Chroma Key
No matter what video editing software you’re using, chroma key is a relatively straightforward feature. Here’s a quick tutorial showing how to use it like a pro in under a minute:
To learn more, check out another example here.
Drag and Drop Effects
Drag and drop effects give you the power to create sophisticated special effects simply by dragging and dropping them into a video clip.

Drag and drop effects are super easy to apply and a lot will have a few setting controls to let you use the effect exactly how you want. A lot of these effects can also be known as style effects which we are going to discuss next.
What are Style Effects and How to Use Them
We’ll cover the most popular (and powerful) style effects you can use in CyberLink’s PowerDirector:
For a demonstration of all the options, check out this helpful tutorial:
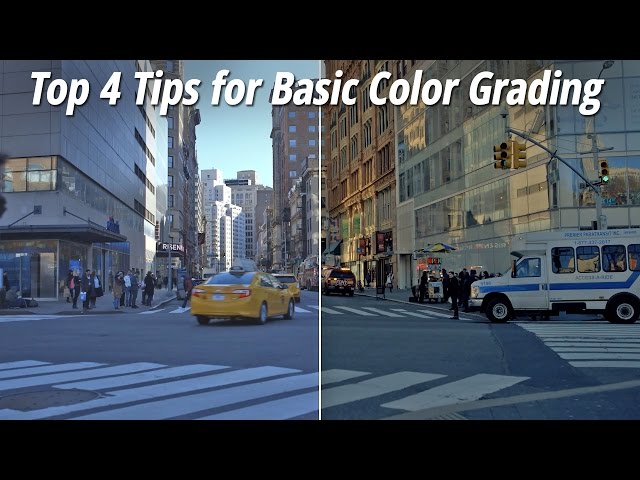
Color Effects and Color Grading
Color effects give you the option to either drastically or subtly change the color of your video. Whether you want to alter the entire scene or create an effect on a single aspect of a shot, color effects can help.
Once you get comfortable with different color effects, your videos will be transformed.
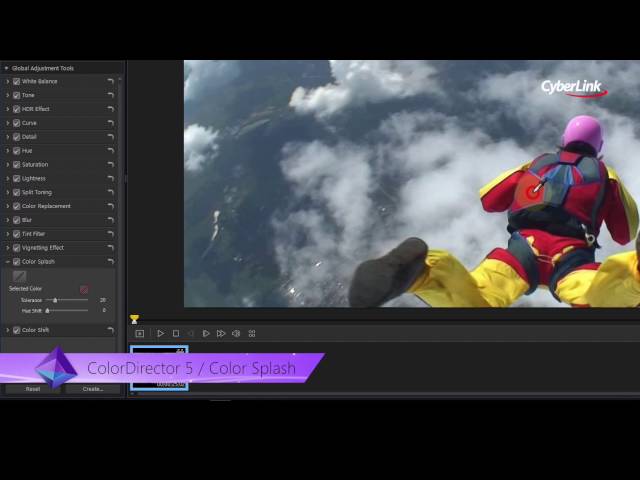
How to use Color Splash
You can use color splash to change both the overall hue of a scene of a clip as well as alter the color of a specific object.
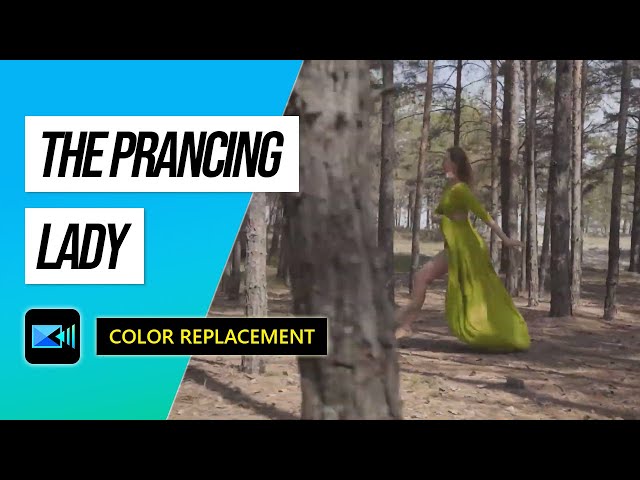
How to use Color Replace
Color replacement is more specific, and it involves changing only the color of a single object.
What are LUTS?
Short for lookup tables, LUTs are a set of numbers that give computer techs the ability to apply a shortcut to various applications. LUTs are also prevalent in the video editing world to help you quickly and easily grade your footage once you’ve color corrected it by using a file of predetermined mathematical values.
When you apply LUTs to footage, you can create your own signature look, like the equivalent of a filter or preset in photography.
Video editors use LUTs both to edit their videos for visual appeal and also to preview how their footage might look when printed to film stock. However, for most editors, LUTs are used primarily for their aesthetic value.
To apply a LUT to a video in PowerDirector, follow these 5 easy steps:
Lighting Effects
Add some artificial light to your video project by mastering lighting effects. Lighting effects are a post-production tool that can be used in a variety of ways, including:
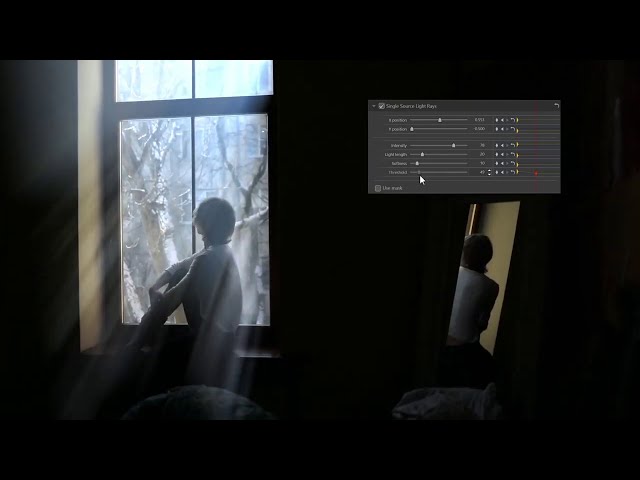
How to Use Light Rays
Light rays can illuminate a video, adding brightness or illumination where none existed before. With CyberLink’s suite of tools, you can also choose between single-source and directional light to further customize the look of the footage and add your own style.
Once you apply the light ray effect, you can make further modifications by adjusting the intensity, threshold, and other settings.
How to Use Lens Flare
The lens flare effect can add drama to an otherwise mundane shot. In PowerDirector, this effect is found by going to the Effects Room (click fx), and select the lens flare effect from the Special section.
How to Use Light Leak
Typically a light leak is an error in photography, but it can add a stunning effect in video.
Split Screen
One of the most iconic uses of split-screen is the Brady Bunch in the 1960s, but today split screen is a common application.
It involves dividing the screen with independent footage playing on each side. Typically, you’ll see the screen divided in half, but you can have multiple divisions of any dimension. In storytelling, it can convey two different narratives at once, such as a phone conversation, parallel movement, the same character doing multiple actions, and more.
The terms split screen and video collage are often used interchangeably. A video collage will show several scenes at once, not just two. A split-screen can show two scenes simultaneously, or several.
How to Create a Split Screen or Video Collage
Creating split screens and video collages in PowerDirector is a breeze. Check out this tutorial to see how it’s done.
Or, follow these steps:
360 Video
Also called an immersive or spherical video, a 360 video shows every direction of the recording all at the same time. It’s helpful for virtual tours, capturing the entire essence of a scene, and can be more engaging. 360 video is also a requirement for VR applications.
How to Create a Little Planet Effect
One of the more whimsical applications of 360 video is creating a little planet effect.
To create this effect in PowerDirector, make sure you have a 360 video. When you add it to your timeline, you’ll be prompted to create a 360 video product or create a conventional 2D video. Select the 2D option. Then select Little Planet from the Projection Mode section of View Designer.
Websites for Free Effects
There are more than 823,000 free effects (and counting) that you can use to apply to your video editing projects. Take a look here. Included in these free effects are particles, titles, overlays frames, and more.
You can browse the collections to see what’s available or use the search bar if you know what you want already and don’t want to get drawn into a rabbit hole of effects.
Conclusion
Knowing what special effects are available to you to create cool videos is half the battle. The next step is learning how to use and master these visual effects. PowerDirector is an intuitive and easy-to-use platform, and you can get started for free!


