How to Photoshop Pictures Without Photoshop

Since Adobe Photoshop’s release in 1990, the app’s name has become synonymous with image editing and graphic design. Most people use the term “Photoshop” as a verb when they talk about editing photos. In reality, Photoshop is one of many different photo editors, and in the intervening years, many different alternatives to Photoshop have emerged that rival this software and its photo editing tools.
But why would you want to learn how to edit photos without Photoshop? The most significant reason for considering alternatives is Photoshop’s excessively high price tag— you can find significantly less expensive tools with similar photo manipulation features.
Learning how to Photoshop pictures and master that program can also be challenging, especially if you are a beginner. Do you really want to spend hours or even days watching boring Photoshop tutorials?
While it’s true that Photoshop’s effects are robust, you can definitely edit pictures without it. In this guide, we take an in-depth look at how to “photoshop” a photo without Photoshop.
Before we get started, we recommend you download our choice as the best alternative to Photoshop, PhotoDirector on your PC or Mac. You can also download the PhotoDirector mobile app, which is available on Android and iOS.
- Best Alternative to Photoshop - PhotoDirector from CyberLink
- Top 5 Photoshop Editing Effects Available in PhotoDirector
- Photoshop Touch Ups
- Photoshop Color Effects
- Photoshop Content Aware Editing
- Photoshop Selection Tools
- Photoshop Layer Editing
- Conclusion
Best Alternative to Photoshop - PhotoDirector

Top 5 Photoshop Editing Effects Available in PhotoDirector
1. Photoshop Touch Ups with PhotoDirector

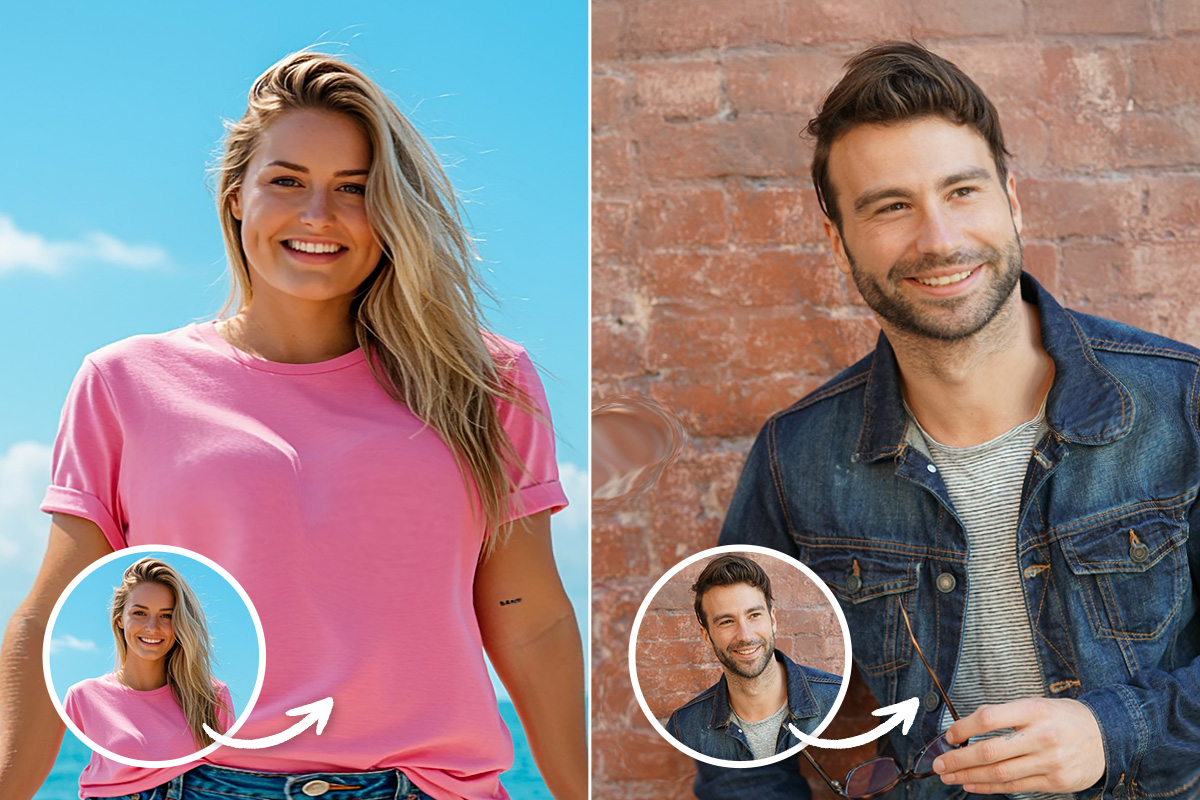
All photos are susceptible to poor lighting, blemishes, and imperfections, regardless of your experience and skills as a photographer. The PhotoDirector touch-up features are powerful tools to bring out the best in your photo and present your subject in a manner that looks perfect but still natural.
You can make acne disappear or give facial skin a radiant glow. The tools work well to soften eye crinkles and facial creases as well.
How can you use PhotoDirector to soften and smooth lines and enhance your subject? Start by uploading your image file to PhotoDirector. Once you see your image, select Edit from the toolbar at the top. A menu will appear, with the People Beautifier feature at the top.
When you expand People Beautifier, three tool categories will appear:- Face Tools
- Skin Tools
- Body Shaper
If you want to remove skin blemishes and imperfections, select Skin Tools. At the top of this window, you have two options: Skin Smoothener and Skin Tone. The skin smoothening feature removes facial lines, creases, and imperfections, while the skin tone allows you to select a foundation color to give your subject a healthy glow.
Starting with the skin smoothener, the first step is to fine-tune your smoothing brush settings, using the size, feature, and strength sliders. The optimal settings depend on how detailed your image is as well as the prominence of the imperfections.
Be careful not to overdo it with the brush strength, as it can give your subject an unrealistic appearance that is almost angelic. After selecting your smoothing brush settings, click on all the areas you want to smooth out and soften your image. This step may require several clicks, especially if your brush size is at one of the lower settings. Check the fine-tune detail box at the bottom of your brush settings, opening two sliders:
- Smoothness
- Detail
By adjusting these sliders, you can smooth out the parts of the image you selected with the brush and hide details.
After touching up your subject’s skin, you can move on to the Skin Tone section to create a skin mask. Using the eyedropper, click on your subject’s facE. Then, adjust the Tolerance slider to reduce the mask to a single foundational hue and select the color of the foundation for your subject.
During this step, you’ll find the perfect foundation color. If you are not happy with the color suggestions, you can click on the palette icon for more options. At the bottom are Strength, Warmth, and Tint sliders you can use to enhance the foundation mask further.
To compare your touched-up image with the original, click the side-by-side view on the bottom toolbar.
2. Photoshop Color Effects with PhotoDirector
The next step in learning how to edit photos without Photoshop is familiarizing yourself with the PhotoDirector Black & White, Color Splash, and color-correcting tools. With these features you can apply various color effects.
Black and White Color Effects

- With your image open, select Adjustment from the toolbar at the top, which is next to Library.
- Just below Adjustment, click on the Presets tab to the right of Manual, then open the Black & White folder underneath Default Presets.
The Black & White folder features various black and white presets. Click on each to see which one works best with your image. After selecting a prest, use the Strength Bar underneath the preview image to adjust it.
Creating a Color Splash Effect
Do you want to create a black and white image with a color splash? Click on the Guided feature on the top toolbar, expand Photo Effects, and select Color Effects.
You have various options in the Color Effects folder, such as Sepia, Tint, and Color Replace. Among these options is Color Splash, which you can click to open. Using the eyedropper tool, click on the color in your image that you want to keep.
With the slider below the eyedropper tool, you can adjust the color tolerance. Note that the aim of this slider is not to eliminate color in the rest of the image. You can remove the excess color in your image using the erase brush. The tool also features a restore brush you can apply to add color back to your image. You can adjust the size, feathering, and strength of the erase color brush.
Using the PhotoDirector Color Replacement Tool

You can change any color in your image with the Color Replacement Tool.
To replace a single color, click on the Guided tab on the top toolbar, expand Color Effects, and select Color Replace at the bottom of the effects library. Use the eyedropper tool to select the color in the image that you want to replace. Choose the color you would like to change it to with the color palette, or use the Hue, Saturation, and Lightness sliders to set the Target Color.
As you adjust the sliders, you’ll see the color in your image change. You can remove excess color or subtract other color regions with the add and subtract dropper tool or erase color brush.
3. Photoshop Content Aware Editing with PhotoDirector
The PhotoDirector Content Aware Editing features are highly intuitive, and you can use them to add, remove, or clone subjects in your image. You can also alter a subject’s size and reposition it within the image.
How to Use Content Aware Removal

With Content Aware Removal, you can remove unwanted objects from your image. A typical application of this tool is removing things such as vehicles, people or equipment, to create seemingly secluded nature scenes.
When you remove an object, PhotoDirector will analyze your image and intelligently replace the area you selected. Then, you will have various options for fine-tuning the replacement area. You can replace a large object in front of a complex background without affecting your image quality.
After uploading your image, select the Editing tab from the top toolbar, then expand Content Aware Removal. Using the brush tool, you can highlight the object you want to remove from your image. If the object you want to remove is small and detailed, the smallest brush setting is best, even though absolute precision is unnecessary.
Once you highlight the object you want to remove, click on Apply. PhotoDirector will process the image and fill the background. If you are not satisfied with the result, click on retry to go through the process again.
How to Use the Content Aware Clone

To clone an object select the Content Aware Clone tool underneath the Edit tab. Then, use the highlight brush to select the object you want to clone.
After highlighting the object, click Next. PhotoDirector will automatically create the cloned object as movable layers you can edit. Drag the highlighted layer to a new location in the image. Once you’ve dragged the duplicated object to the desired location, you can resize it using the Size slider. When you’re done, click Apply.
Artificial Intelligence (AI) plays an integral role in modern photo editing, and you have access to it with free Photoshop alternatives through PhotoDirector. Here are the top five ways to edit photos with AI.
4. Photoshop Selection Tools with PhotoDirector
One of the trickiest and time consuming tasks to do in Photoshop is cutting a person out of a photo to change the background or apply an effect. PhotoDirector has made this task effortless with automatic AI Person Segmentation.
How to Use Person Segmentation

Automated Person Segmentation is available throughout PhotoDiretor to use with a variety of effects. One of the main reasons you might use the feature is for background removal and replacement.
Under the Guided tab open Extract or Compose and choose Background Removal. Under select brush choose the Person Segmentation option. Any person in your image will be auto selected. Choose Remove unselected area and click Apply. The background will be removed and you can add your new background.
One of the newest features in PhotoDirector is AI Sky Replacement. Check out this article to learn how to use it.
5. Photoshop Layer Editing with PhotoDirector
One reason Photoshop might intimidate new users is because of its use of layer editing. It can be incredibly confusing trying to figure out the tools and what they do while working with multiple layers. PhotoDirector has simplified layer editing to make it more user friendly. Let’s take a look at how simple it is to create a Double-Exposure in the program.
Learn How to Create Double-Exposure Images

You can create a powerful double-exposure effect by combining your photos with compelling overlay imagery, such as a nature scene, city skylines, or natural textures.
Open your primary image in the Edit tab. This should be the image you want to use as the main background. Import your second image to create a new layer which you will blend into the first. Open the Blending Mode drop down menu which is right above your layers. Select the mode that best combines your two images.
Once you have your mode selected, position your top layer how you like it over your background. If you need to remove some of the top image use the selection tools to help you select the undesired sections.
Conclusion
Photoshop has a highly complex interface that takes a long time to learn. Photoshop is also among the most expensive products for image editing. A user-friendly alternative, such as PhotoDirector, provides you with the same functionality as Photoshop but is significantly easier to learn and use.
With PhotoDirector you can animate photos, use powerful AI tools, color controls, layer editing features, and create visual effects to turn your photos into artistic masterpieces. It’s photo editing software for professionals and casual content creators, and it is compatible with all devices. Download PhotoDirector on PC and Mac, or try out the mobile app on Android or iOS today.


![3 Best Apps to Make Aesthetic Pictures on iPhone & Android [2026]](https://dl-file.cyberlink.com/web/content/b1299/Thumbnail.jpg)