

How to Replace and Change Color in an Image

Removing and changing the colors in images is a popular photo editing technique that can draw attention to a photo's central object and make the picture stand out on a social media feed. You can use color replacement tools to change the color of shirts or cars. Even change the season of a photo by replacing the color of leaves.

Whatever way you plan to use the technique, you don't need to have any previous editing expertise or expensive tools to accomplish it—you simply need to follow the steps below.
We will use PhotoDirector, a user-friendly photo editor from Cyberlink, to teach you how to create the effect.
Read on to learn how to replace colors in an image, then download PhotoDirector to try this effect for yourself on Mac, Windows, Android, or iOS.
- Color Replacement Tool
- Remove Color From Photos on Your Phone With Color Splash
- The Possibilities Are Endless
Color Replacement Tool

Follow these steps to use the color replacement tool in the PhotoDirector desktop program:
1. Import Your Photo into PhotoDirector
You can upload photos by opening the PhotoDirector desktop program, browsing through your file explorer, and dropping the images directly into the program.
2. Navigate to the “Guided” Tab
With your photo selected, click on the “Guided” tab. Here are all of PhotoDirector's built-in effects modules, designed to make photo editing a quick and straightforward process.
3. Locate the “Color Effects” Dropdown Under “Photo Effects”
On the Guided page, you will see a list of photo presets, effects, and tools. Find the Photo Effects tab, then select Color Effects under this tab. You will now see a list of color effects included in the PhotoDirector software.
4. Select the “Color Replace” Effect
The last effect under the Color Effects dropdown is Color Replace. Select this effect to open the Color Replacement tool.
5. Use the Dropper to Select the Color You Would Like to Replace
Click on the eyedropper tool icon. Next, select an area of your photo containing the color you would like to replace. The color will appear in the box next to the eyedropper tool.
6. Adjust the Target Color
It's time to choose a new color to apply to the photo. You can either select a new color in the window next to Target Color or use the sliders to adjust the original color's hue, saturation, and lightness.
As you adjust the target color, you will notice the places that included the original color begin to change to the new hue. If the color doesn't shift in the areas you want, use the “+” eyedropper tool to apply the shade to specific areas. Similarly, you can remove the color from target areas using the “-” eyedropper.
7. Fine Tune Using the “Show Affected Areas” Option
You may not be able to locate all of the places that the Color Replacement tool adjusted the hue in your photo. To better understand what adjustments this tool made to your image, you can select the “Show affected areas” checkbox.
Checking this box will place a temporary black-and-white overlay on the photo. The white areas in this overlay indicate the sections that contain the new target color.
8. Use the Eraser Tool to Remove the Effect from Unwanted Areas
If you would like to confine the color replacement effect to a specific object or area of the photo, you can use the eraser tool at the bottom of the Color Replace window. Simply select a brush size, then drag the brush over the unwanted areas to erase the Color Replace effect from these sections.
Remove Color from Photos on Your Phone with Color Splash
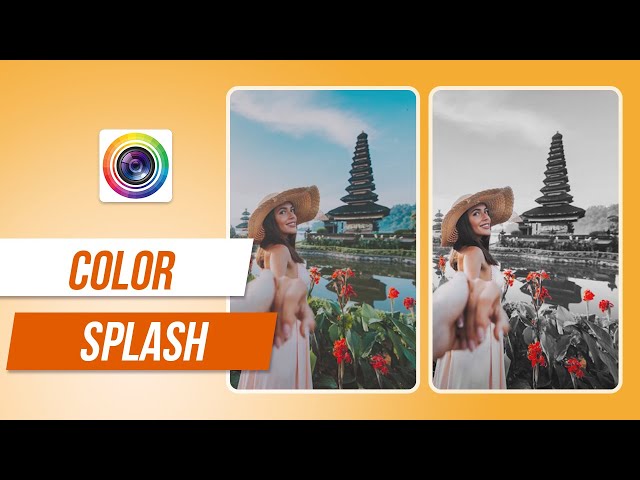
Another unique way to edit your photo's colors is to remove them from specific areas, making portions of the photo black and white. You can accomplish this effect in a few simple steps using the PhotoDirector app for Apple and Android.
Open your photo in the PhotoDirector mobile app. Next, find the “Effects” tab at the bottom of the screen. Clicking on this tab will show you a list of PhotoDirector's built-in advanced effects for photo editing.
Choose “Splash.” Use your finger to select an area of the photo that contains the color you would like to keep. Selecting this color will remove all other colors from your photo, making them black and white.
If you would like to remove the effect from specific areas of your photo, you can do so using the erase tool. Drag your finger over regions of the image to return color.
We recommend using this effect to highlight the central figure or object in your photo. Removing color from the background is an easy way to draw viewers' attention to the image's subject, creating a unique, eye-catching effect.
The Possibilities Are Endless
Replacing the color in an image is a fun, easy way to add an artistic effect to the photo and express creativity. PhotoDirector allows you to apply color effects to your photos no matter your skill level or previous experience.
It also offers dozens of pro-level effects that you can apply to your photos in just a few seconds. There are tutorials for each of these effects right in the app and desktop program, allowing you to see step-by-step walkthroughs of their processes if you need assistance.
Download PhotoDirector for Windows, Mac, iOS, and Android.


