How to Create an Online Distance Learning Class

With schools closed during the coronavirus lockdown, teachers are expected to continue teaching from home. This new reality of distance learning creates new challenges that most teachers have never faced before. All of a sudden, teachers are required to become online streamers, content creators, and video editors on top of being educators.

Long before the coronavirus crisis, CyberLink has helped teachers and students alike with discounts for educators and licensing for schools. In this time of crisis, CyberLink is working hard to develop tools for students and educators to continue their education in these unprecedented times. We’re here with resources and support for teachers to create an impactful online learning environment during home isolation and social distancing.
One of the most powerful tools for successful online learning is video content – more specifically short, concise video lessons. The videos can be as simple as an instructor in front of a webcam speaking directly to the audience or as familiar as an instructor in front of a whiteboard as in a traditional classroom setting. With video, it’s even possible to use a screen recording of a computer desktop displaying learning materials – a virtual classroom can be as dynamic or simple as you’d like! But keep in mind – some experts say effective educational videos should be short, no more than 6 to 9 minutes. Attention spans can be limited especially while learning remotely so brief videos are recommended!
With PowerDirector you can both record video and capture screencasts for online lesson videos as well as use the software to edit them all together. To make it sound perfect, AudioDirector lets you record, edit, mix and filter your audio so it’s crisp and clear for your audience to hear. Additionally, CyberLink is offering both of these software programs free to download. You can download PowerDirector and AudioDirector at these links!
Before we get too far ahead of ourselves let’s review the principles and process of making an effective online lesson video for distance learning.
Here is a simple guideline to follow:
- Preparation – Planning is key! Be sure to write a detailed outline and script to make sure your lesson is cohesive and coherent before you start.
- Capture and Record – Gather and create the content of your lesson. This means video clips, screen captures, audio, and any other resources you’d like to add. There are even lots of stock resources included for 365 subscribers to supplement your production.
- Edit – Refine your lesson video before sending it out. Be sure to trim out anything unnecessary and that your information is in a coherent sequence and flows from idea to idea.
- Publish – Share it with your students! Publish it on your favorite video platform such as YouTube, Vimeo, or perhaps a private server.
Preparation – Write a detailed outline and script
As a teacher you are no doubt used to lesson plans. For an online class video, it’s just as important if not more. With all of the different elements available to editing video lessons, it can be easy to get carried away. Remember, it's best to keep it short and concise. We recommend that you write a detailed outline and a script to make sure your lesson flows well and the information is presented just as in a typical lesson.
Additionally when recording your video, you won’t have the benefit of instant feedback and engagement from the students that you might be used to. This is where a script and lesson plan can really help keep things on track and deliver an engaging and enriching lesson.
Here are some tips for creating a script:
- Start by creating a detailed outline for the video that includes your talking points. Prepare for the video like you’d prepare for any lesson.
- Use the outline to create a script by expanding out the talking points.
- Make the script conversational, but stay on topic. You want to stay engaging but keep your subject matter on task!
Once you have your outline and script, rehearse your lesson and your video. When you are ready, it is time to start recording your online lesson video. One of the advantages to video is you can record as many takes as you’d like to achieve your desired delivery!
Capture and record – Create the content of your lesson
Now we’re ready to start recording. Here we will review several different ways you can capture and record your lessons. You have many options to choose from, including:
- Recording video with your smartphone or other camera.
- Capturing video with your webcam within PowerDirector.
- Recording your computer desktop with Screen Recorder.
- Recording and editing audio with AudioDirector.
1. Recording video with your smartphone or other camera.
If you choose to record all of your videos with a smartphone or other camera, you can easily import them into PowerDirector for trimming and editing. PowerDirector supports all the popular video file formats, so there should be no problems importing and using them in your finished online lesson video.
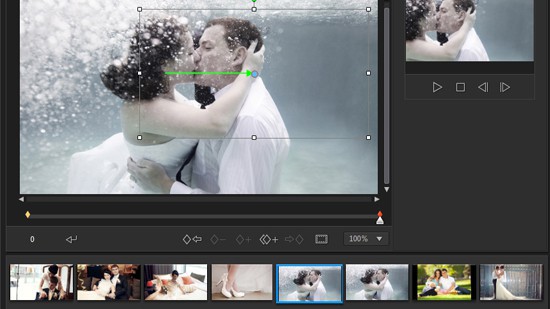
2. Capturing video with your webcam within PowerDirector.
If you only have a laptop with a webcam for your videos, no problem. With PowerDirector you can capture video from your webcam directly into your edit with the Capture module by doing the following:
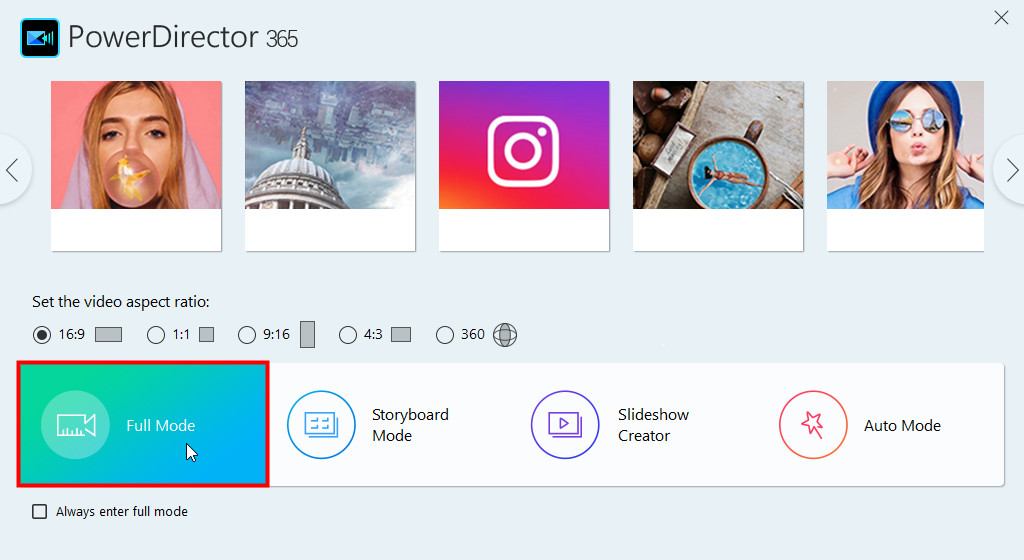
1. Launch PowerDirector 365 and then select Full Mode.
2. Click Capture to enter the capture window.
3. Click the  button to open the webcam capture feature.
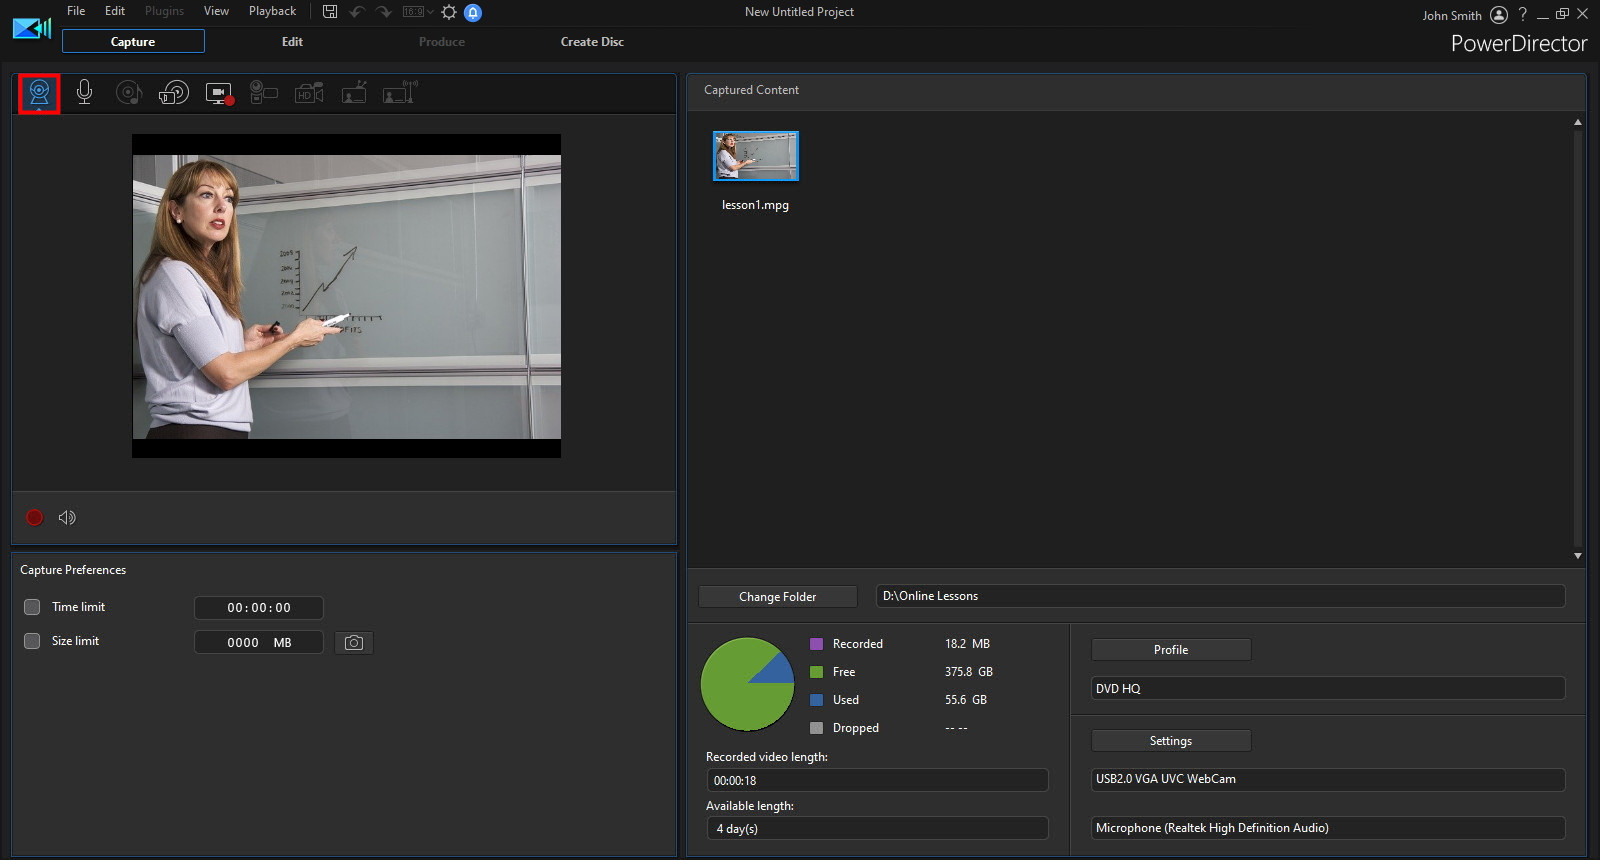
4. When you are ready to capture from your webcam, click  to start recording.
5. When you are done, click again to stop recording.
6. Enter a name for your video and it will be saved in the captured content area.
When you’re done, all of the video files will be imported into the media library automatically, ready to edit into your lesson.
3. Recording your computer desktop with Screen Recorder.
PowerDirector also includes the Screen Recorder 2 plug-in that allows you to record your computer’s desktop. You can use desktop screen recording for the capture of PowerPoint slides, a virtual whiteboard, or anything you want to share from your computer. Anything you can put on your screen, you can share in your lesson. It’s an incredibly powerful tool!
To record your screen, follow these steps:
1. Launch PowerDirector 365 and then select Full Mode.
2. Click the  button and then select Screen Recorder.
3. With Screen Recorder you can capture your full desktop, lock the recording to an open app, or create a custom recording size.
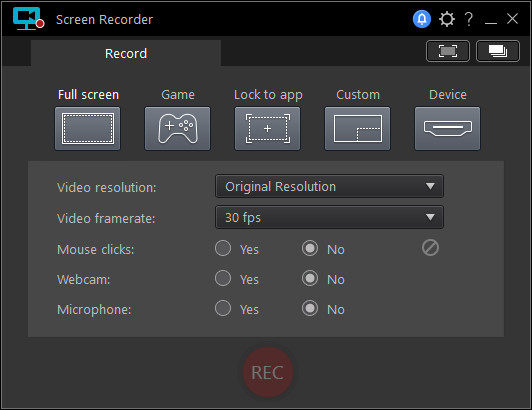
4. Choose the area of your desktop you want to record, and then click the REC button.
5. Click  to stop recording, or press the F9 key on your keyboard to end the recording.
If you’re looking for more advanced screen recording options or the ability to live stream a lesson, you should consider the stand alone Screen Recorder 4. Screen Recorder 4 allows you to add PiP (picture-in-picture) media and stream video live to YouTube, Facebook, and more.
4. Recording and editing audio with AudioDirector.
Now that you have recorded some video, you can use AudioDirector to record a voiceover for it. You can also replace the original webcam audio, which often doesn’t not come out well. This is why we recommend you use a separate standalone microphone, if possible, for clearer audio in your online lesson videos. Never underestimate the power of good audio!
To use AudioDirector’s record audio feature to replace a video’s audio, follow the steps below.
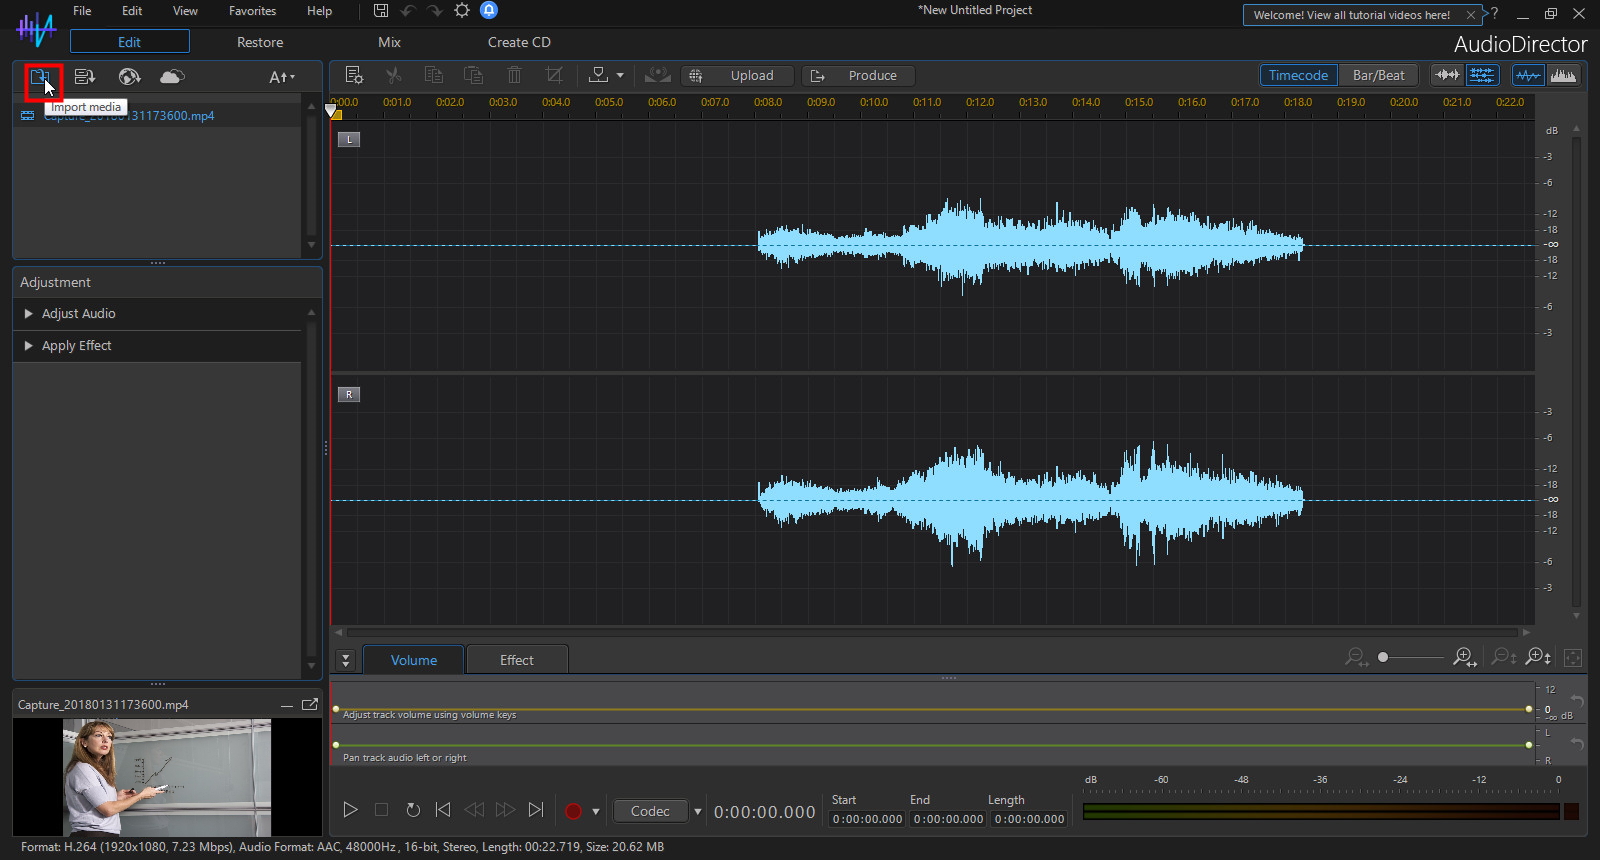
1. Launch AudioDirector.
2. Click the  button to import the previously recorded video.
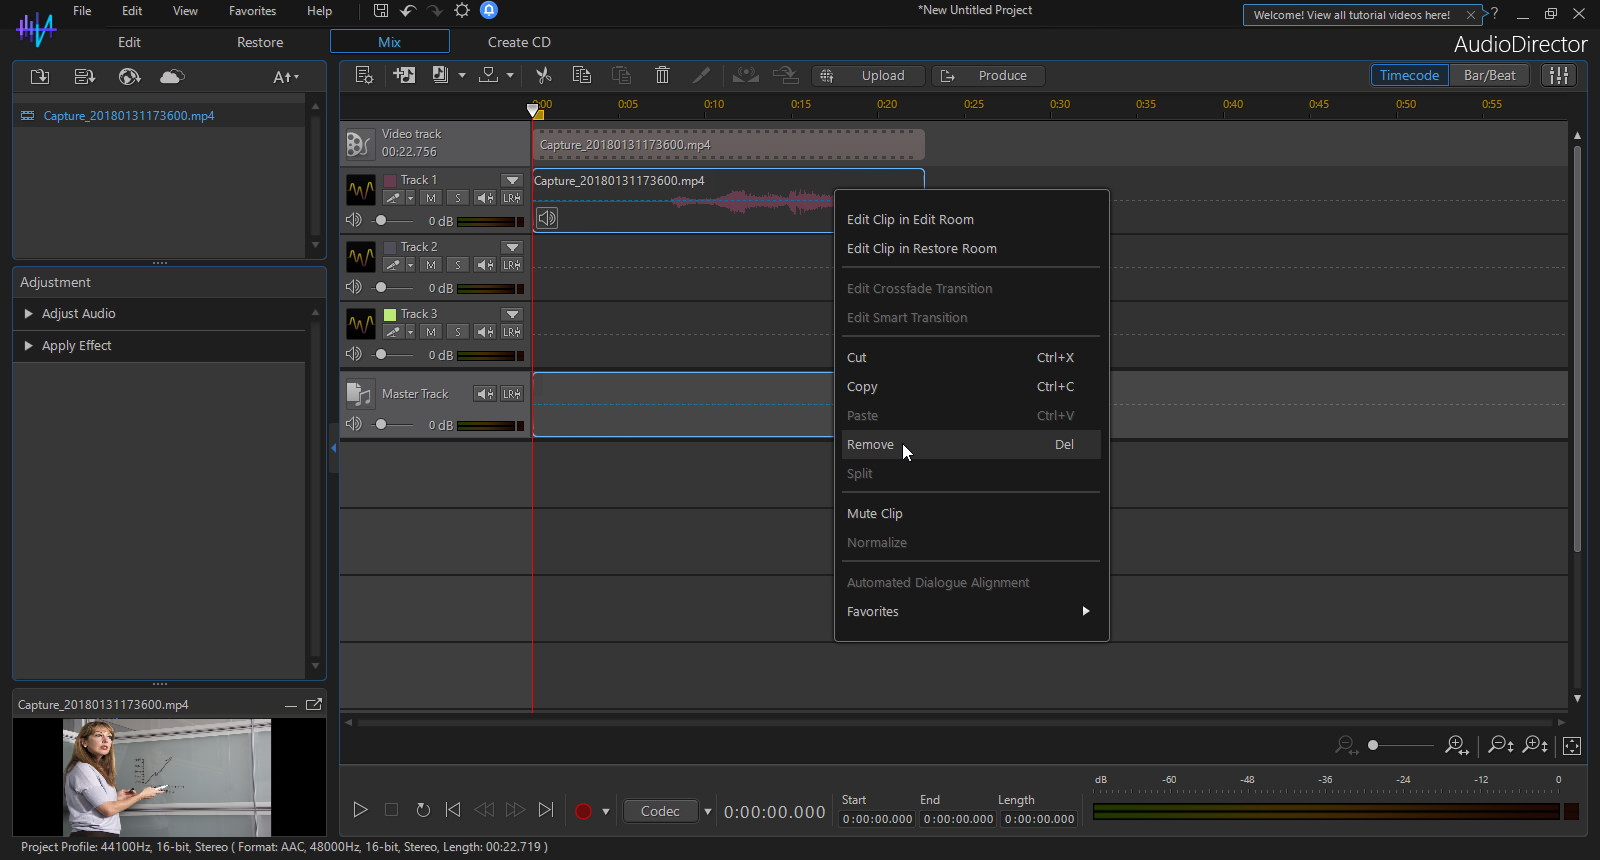
3. Click on the Mix button to enter the Mix Room.
4. Add the imported video to a Mix Room track.

5. Right-click on the audio for the imported video and then click Remove to remove the original audio.
6. Click  to enable a track for recording.
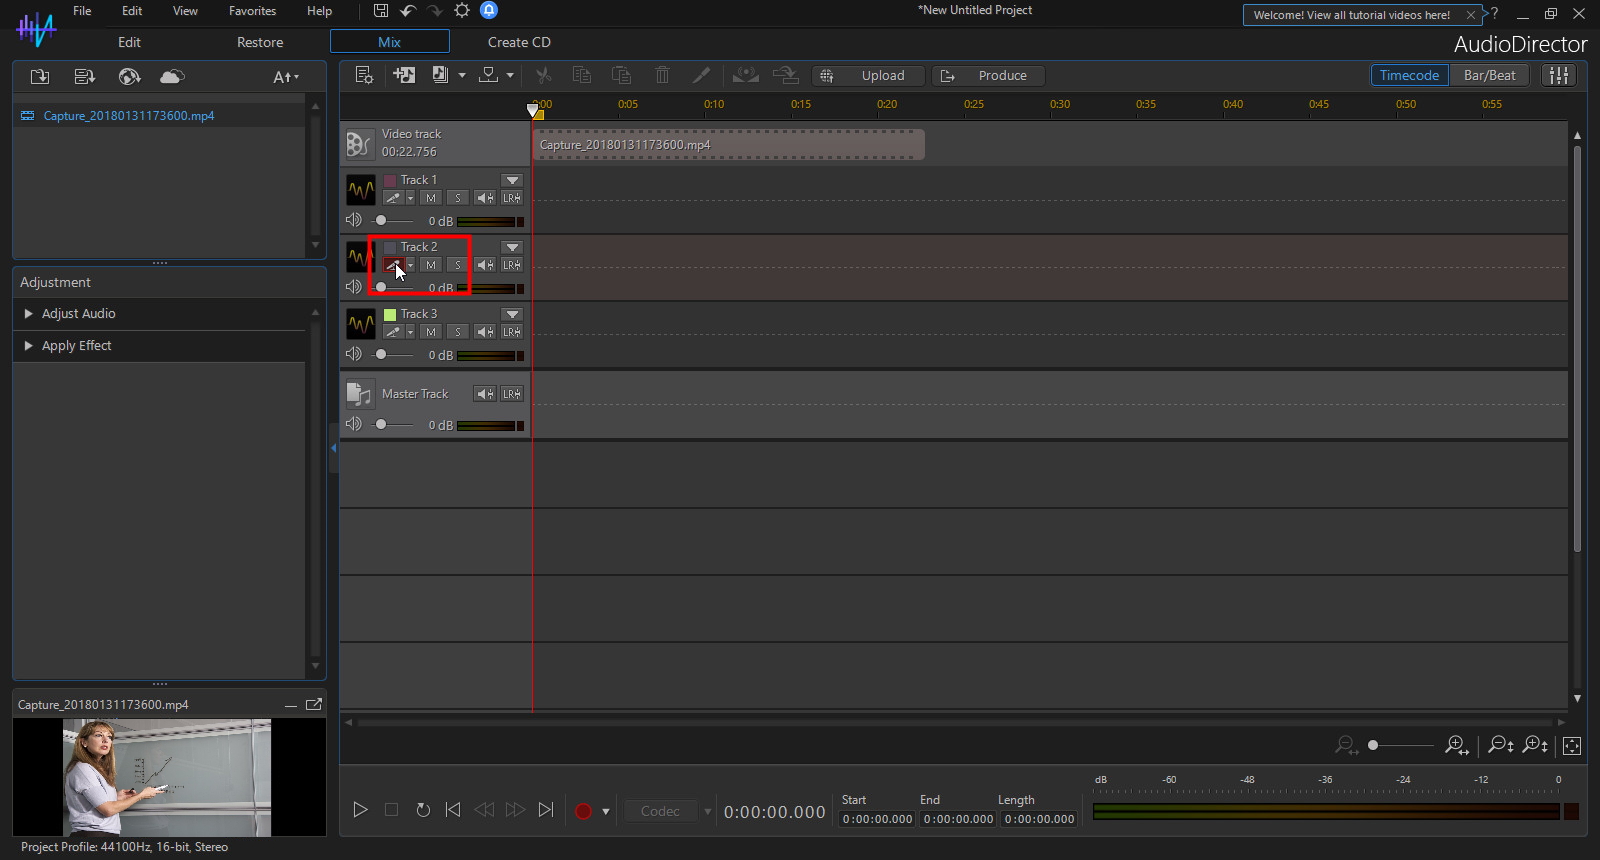
7. Click  to start recording.
8. Click again to stop recording your audio.
If you make mistakes while recording, you can use the punch and roll feature to re-record. Punch and roll lets you seamlessly re-record portions of your audio to ensure you achieve the best results. Check out this tutorial for more information.
Also, if you find that the audio for your captured video contains unwanted noise, you can use AudioDirector to remove it. Noise such as mic static, plosives, online audio feedback, and more can easily be removed with AudioDirector’s restore audio tools.
Once you’re done, click the Produce button to render a new version of the video file with your improved audio included. Now you can import the new video file into PowerDirector for some finishing touches.
Edit – Refine your lesson video before sending it out
PowerDirector has all the tools you’ll need to edit your online lesson videos. If you are new to PowerDirector or to video editing in general, we encourage you to first check out some of the Get Started tutorials in the CyberLink Learning Center.
For example, learn the basics by checking out How to Import Your Media Into the Media Room. You should also get to know the PowerDirector interface so you are more familiar with all that PowerDirector has to offer.
Other common editing features of PowerDirector you’ll want to get accustomed to are splitting clips and trimming your videos – some of the most basic and essential techniques of editing. They are probably the features you will use most often, so check out the tutorial on editing and trimming to learn more.
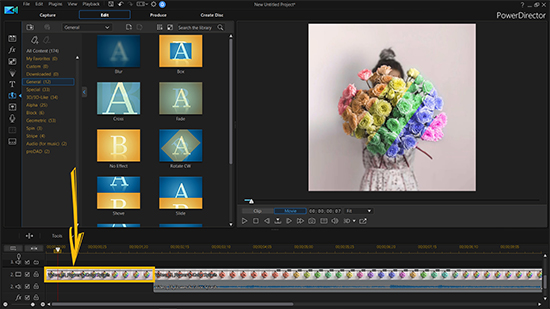
Another feature you will use often is adding text to your video. Check out this tutorial in the CyberLink Learning Center for an overview on how to add title text to your videos.
Once you get familiar with PowerDirector, you can start using some of the more powerful features and even include some of the premium effects that come with a PowerDirector 365 subscription.
For example, you can utilize the Tutorial Creation pack in your class video to add annotations and make it look more professional. Check out this demo video for a glimpse of what you can achieve with this premium pack for educators.
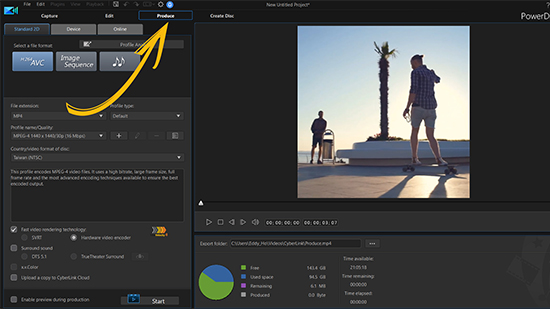
Publish – Share it with your students
The last step is to produce your online lesson video so you can share it with your students. In PowerDirector you can output video in all the popular file formats and with the video resolution of your choice. This is helpful for teachers that need to meet school requirements for uploading video lessons to school servers.
With PowerDirector you can also share the lesson videos directly to social media websites like YouTube or Vimeo. To see a step-by-step overview of how you can produce and share your lesson video in PowerDirector, please check out this Learning Center tutorial.
Social Distancing Should Not Stop Education
The coronavirus, school closures, and home isolation should not stop education. If anything, this current pandemic could make us better educators and reinforce the value of quality education for students through distance learning. With the right tools, it's possible to not only continue to deliver lessons to students, it can be a way to enhance education methods. With video, the sky’s the limit.
While we’re all enduring the restrictions of the pandemic, we can view this as an opportunity to gain two more skills to take us into the future of education - education video production and how to provide quality online learning to students, no matter where they are. With these tools we can reach our students where they’re currently safe, so download PowerDirector Essential and AudioDirector Essential for free today to try them out and consider taking advantage of CyberLink’s 40% discount special offer for educators.
Don’t let social distancing stop our children from receiving the quality education they deserve!
Get PowerDirector 365 Essential for Free
Take your videos to the next level with the best video editor for Windows PC