How to Use Blending Modes to Create Double Exposure Videos on Your Phone
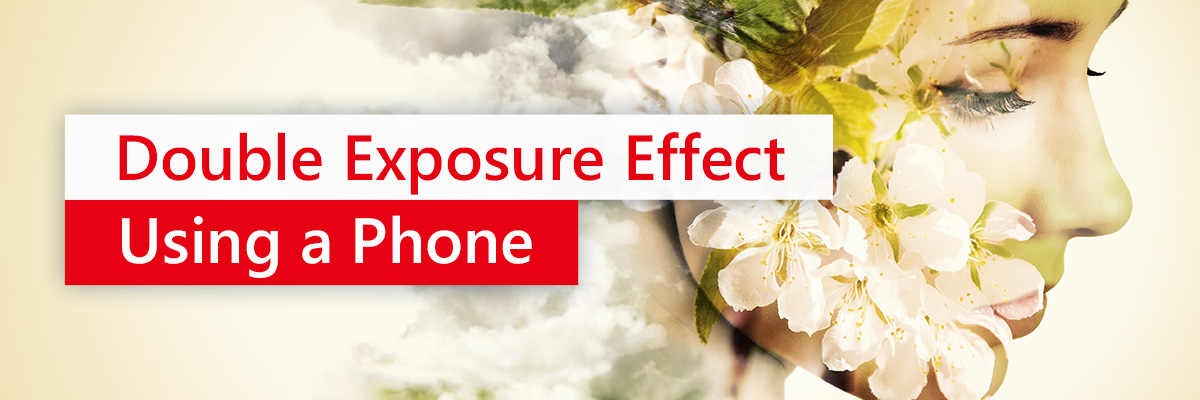
The creation of double exposure video is the combination of two or more clips into one, achieving unique effects for wedding videos, art productions, travel vlogs, or documentaries. A double exposure video typically consists of natural textures, drone footage, breaking waves, landscapes, or other visual elements over a profile—for example, a person's silhouette.
Double exposure video is a powerful tool for conveying a narrative, emotion, or symbolism. You can also use the multiple exposure effect to demonstrate a link between a character and a physical environment.
When you create a double exposure video, you need to adhere to several principles. Double exposure photography and video creation involve the same techniques—namely, selecting a theme, capturing media, and layering them to create a final image.
If you are new to video projects, creating double exposure videos and layering clips may seem complex. However, with modern software, giving your content an artistic, double exposure effect is so easy you can do it from your phone.
In most cases, achieving the desired effect with double exposure requires experimentation. Still, you shouldn't have to spend hours playing with camera settings and learning the technical intricacies behind this video creation method.
This guide takes an in-depth look at how to do double exposure video creation on your phone using blending modes. If you are looking to create the perfect double-exposed video, you’ll need robust software compatible with mobile. CyberLink PowerDirector is the program we recommend, as it features an intuitive blending mode you can use to create double exposure videos.
Download CyberLink PowerDirector today.- How to Create Double Exposure Video with Blending Mode
- Consider Your Theme
- Capture Your Subject and Layers
- Remove the Subject Clip Background
- Importing and Repositioning Overlay Videos
- Blending Your Video Layers
- Adding Keyframes Through Adjustments
- Start Creating Double Exposure Videos
How to Create Double Exposure Video with Blending Mode
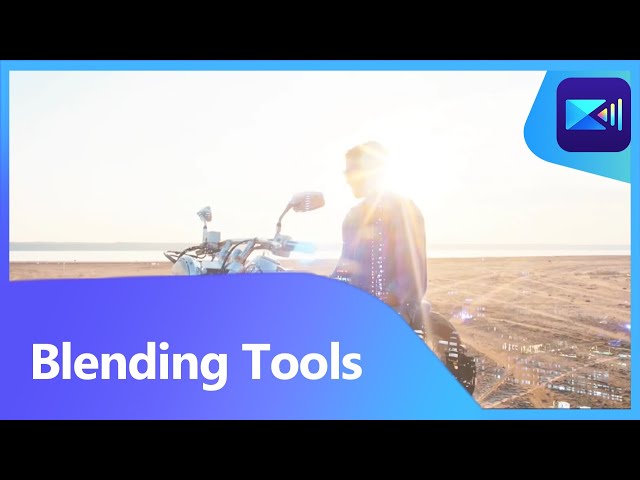
When creating a double exposure video using CyberLink PowerDirector, you'll spend most of the time developing a theme and capturing the subject and overlays. Once you become accustomed to the PowerDirector blending tool, combining your footage layers will be the easiest part of the process. However, you may find yourself spending a lot of time experimenting with the various blending modes and opacity levels.
Consider Your Theme
If you are creating a double exposure video for a specific project, you may already know which visual elements you want to incorporate. However, when creating a new project from scratch, you have to formulate a theme before capturing your videos.
For example, if you want to create an intro for your YouTube channel, you want to convey your content's style, mood, and underlying message. If you have a true-crime channel, you want to include darker elements portraying ambiguity. However, if you create light and friendly art tutorials, your intro should include brighter tones with more detail at every layer.
Capture Your Subject and Layers
When capturing your foreground or subject and overlaying videos, the general rule is that they should complement each other. However, contrasting imagery can also create a unique effect for your videos. When it comes to double exposure videos, you have a lot of creative freedom. Experimenting with different video layers is often the best option to find the best results for your project.
Close-ups or profile shots of people and animals generally work well as the foreground or primary subject of your double exposure video. Ideally, your subject should have a distinct and recognizable profile, as the overlay videos will hide essential details.
For example, if your subject is a book, the overlay video may obscure title letters and other identifying features, and you'll end up with a basic and unimaginative square shape. If you want to incorporate elements of a book in your video, use the texture of a leather cover or printed text on a page as your video layering instead.
Landscapes, natural textures, aerial views, cityscapes, and time-lapse footage also work well as backgrounds for your subject, but there are no rules, so you can experiment with many different options.
Remove the Subject Clip Background
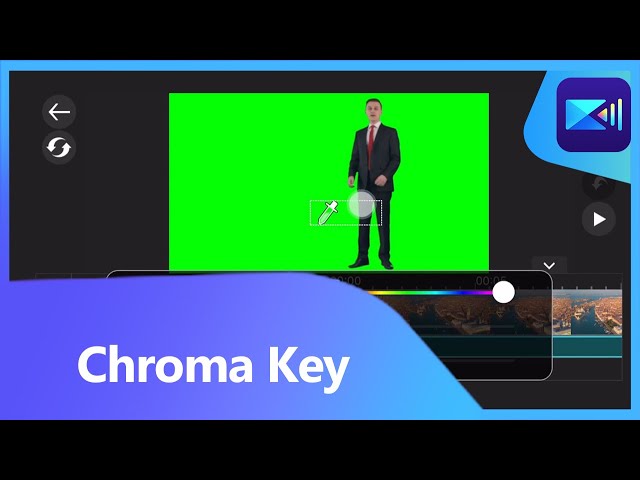
After capturing the footage layers for your double exposure video, you can remove the background in your subject footage.
This step is necessary to keep your viewers’ focus on your subject and prevent the artistic effect you created from drowning in background noise. Capturing your subject footage with a green screen background makes this process quick and easy, especially if you are using CyberLink PowerDirector.
To replace a green screen background with a custom video or image, place your background clip on track 1 of your editing timeline, and place your green screen footage containing your subject on track 2.
Then, double-click on the track with the background to bring up the Picture-in-Picture designer and enable Chroma Key. Click on the eyedropper icon and click on the green background of your subject image to replace it with your custom background.
If your subject video has a subdued background, such as a cloudless sky, you don't have to use the chroma key feature. After adding your subject video to the editing track, you can continue importing overlays without having to underexpose your subject.
Importing and Repositioning Overlay Videos
Open PowerDirector on your phone and create a new project. Then, drag and drop the video containing your subject onto the editing timeline.
You can add more than one video overlay to your project. To create a new layer, tap on the Overlay icon to the left of your screen, and select the video file you want.
After adding the overlay video, it will appear on your viewer over your subject video. Tap and drag one of the corners to reposition, rotate, or adjust the size of the overlay video over your subject video.
At first, adding an overlay video will hide your subject video. However, by blending your overlay video, you make it transparent, and you will see your subject video below the overlay.
Blending Your Video Layers
Tap on the Edit icon to the left of your screen to open all your editing options. Then, tap on the Blending tool to view the various blending modes available. Each blending mode has a unique effect, and you can choose one that fits your theme.
After selecting a blending theme, tap on Opacity in the editing panel and drag the slider to adjust the overlay video's opacity level.
In the editing timeline, trim your subject footage to match your overlay footage. Then, open the Edit toolbar again, select Color, and adjust the Brightness, Contrast, and Saturation slides to enhance your overlay video's color.
Adding Keyframes Through Adjustments
You can repeat the above process for every overlay video you want to add. Adding two or more overlays can add dimension and depth to your video.
This feature also allows you to switch between different overlays in your video, conveying a change in the narrative or mood. In other words, your subject video will remain the same, but the overlaying footage changes.
After resizing, repositioning, and blending each overlaying video, open the Opacity panel. Reduce the opacity of the overlay you want to introduce later to zero, and tap the diamond icon to create a keyframe.
Then, move the timeline marker to the point where you want the second overlay to appear and adjust the opacity slider to 100. The program will automatically add the keyframe where you make the adjustment, replacing the first overlay with the second.
Including different overlay exposures to create a dynamic video is easy with this feature. You can also apply an overlay to a specific space in your video by creating a layer mask and repositioning the overlay over the mask.
Start Creating Double Exposure Videos
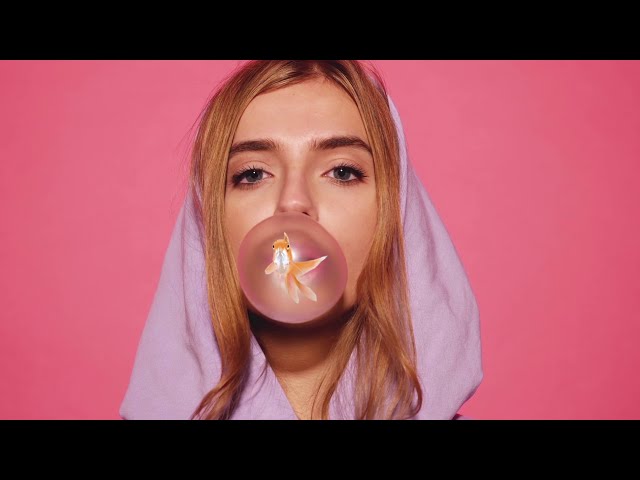
CyberLink PowerDirector is the best double exposure app for iPhone and Android. With this double exposure video editor, you don't need extensive software knowledge or video creation experience. By following the instructions in this guide, you can jump in and create compelling double exposure video content.
A double exposure video consists of two layer types—namely, the subject video and the overlay videos. The subject video features distinctive primary elements such as a profile, while overlays are footage of backdrops, for example, a nature scene or aerial footage.
You can combine a subject and overlay as two transparent layers with equal opacity, or you can let the moving overlay take the form of the subject. The masking and blending features also allow you to let the overlay replace an element of the subject—for example, changing a woman's long hair into a waterfall.
You can also add more than one overlay to your project and introduce them into your video at different time segments using opacity adjustments and the PowerDirector keyframe feature.
To start creating double exposure videos on your phone, download and start using the PowerDirector app today.



![Ideogram AI: Complete Guide to The New AI Image Generator [2026]](https://dl-file.cyberlink.com/web/content/b4294/Thumbnail.jpg)