

How To Create a Doctor Strange Shield Effect With Blending Modes

Are you a fan of the Marvel Cinematic Universe? If so, you are probably aware of the intense video editing that goes into every Marvel movie. Walt Disney Studios films many of the movies in the Marvel franchise in front of green screens then uses post-production software to incorporate special effects, backdrops, and stunts seamlessly into the final product.
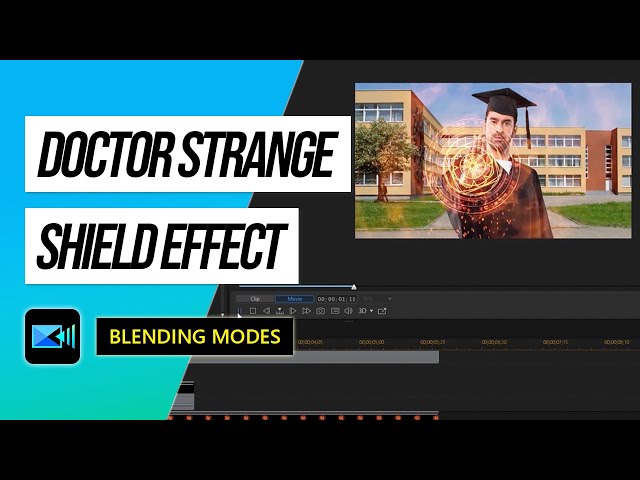
One great example of the use of video effects in Marvel movies is Doctor Strange’s protective shields. These circular shields consist of neon lights in geometric mandala patterns that Doctor Strange appears to generate from his palms.
While editing a magical shield into a shot may sound challenging, this effect is easier to achieve than many people think. You can start by downloading PowerDirector and then follow this step-by-step tutorial on using blending modes to achieve this popular effect.
- How To Use Blending Modes Like After Effects Blending Modes in PowerDirector
- Import Your Footage Into PowerDirector
- Add a Fire Explosion Video to the Timeline
- Add a Shield Video to the Timeline
- Select the Explosion Video, Then Navigate To Blending Mode
- Change the Blending Mode to Screen
- Double Click the Explosion Video in the Timeline
- Reposition the Explosion Video in Front of the Subject’s Hand
- Add Keyframes for Position and Scale
- Select the Shield Video and Navigate To Blending Mode
- Change the Blending Mode to Screen Again
- Adjust the Start of the Shield Video
- Save and Export Your Video
- Start Making Video Effects the Easy Way
How To Use Blending Modes Like After Effects Blending Modes in PowerDirector
1. Import Your Footage Into PowerDirector
Your first step is to create a new PowerDirector project and import the footage you would like to use into your timeline. You can add the shield effect to a video or photo, but we recommend overlaying the effect on a person’s extended hand to maximize its realism.
2. Add a Fire Explosion Video to the Timeline
Next, import a fire explosion video and add it to the timeline. You will use this clip to transition the shield effect into your video.
3. Add a Shield Video to the Timeline
You will also need to add a shield video to your timeline, along with a fire explosion video. You can find Doctor Strange shield videos on YouTube that include a green screen background, making it easier to add them as overlays to your existing footage.
4. Select the Explosion Video, Then Navigate To Blending Mode
Once you have all three videos on your timeline, you can begin manipulating them to create an impressive Doctor Strange shield effect.
First, you will need to overlay the explosion video on your subject's hand to make it appear as if the shield erupts from the hand through a mini-explosion. To start editing the explosion video, select the video in your timeline and open “Tools,” then “Power Tools,” then navigate to “Blending Mode.”
5. Change the Blending Mode to Screen
After you select “Blending Mode,” a new window will appear in the top left of the page with options to customize your clip. Change the blending mode from “Normal” to “Screen” using the dropdown.
6. Double-Click the Explosion Video in the Timeline
Double-click the explosion video in your timeline. A new window will open, “Picture-in-Picture (PiP) Designer,” allowing you to reposition your explosion video over your primary footage.
7. Reposition the Explosion Video in Front of the Subject’s Hand
To make the Doctor Strange Shield effect look realistic, plan to position the explosion and the shield directly in front of a person’s hand. This location will create the image that the person is shooting the shield out of their hand using their magical powers— as Doctor Strange does.
You can accomplish this positioning by dragging the explosion footage to the correct placement in the preview window. First, click the starting point in the timeline to ensure that your changes begin at the clip’s start. Then, use the anchor points in the preview window to reposition and resize the explosion clip over the hand.
8. Add Keyframes for Position and Scale
Keyframes signify the beginning and end of a video effect within your timeline. Adjusting the size and position in the previous step created a keyframe at the beginning. Your next step is to add a keyframe to the end of the clip that makes the explosion bigger than it is at the beginning.
To achieve this effect, click the location in the timeline where you would like the explosion video to end. Keep in mind that you can always resize the clip by dragging its edges along the timeline.
Once you have selected the ending point, adjust the explosion size to cover more of the screen. A new keyframe will appear at the end of the footage that indicates this change.
Placing a keyframe at the beginning and end of the clip will tell PowerDirector to adjust the explosion’s size and position throughout the clip, creating a smooth, life-like fire effect.
9. Select the Shield Video and Navigate to Blending Mode
Next, you need to edit the shield video in your timeline. First, adjust its position on the timeline so that the shield appears directly after the explosion clip. Then, you can overlap the two videos by a few frames to create a smoother transition between them.
After that, click the shield video in your timeline and navigate to Blending Mode once again.
10. Change the Blending Mode to Screen
When the Blending Mode window opens in the top left of the screen, click the dropdown, and change the blending mode from “Normal” to “Screen.”
11. Adjust the Shield Video
You can now use the Blending Mode and keyframe effects to adjust the shield video. The iconic Doctor Strange shield rotates as Strange wields it, and we recommend turning your shield clip as well. You may also want to increase the shield’s size throughout the clip.
Spend some time playing around with keyframes until your shield moves how you like.
12. Save and Export Your Video
Once the explosion, shield, and primary video create a cohesive Doctor Strange shield effect, you can save and export your project in your preferred file type.
Start Making Video Effects the Easy Way
PowerDirector offers all the tools and features you need to create Marvel effects in your videos. Even if you don’t have any editing experience or expertise, you can accomplish the Doctor Strange shield effect with a few clicks of a button.
This tutorial taught you the basics of blending modes and keyframe effects, which you can use to apply a wide range of advanced overlays to your videos with PowerDirector. Download it today and start adding Marvel-quality effects to your videos.


