How to Shoot on a Green Screen to Get Perfect Chroma Key Results
With a relatively small investment, green screens are a do-it-yourself set-up that can provide Hollywood-quality results. Even with the advancing technology that makes creating this effect more accessible, using green screens can still have its pitfalls. One of the biggest frustrations for newbie green screen film-makers is getting seamless, natural-looking chroma key results.
Just in case you weren’t sure, a green screen is a brightly colored backdrop used for removing objects from a scene when you edit. It’s most commonly used to composite multiple images together to do things like replace a background, blend two different scenes together, or create surreal special effects. Along with a green screen, chroma key is the process used to remove the particular color (typically green) and replace it with another color, image, or video.
When you are keying your scene, you’re removing the green screen background to add your layers. You want a clean key, meaning the entire green screen is removed without blurry edges or leftover color that can ruin the realism you are attempting in the scene.
If you want to create a perfect image composite with green screen and chroma key, this guide will show you how to avoid common mistakes and have a process for getting the optimal footage for your edit. We’ll go over how to build your set, set up your lighting, and how to edit to consistently great results.
1. Shooting for a Green Screen
There are a few considerations to help you make sure you get the best possible shot. You don’t want to have to try and fix things like poor lighting and strange shadows in post. Going into post-production with a sloppy key that could have been avoided isn’t pretty and will be difficult if not impossible to fix.
Setting up your green screen
A green-colored screen is the most common, but you can also use a blue or purple screen. The point is to use a color that your editing software will be able to clearly identify and is starkly different from any other object in your scene. If you’re shooting in a garden where there’s a lot of green and a bright blue sky, green or blue screens might not be ideal because it can confuse your software.
Be sure your screen, whatever you’re using, is smooth and fills enough space behind your subject that you can film from the angles you want.
For more about how to make your own DIY green screen, check out our guide HERE.
Lighting for your green screen
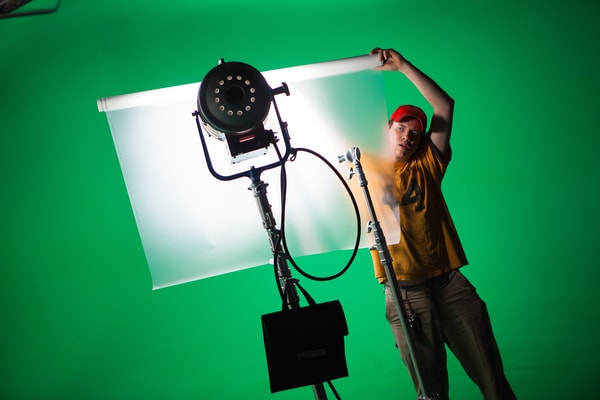
Whatever lighting you use, it needs to make sense for the scene you’re shooting once the layers are added. If the lighting will be overhead or from the side, use the same angle when filming. Imagine a changing stoplight or a dim nightclub scene with flashing lights, but your subject is lit like they’re in the grocery store with bright fluorescent lights. Some of that can be adjusted in post, but the more work you do in advance, the less time you’ll spend in front of the computer. Aside from lighting your subject, be sure your green screen is evenly lit so you end up with an effortless chroma key. Be sure to remove all shadows and, if possible, remove anything reflective in the room that could compromise the lighting in unexpected ways. This includes anything reflective your subject might be wearing.
Generally, you’ll want to use at least three lights. Two will be dedicated to keeping your green screen evenly lit. The other light will be for your subject. Ideally, you’ll have more lights so you have options for lighting your subject. The important thing is making sure to light your subject and screen with different lights.
Whatever lights you choose, make sure they are soft and large so they offer smooth, even lighting that covers the entire green screen. Before filming, check for light spilling off the green screen onto your talent. Blonde hair, for example, tends to reflect green screen light, giving you a sloppy chroma key. There’s nothing worse than giving your actors a haircut in post.
2. Camera set-up for the green screen
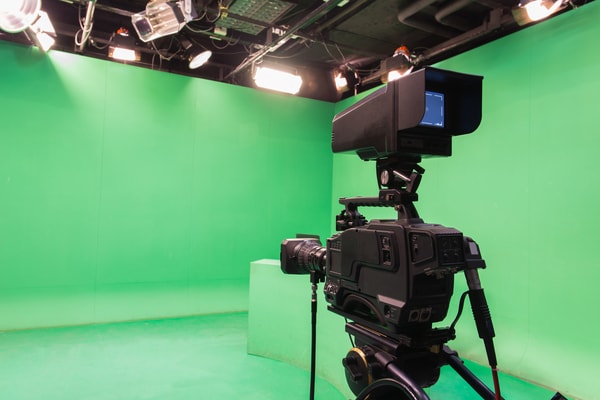
We recommend keeping your green screen scenes stationary when starting out. Use a tripod to ensure your camera is as still as possible. Any camera movement in the shot will need to be replicated when replacing the green screen. This can be very tricky and require more advanced techniques like camera tracking.
Raise your shutter speed to 1/80 or 1/100 to help reduce motion blur. If someone is waving their hand or there’s a lot of hair blowing in the wind, a higher shutter speed will give you a cleaner key. You can add blur, shadow, lighting, and other effects back into the scene in post-production. Three-point lighting will help your scene look more realistic and cinematic. The backlight will also help separate your subject from the green screen making it easier to key.
And remember to shoot at a wide aperture, if possible. This will keep your screen out of focus, which will act as a final line of defense against uneven lighting, wrinkles in the cloth, and other inconsistencies. An aperture of f4 or f5.6 will give a good amount of depth of field while blurring the green screen. Avoid high ISOs and remember to set your camera to the best recording format available. You want as much detail in your footage as you can get.
Blocking or practicing your scene before shooting matters greatly. Don’t cut corners. By getting your subject to go through the motions, you’ll be able to anticipate where their body will be and keep them in front of the screen so you don’t lose the shot.
3. Editing With Chroma Key
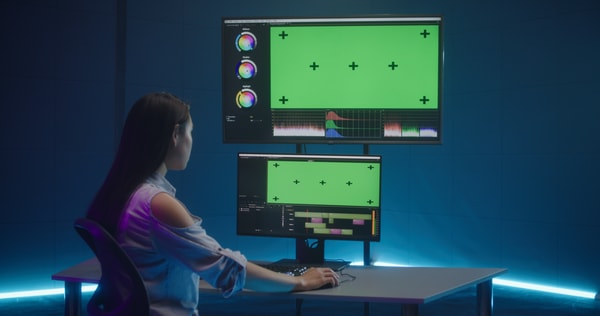
Once you’ve captured your footage, the rest of the magic happens in your editor. While there are plenty of choices in editing software, the easiest way to edit with a chroma key, whether you’re a beginner or an experienced pro, is with PowerDirector
Multi-key color sampling allows you to use the eyedropper to select your green screen for easy green screen replacement. You can also fine-tune and adjust the color by moving the sliders to the hue tolerance and luminance you need.
PowerDirector is easy to use and minimizes time spent learning the software, so you can get down to working your magic and finishing your project.
To learn how to edit your green screen footage with the chroma key tool in PowerDirector, check out this article here.
4. Conclusion
Now that you’ve learned how to properly capture green screen footage, editing should be a breeze! Remember, in video production, planning for your shoot and getting quality footage for your edit will always get you the best result. With this strategy for lighting and camera setup for your green screen production, you’re sure to get the perfect chroma key results every time.
Happy shooting!
If you're an aspiring editor looking to create cool videos, head on over to our complete guide on video editing effects. We've also got other great articles in our blog that'll introduce you to all the tools you need to enhance your portfolio.


