Screen recording on an iPhone used to be a difficult process that involved installing a third-party recorder. But since iOS 11, iPhones come with a built-in screen recorder.
Below you will find a step-by-step guide to screen recording on your iPhone, using QuickTime to screen record, and how to edit your screen recordings. You will also find the answers to the most common screen recording questions not only for iPhones, but Android, Windows, and Mac.
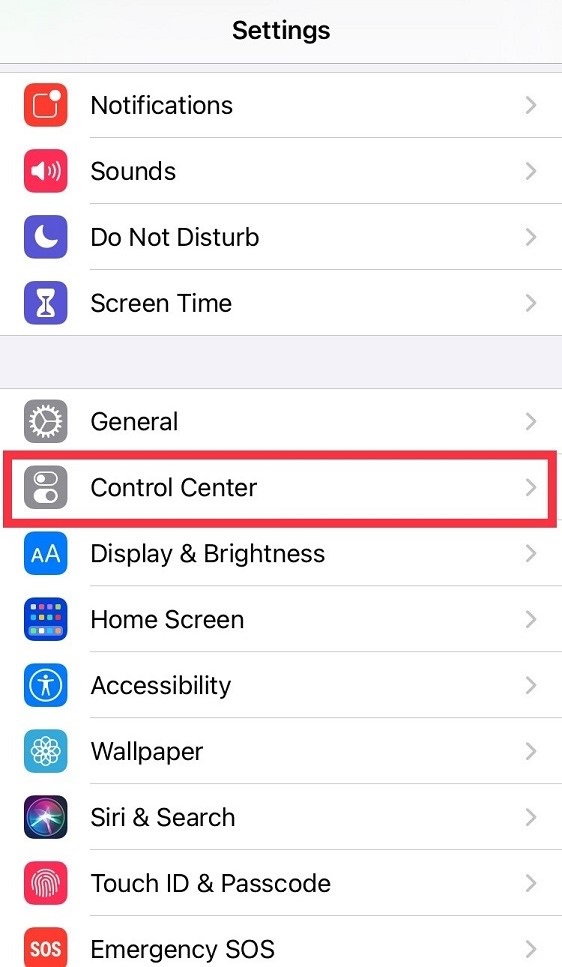
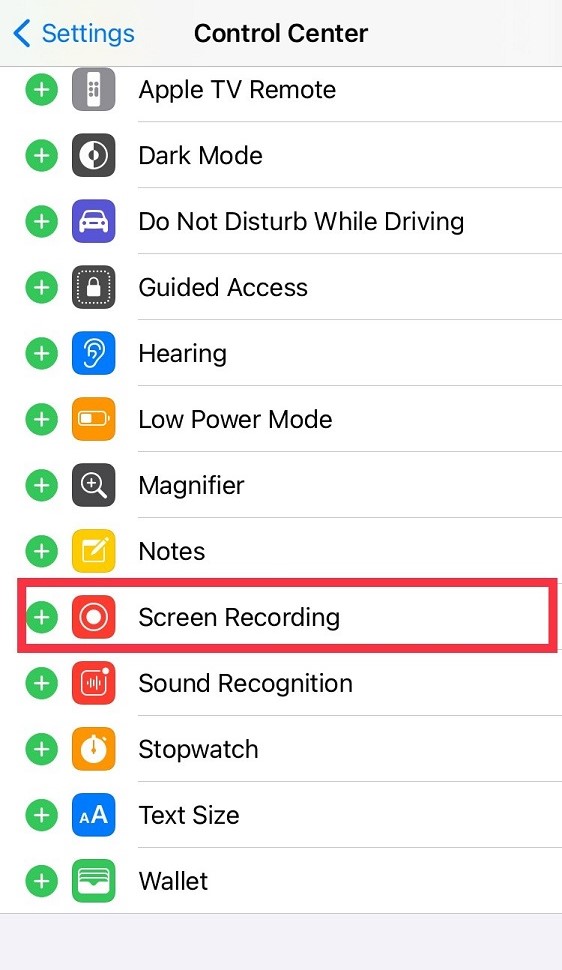
Go to Settings, then Control Center. Tap the green plus button next to Screen Recording to add it to your Control Center.
If there is a red minus next to it, that means Screen Recording is already included in your Control Center
Control Center is found by running your finger from the right top of the phone to the bottom left (or swiping up if your phone has a home button).
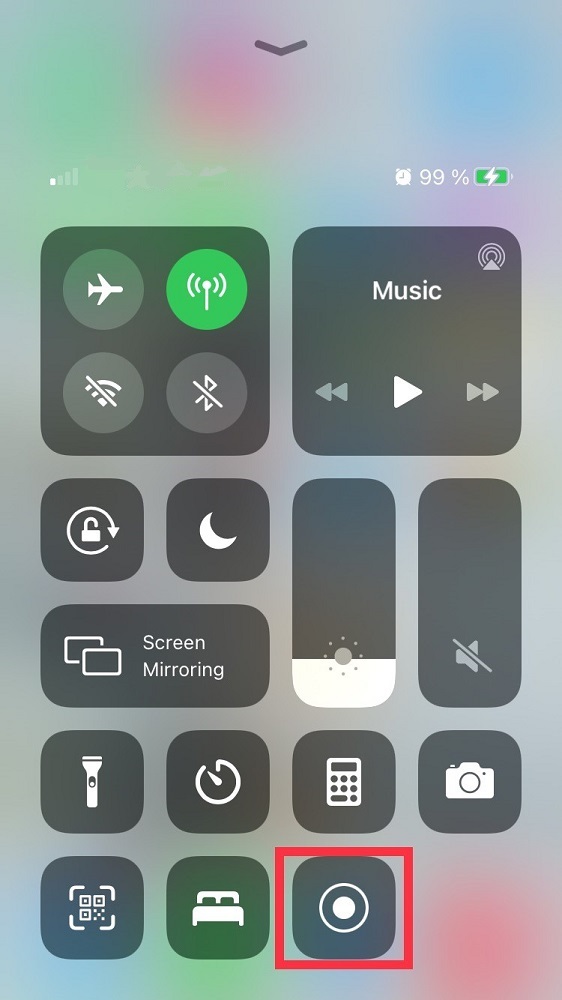
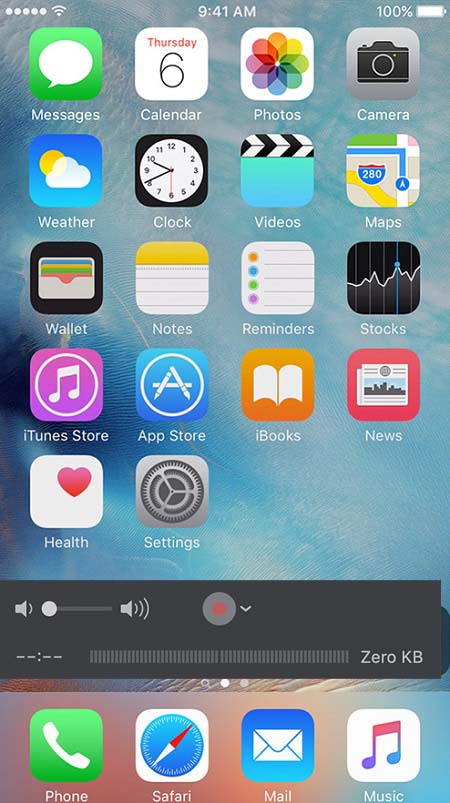
In your Control Center the button with the dot in the middle of a circle is your screen record button. Tap it to begin screen recording. There will be a three-second countdown before the recording begins.
You can close Control Center and it will continue to screen record until you stop it.
Helpful Tip: Turn on Do Not Disturb during your screen record, as any notifications or texts will show up in the video
To stop the record, press the Screen Recording button again, or the red status bar at the top of the screen then tap Stop.
Your screen recording will be saved in your Photo library.
Screen recording this way only records the sound coming from your iPhone.
If you want to include narration, hold your finger on the record button and it will allow you to turn on your microphone. The microphone will stay on for all future screen records until it is turned off.
Screen Recording does not work on all apps (such as Netflix), because licensing rules apply.
How to use QuickTime to Record on iPhone
If you have a phone with an iOS older than 11, it will not have the Screen Recording feature. In this case, QuickTime is the best option for recording your screen. Even if you have the ability to screen record on your phone, QuickTime does offer some advantages, like higher-quality recording and no red indicator line.
QuickTime should come already installed on your Mac.
To screen record with QuickTime on your iPhone, you will need to plug your phone into your computer using a USB or lightning cable then follow these steps.
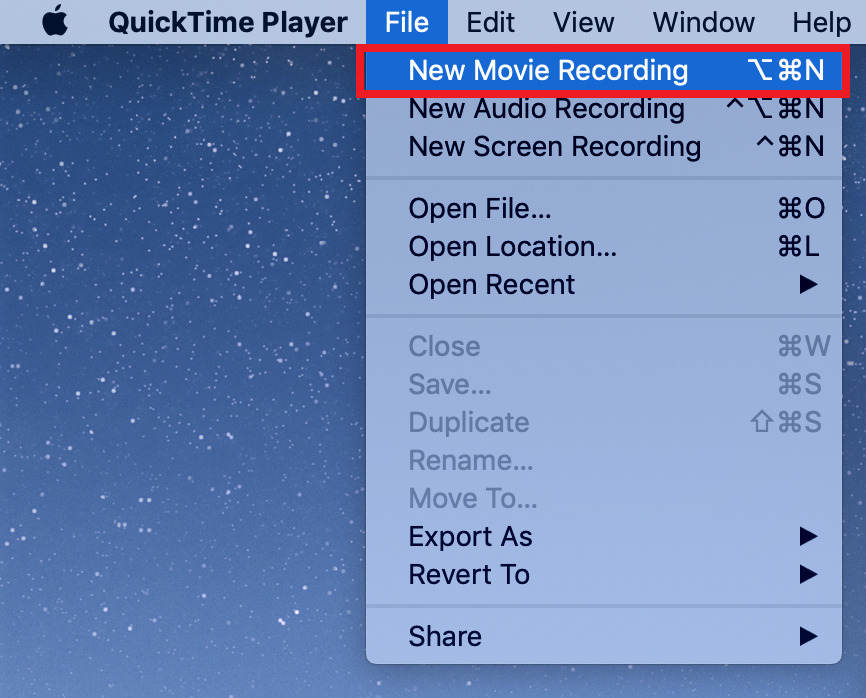
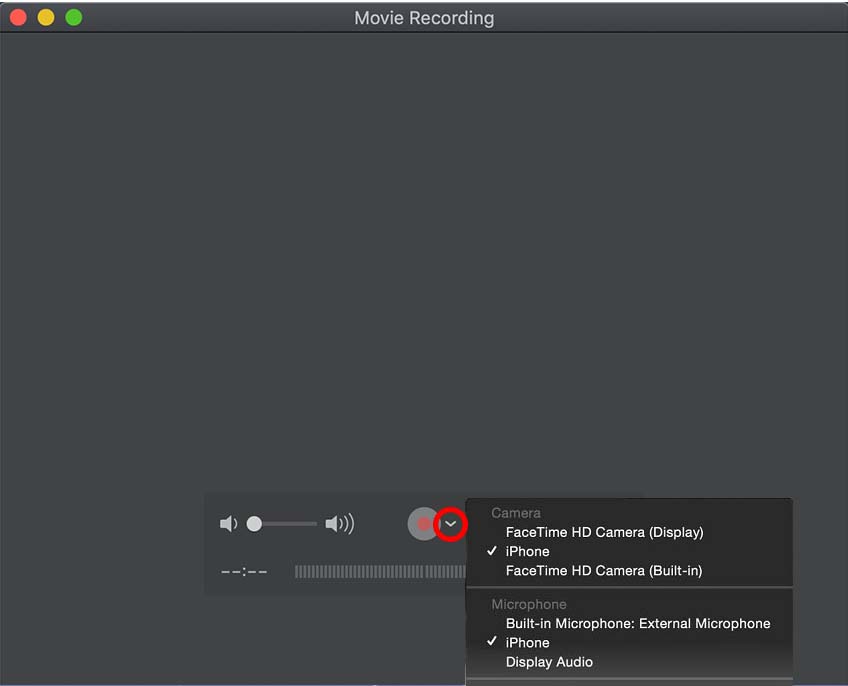
Open QuickTime on your computer and choose File, then New Movie Recording.
Click on the small arrow next to the red record button to open a dropdown menu. Choose your iPhone as the video source.
Next, click the record button and click stop when done.
Helpful Tip: Do not switch from Portrait to Landscape in the middle of a recording, as this will cause it to stop.
Save the video anywhere on your computer.
Just like using screen recording on your iPhone, QuickTime will only record the sounds coming from your phone unless you turn on the microphone.
How to Edit Video from Screen Recording
Once you have saved your screen-recorded video in photos or on your desktop, you can edit it as you would any other video. Here is a step-by-step on how to edit screen recorded content.
Choose Editing Software
Trim and Crop Video
Add Arrows and/or Captions
Add or Adjust Sound
Add Special Effects, Transitions or Stickers
Render and Save
Choose Editing Software
To choose the right editing software, you’ll need to assess a few things.
The editing software you choose needs to be compatible with your specific device, as many video editors are made for only one operating system, and some work well on smartphones while others are best on a computer.
Decide what kind of features you will need. If you are just trimming a few seconds off a video to text to a friend, you can easily edit that in your Photos app on your phone. For professional videos, you will want something with more features.
Things to consider are: Is it easy to use for my skill level? Does it have a royalty-free library of stock images and music for me to use? Does it have a large number of visual effects for me to choose from? Can I add a voice-over in the editing process?
If you’re looking to do more than basic trims you should download and try PowerDirector. It is available on Windows, Mac, Chromebook, iOS, and Android. It is easy enough to use for beginners but has the features professionals need.
Download PowerDirector for free and see why it is a Google Play and PCMag Editor’s Choice.
Download from the App Store for iOS
and Android
.
Trim and Crop Video
Many screen recorders allow you to choose what part of the screen you want to record. If they don’t, you can always crop the video in post. Maybe you don’t want your clients to see what time you made the screen record, or that your phone was on 10 percent battery. Just crop out the top of the screen and show them only what they need to know. Your video will probably need to be trimmed down, even if only a few seconds at the beginning and end.
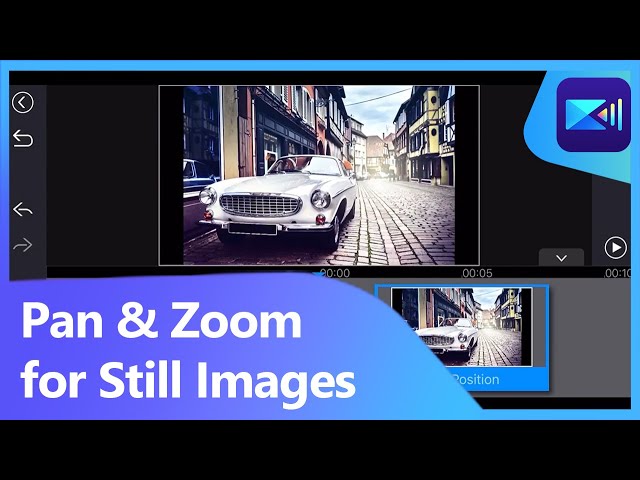
With PowerDirector you can trim, crop, and even create pans and zooms with only a few taps.
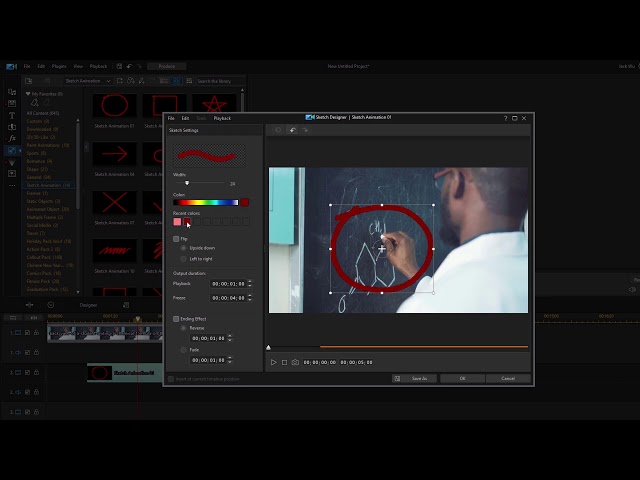
Add Arrows and/or Captions
Whether reporting an error message to the IT department or making a training video, arrows will help guide people viewing your screen recording to see exactly what you are explaining.
Captions can also be used to write commands directly onto the screen recording. You can also choose the color/font/thickness of your arrow or text.
Add or Adjust Sound
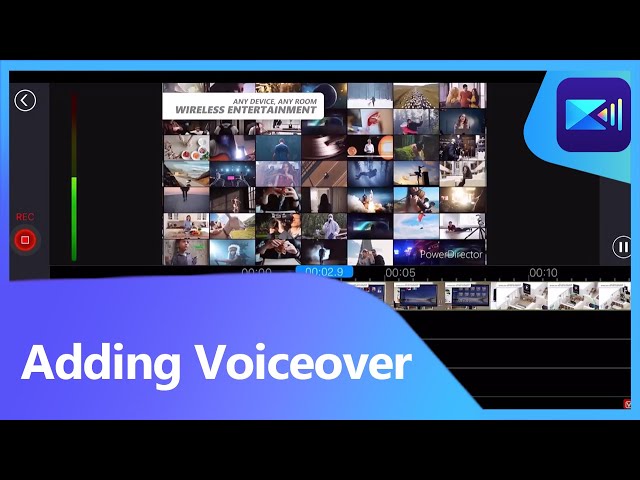
If you didn’t turn your microphone on during the screen record, you can add voiceover during the editing process. This is a good option, as it gives you a chance to watch your recording a few times and plan out a script of what to say. You can also add background music, fix background noise or noise levels, and in some cases add in sound effects.
Add Special Effects, Transitions, or Stickers
If you’re using more than one screen recording in your video or presentation, adding a transition will make it look professional.
Get to know your editing software and see what kinds of visual effects it offers to see if any are useful to the video you are creating.
Check out our article How to Edit with Special Effects to Create Cool Videosto learn what you can do with a little know-how.
Render and Save
Watch your screen recording back a few times to make sure it looks smooth and seamless. Put yourself in the shoes of your students/clients/coworkers/subscribers and make sure you understand what the video is trying to explain.
When you are completely satisfied, render the final video and save it. Make sure you save your video where you can find it and give it a specific name you can remember.
A lot of video editing software like PowerDirector will allow you to upload directly to social media.
Video Editor for Screen Recording Free Download
Taking video of your phone screen is now easier than ever. But you’ll need a video editor when making professional demos, tutorials, or gaming content with screen recorded content.
PowerDirector has all the tools you’ll need to get the most out of your screen recordings. Download it for free to see what you can create.
Download from the App Store for iOS
and Android
.
iPhone Screen Recording FAQs
Screen Recording is making a video of what appears on your screen, whether phone, laptop, or desktop. You can then save the video and edit it as you would any other video.
It can also be referred to as “screencast” or “video screen capture.”
It is ideal for online presentations, video tutorials, reporting an error message to IT, providing feedback to a colleague or client, and more. Most smartphones now come with screen recording capabilities.
Screen recording on your iPhone will automatically record the audio coming from your phone if your ringer is on – otherwise the recording will be silent. However, it will not pick up your voice unless you enable the microphone.
To enable the microphone follow these steps.
Step 1: Enter the Control Center where your Screen Recording app is located.
Step 2: Press the Screen Recording button for several seconds until the pop-up options appear.
Step 3: A little microphone will appear at the bottom that says “Microphone Off.” Tap it to turn the microphone on.
The microphone will remain on for future screen records until it is turned back off.
Adding music is trickier. You cannot use the screen recording function to record songs in your Music app.
You can play music from a different device and turn your mic on, but the sound quality won’t be that great.
If you plan on editing the video, you can always add in music later through your editing software. PowerDirector has a built-in music library with thousands of royalty-free songs.
The best way to record your screen on a Mac is using QuickTime Player, which is already installed at purchase.
Follow these steps to screen record:
Step 1: Open QuickTime.
Step 2: Choose File, then New Screen Recording.
You can choose; to record video or take a screenshot, to record the whole screen or just part of the screen, which microphone to use, where to save your video, etc.
Step 3: Click Record when you are ready, and the Stop button when you are done.
A handy shortcut for getting to Screenshot is to hit Command, Shift, and 5 simultaneously. The screenshot bar will immediately appear at the bottom of your screen.
Windows 10 has a screen recording tool in the Xbox app that comes already installed. To use the Xbox Game Bar, you may have to enable it first.
Step 1: Go to Settings then Gaming, then Xbox Game Bar, and click “Enable Xbox Game Bar.”
Step 2: Next, open the app you wish to record. Press the Windows button and G simultaneously and the Game Bar box will appear. It will ask if you are recording a game – hit “Yes this is a game,” even if it’s not.
Step 3: Click the Start Recording button to begin and the red recording bar to stop. Your video will be saved in the Videos folder under Captures. It can also be found in the Xbox app.
The problem with this method of screen recording is that it can’t capture all programs including Windows Desktop, File Explorer, and certain Windows apps.
If you need a more comprehensive screen recorder, check out our article How to Screen Record and download PowerDirector with Screen Record 4 for free.
Download from the App Store for iOS
and Android
.
If you have an Android 11 or higher follow these steps to screen record:
Step 1: Swipe down twice from the top of your screen and tap the Screen Record button (a dot surrounded by a circle).
Step 2: Open what you want to record and hit Start. There will be a countdown before filming begins.
Step 3: When you are done, swipe down from the top of the screen and hit Screen Record again. You can find your video in your Photo library.
Here are the best apps for editing screen recordings that work on both iOS and Android:
PowerDirector
Filmr
Kinemaster
Here are the best programs for editing screen recordings that work on both Windows and Mac.